
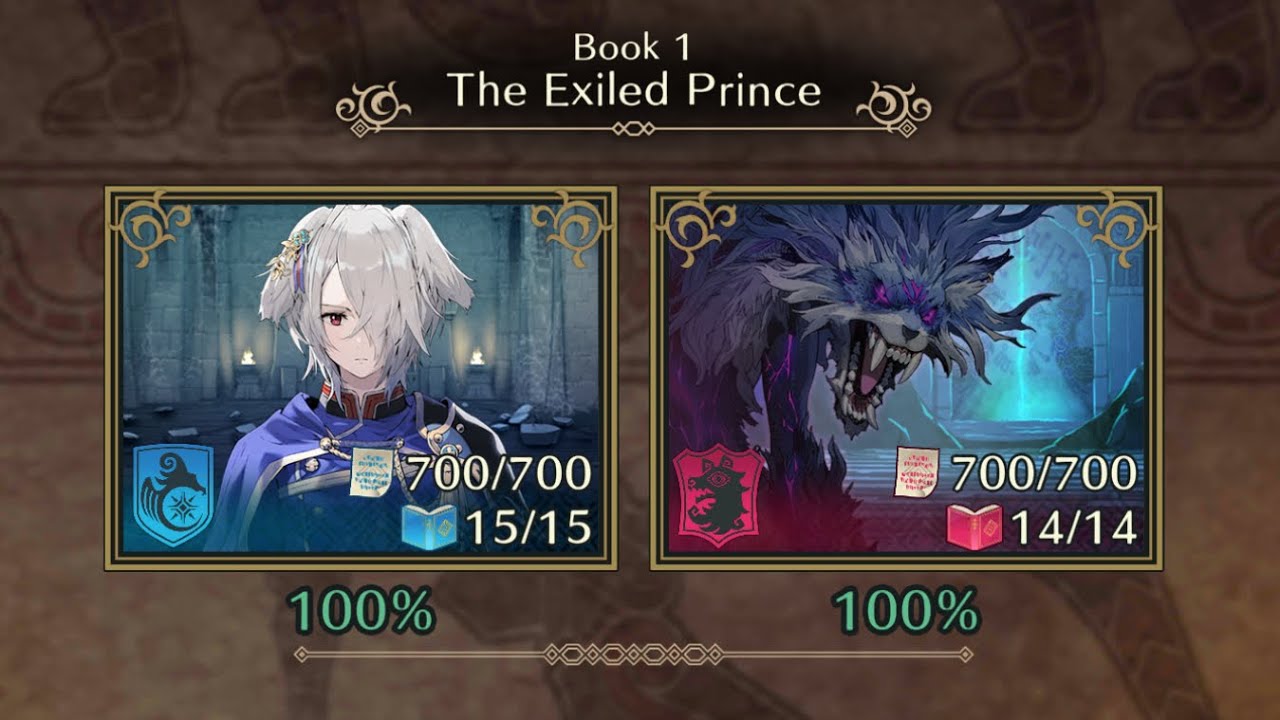
To clear Book 1: The Exiled Prince on the Light route in Fire Emblem Shadows, deploy an armored anchor supported by ranged Disciples, bait isolated enemies into counter-attacks, and keep your units within one tile of each other to maintain passive rapport bonuses. Because the game lacks an autoplay feature during narrative segments, manually advance story text while noting mission objectives, win conditions, and allied cues before combat begins.
Dialogue Pacing and Narrative Setup
Book 1: The Exiled Prince begins immediately following the opening prologue. Because the game does not include an autoplay toggle, dialogue does not advance automatically on a timer.
- Set a steady reading pace: Tap manually through conversation prompts without skipping ahead blindly.
- Track shifting portraits: Pause when character portraits change or when dialogue boxes highlight battlefield parameters.
- Note stage conditions: Review spoken text for explicit win conditions, terrain hazards, and scripted allied arrival cues before the map loads.
Light Route Strategy and Roster Setup
Choosing the Light path in Book 1 favors structural defense, consistent counter-strikes, and predictable health retention over the high-mobility, burst-oriented tactics of Shadow variants. The roster requires at least one durable front-line Disciple to absorb enemy-phase attacks and backline ranged Disciples to finish targets without taking retaliatory damage.
| Tactical Element | Light Path Strategy | Shadow Path Focus |
|---|---|---|
| Primary Goal | Formation defense and counter-damage | Rapid assassination and burst damage |
| Phase Priority | Enemy-phase baiting and retaliation | Player-phase blitz and initiation |
| Core Roster | Armored anchors and ranged Disciples | Flankers and high-mobility stealth units |
| Risk Tolerance | Low; emphasizes sustained health pools | High; relies on critical hits and evasion |
Turn-by-Turn Engagement Sequence
Rushing forward on turn 1 exposes fragile ranged Disciples to overlapping enemy attack zones. Execute this five-step sequence to eliminate opposing units systematically:
- Check Threat Boundaries: Inspect the movement tiles and attack ranges of all visible enemy units to locate safe spaces and overlapping danger zones.
- Position Your Anchor: Place your highest-defense Disciple on the outermost edge of a single enemy threat boundary. Keep all other friendly units at least one tile behind the danger line.
- End Turn to Bait: Allow the targeted enemy to initiate combat during the enemy phase. Your defensive anchor absorbs the hit and deals guaranteed counter-attack damage.
- Eliminate with Ranged Support: On your subsequent player phase, move ranged Disciples forward to strike the weakened target from safety.
- Reset the Perimeter: Move your Disciples back into a compact group before ending the turn to prevent secondary foes from flanking exposed units.
Tactical Formations and Rapport Synergies
Placing allied Disciples on adjacent or directly neighboring tiles triggers passive rapport bonuses. These proximity buffs grant increased hit accuracy and physical damage mitigation during combat rolls.
- Narrow Passages: In choke points and corridors, position your defensive anchor squarely in the entryway while stationing support units directly behind them.
- Open Fields: Deploy an offset triangle or a horizontal wall. Ensure no allied unit is separated from a partner by more than one tile to preserve shared rapport defensive buffs.
Pitfalls to Avoid in The Exiled Prince
- Overextending on Turn 1: Marching aggressively toward the enemy vanguard before inspecting danger zones leaves backline Disciples vulnerable to multi-unit attacks.
- Breaking Formation for Chases: Chasing retreating units or rushing toward distant map objectives breaks rapport spacing and risks triggering unmapped enemy reinforcement waves.
- Rushing Clear Times: Methodical counter-striking on the Light path takes more phases to resolve than high-risk burst strategies. Maintain your defensive wall until all nearby threats are cleared.

Free Fire Emblem Shadows Codes
Current active codes and how to redeem them.

Michael Smith
Michael covers live-service games, events, reward systems, and efficient daily routines, turning frequent updates into clear actions for players.
COMMUNITY
Player Comments
79 players commented on this guide.
Good guide for Fire Emblem Shadows players. The strategy part was useful.
Nice guide. I am checking the other Fire Emblem Shadows articles next.
This saved me time in the early game.
This guide answered the exact question I had.