
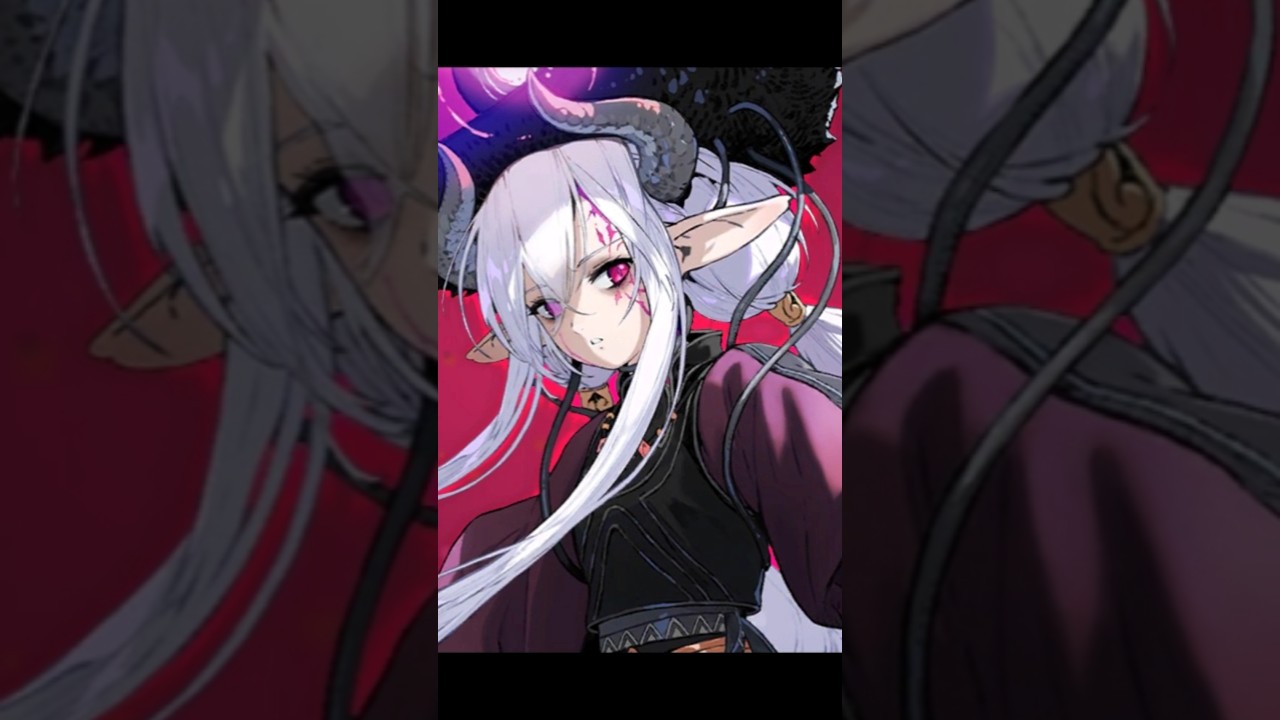
To use Shea’s Shadow transformation effectively in Fire Emblem Shadows, activate the form shift when enemies cluster in choke points or when heavily armored targets resist physical strikes, then immediately advance supportive allies to guard her during attack recovery.
Transforming recalibrates Shea from a balanced frontline skirmisher into a dedicated breakthrough attacker. Her baseline physical attacks convert into extended-reach, shadow-aspected strikes that bypass standard armor mitigation layers. However, this offensive surge creates severe defensive liabilities, including increased damage from light-aspected attacks and extended recovery frames that leave her vulnerable to counterattacks.
When to Activate the Transformation
Triggering the transformation against lone or low-health targets wastes Shea's burst damage window. Commit to the form shift under specific board conditions:
- Choke Point Defense and Infiltration: Activate when enemy squads group in narrow pathways or objective capture points to hit multiple targets with wide-cleaving dark strikes.
- Armored Units and Bosses: Shift forms before engaging heavily armored defenders or boss targets that shrug off standard physical damage.
- Phase-Break Windows: Enter the state immediately after eliminating ranged snipers or disruption units that could otherwise target her recovery phase.
- Objective Pushes: Deploy the transformation to eliminate defensive lines guarding critical nodes or extraction routes before enemy counters can respond.
Managing Vulnerabilities and Counter-Threats
Shea's corrupted state lowers her defensive posture and leaves her weak against holy and light-element counters. Because her transformed abilities commit her deep into hostile territory, unsupported activations often result in fatal counter-charges.
To minimize these risks:
- Check opposing attack ranges and elemental profiles before shifting forms.
- Bait high-impact counter abilities using auxiliary frontline units before sending Shea forward.
- Avoid overextending beyond the reach of allied support skills.
- Position defensive allies within one movement radius so they can quickly close gaps once her strikes finish.
Recommended Team Pairings
Shea requires teammates that can bridge her positioning gaps, absorb incoming aggro, and protect her post-burst recovery.
| Unit Role | Functional Purpose | Tactical Synergy with Shea |
|---|---|---|
| Frontline Vanguard | Defensive Anchor | Intercepts enemy charges and draws aggro away from Shea. |
| Movement Specialist | Kinetic Enabler | Extends Shea's operational range to reach priority backline units. |
| Shielder or Burst Healer | Sustain Support | Restores Shea's health pool during her post-attack recovery lull. |
| Crowd-Control Caster | Disruption Mage | Locks down high-threat enemies to eliminate retaliatory flank attacks. |
Engagement Sequence
Maximize each transformation cycle by following a three-step tactical turn order:
- Approach Phase: Advance Shea through terrain corridors or behind allied shield lines to prevent pre-transformation chip damage.
- Commitment Phase: Trigger the Shadow transformation and direct her primary area strikes into the densest cluster of priority targets.
- Consolidation Phase: Move vanguards and support casters adjacent to Shea immediately, locking down the perimeter while she finishes her combat recovery.

Free Fire Emblem Shadows Codes
Current active codes and how to redeem them.

James Brown
James focuses on Android gaming on PC, emulator setup, controls, performance tuning, and practical troubleshooting for longer play sessions.
COMMUNITY
Player Comments
145 players commented on this guide.
I wish I had read this before upgrading the wrong thing.
I tried this today and it worked better than my old setup.
This helped me understand strategy much better.
This saved me time in the early game.