
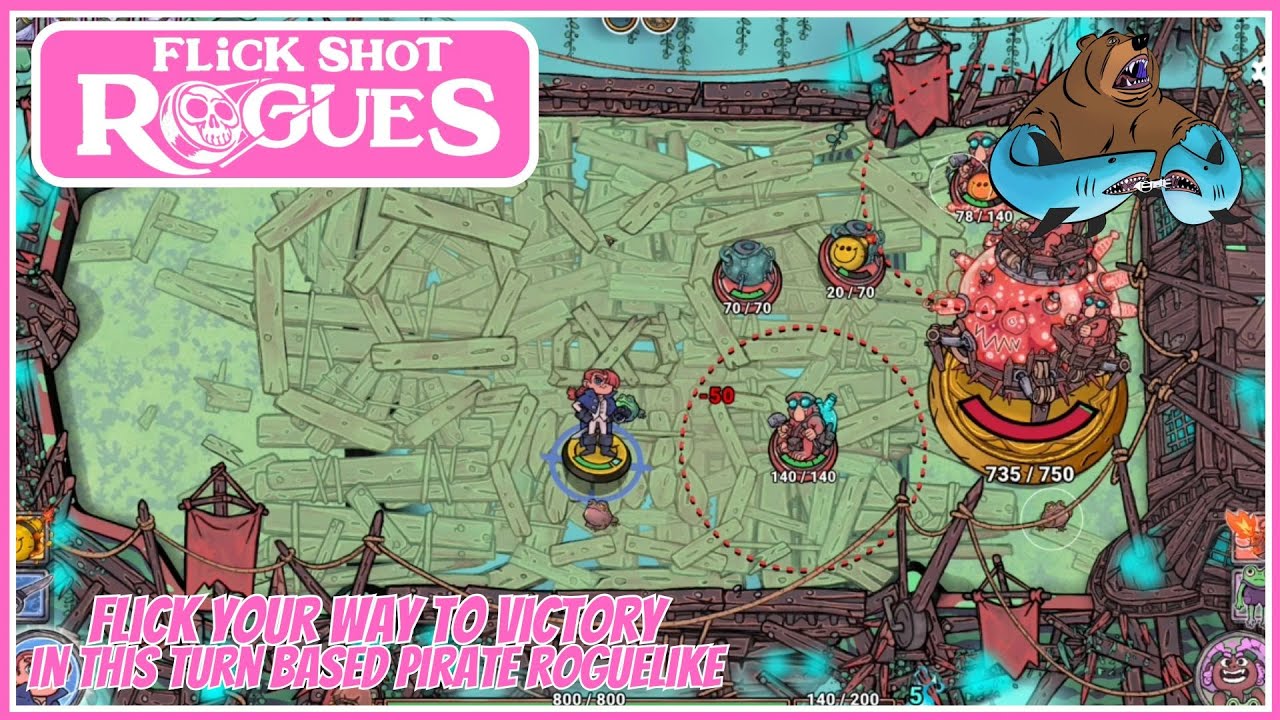
Clear Doom I in Flick Shot Rogues by eliminating backline summoners and ranged threats on turn one or two, aiming into tight enemy seams for multi-hit bounces, and ending every launch outside red enemy attack indicators. Because Doom modifiers raise enemy health thresholds and pack formations closer together, prioritize upgrades that trigger on every impact or bounce before entering elite rooms.
Room Targeting Priority
Scan each chamber before launching and clear backline enemies that control turn tempo or add bodies to the board. Leaving summoners alive clutters the arena and shrinks your safe landing zones on later turns.
| Priority | Target Types | Combat Goal |
|---|---|---|
| 1: Immediate Kill | Spawners, summoners, turrets, ranged and status units | Prevent board clutter, ranged chip damage, and status afflictions |
| 2: Turn Disruption | Fast strikers, charging bruisers | Stop active melee threats from pressuring your landing spot |
| 3: Passive Cleanup | Heavy tanks, stationary blocks | Finish durable units after backline and mobile threats are gone |
Use long-angle launches to slip past frontline bruisers and hit priority backline targets directly. If obstacles or shields block a straight line, use shallow wall bounces to route around them and strike priority units from behind.
Angle Shots for Multi-Hit Bounces and Safe Landings
Single-target hits fall behind in Doom I because rooms group enemies closely and increase health thresholds. Every shot both deals damage and sets your position for the enemy phase.
- Look for tight corridors between walls, solid pillars, and grouped enemies where your character or projectiles can ricochet repeatedly.
- Aim for the seam between two adjacent enemies rather than the center of one target to create rapid micro-bounces across both bodies.
- Trace your projected path to its final stopping point before releasing the shot.
- Check red threat indicators that mark where surviving enemies will attack on their turn.
- Give up extra hits if the trajectory ends next to un-stunned bruisers or inside a strike zone, and angle into cover behind an obstacle instead.
Ending behind obstacles forces melee enemies to spend their turn closing distance, preserving your health for elite rooms and bosses.
Draft Multi-Hit and Impact Upgrades
Flat single-target bonuses lose value as enemy health scales in Doom I. Choose passives and abilities that trigger extra effects on each collision or bounce:
- On-hit splash and shockwaves: Deal area damage on collision to wear down grouped formations.
- Bonus ricochets or piercing: Carry shots or projectiles through targets to multiply hits in tight corridors.
- Impact defense: Gain shields, dodge chance, or knockback on hit to recover when a shot lands in danger.
Skip perks that only activate at low health. Doom I leaves little room to play at low hit points, especially during elite room damage spikes.
Route the Floor Map Around Health and Wave Clear
Early in the run, choose standard combat nodes and treasure rooms to collect gold, stat bonuses, and your first passives. Postpone elite nodes until you have at least one reliable wave-clear upgrade or multi-hit perk.
At shop nodes, prioritize healing and maximum health upgrades over greedy pickups. Entering the stage boss chamber at full health gives you the buffer needed to survive unavoidable room hazards while aiming for boss vulnerability windows.

Free Flick Shot Rogues Codes
Current active codes and how to redeem them.

Sarah Williams
Sarah specializes in RPG and collection games, explaining team building, character growth, and beginner-friendly ways to avoid expensive early mistakes.
COMMUNITY
Player Comments
98 players commented on this guide.
This saved me time in the early game.
The explanation is clear, especially for beginners.
Good guide for Flick Shot Rogues players. The strategy part was useful.
I tried this today and it worked better than my old setup.