
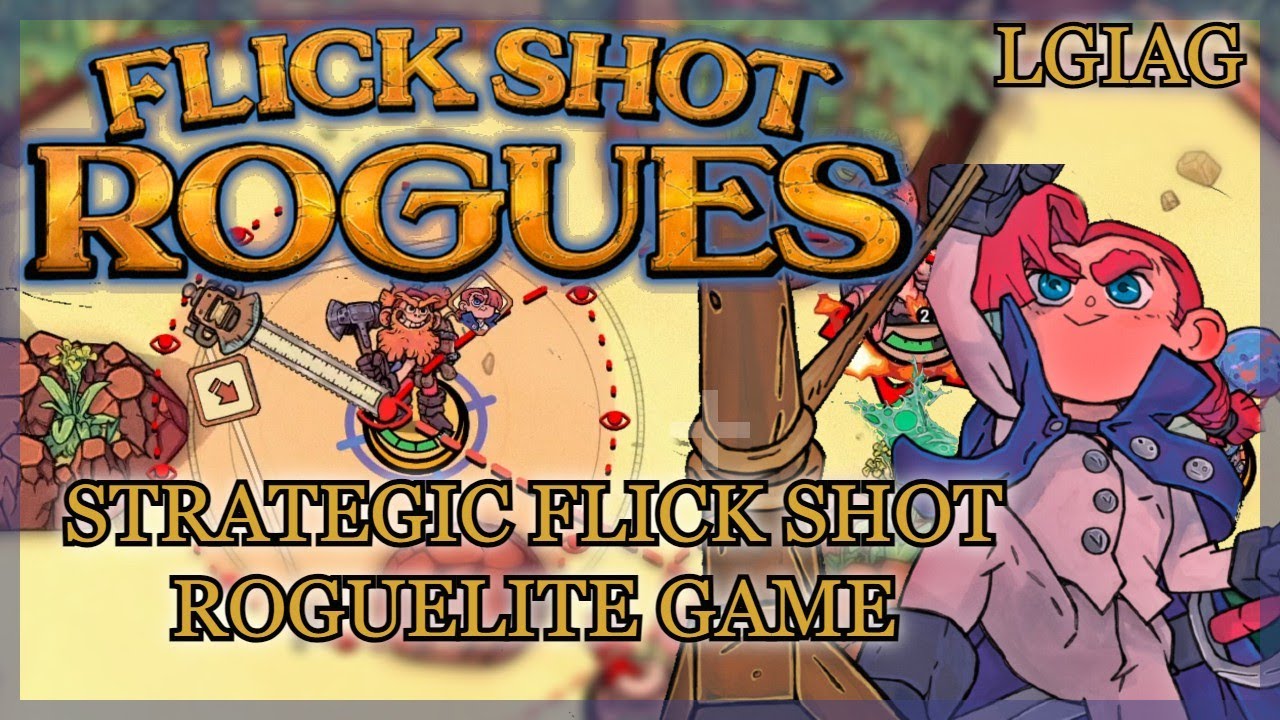
To maximize your damage output in Flick Shot Rogues, stop aiming directly at individual targets. Instead, calculate your launch trajectory off nearby walls and obstacles to ricochet through multiple enemies in a single move while ensuring your rogue ends up in a safe position.
Choosing the Right Shot Trajectory
Directly hitting an enemy usually inflicts single-target damage and stops your momentum, leaving your rogue exposed during the enemy turn. Bouncing off arena surfaces extends your arc, allowing you to strike target flanks or pass through multiple units.
| Shot Type | Aiming Point | Primary Purpose | Risk / Limit |
|---|---|---|---|
| Direct Flick | Center of single enemy | Quick direct strike | Stops momentum; leaves unit vulnerable |
| Ricochet Flick | Adjacent wall or obstacle angle | Multi-target chain hit | Requires clear bounce lane |
| Defensive Flick | Nearby cover or open corner | Reset positioning | Lowers damage; preserves unit health |
Before committing to a launch:
- Trace the full trajectory line past your initial target to see where the secondary bounce leads.
- Verify that the line passes through at least two enemy hitboxes or high-priority targets.
- Confirm that the end of the arc does not leave you stranded without cover.
Controlling Enemy Spacing and Clustering
Enemies move in predictable patterns during their turn. You can use initial turns to manipulate their positions rather than forcing inefficient attacks:
- Observe movement paths: Watch where enemy units walk during their turn to identify where they naturally overlap.
- Herd targets: Angle your launches to push or displace enemies toward walls, corners, or hazards.
- Execute follow-up strikes: Once targets are tightly grouped against a surface, launch a rebound shot across the cluster.
Prioritizing Targets and Managing Positioning
High-value targets should receive your cleanest ricochet lanes. Wasting high-momentum rebounds on minor minions can leave you out of position when dangerous foes act.
- Target high-threat units first: Calculate bounce angles that strike the most dangerous enemy on the board directly or on the initial ricochet leg.
- Avoid cluttered boards: If obstacles block clear bounce lanes, do not force an aggressive angle. A bad ricochet can leave you stuck in a central dead zone.
- Control flick distance: Use the shortest shot distance necessary to reach your target bounce point. Shorter movements keep your rogue closer to walls, preserving exit angles for subsequent turns.
- Retreat when necessary: When no clean multi-hit trajectory exists, flick toward cover to preserve health until the board opens up.

Free Flick Shot Rogues Codes
Current active codes and how to redeem them.

James Brown
James focuses on Android gaming on PC, emulator setup, controls, performance tuning, and practical troubleshooting for longer play sessions.
COMMUNITY
Player Comments
86 players commented on this guide.
This helped me understand strategy much better.
This guide answered the exact question I had.
I wish I had read this before upgrading the wrong thing.
Nice guide. I am checking the other Flick Shot Rogues articles next.