
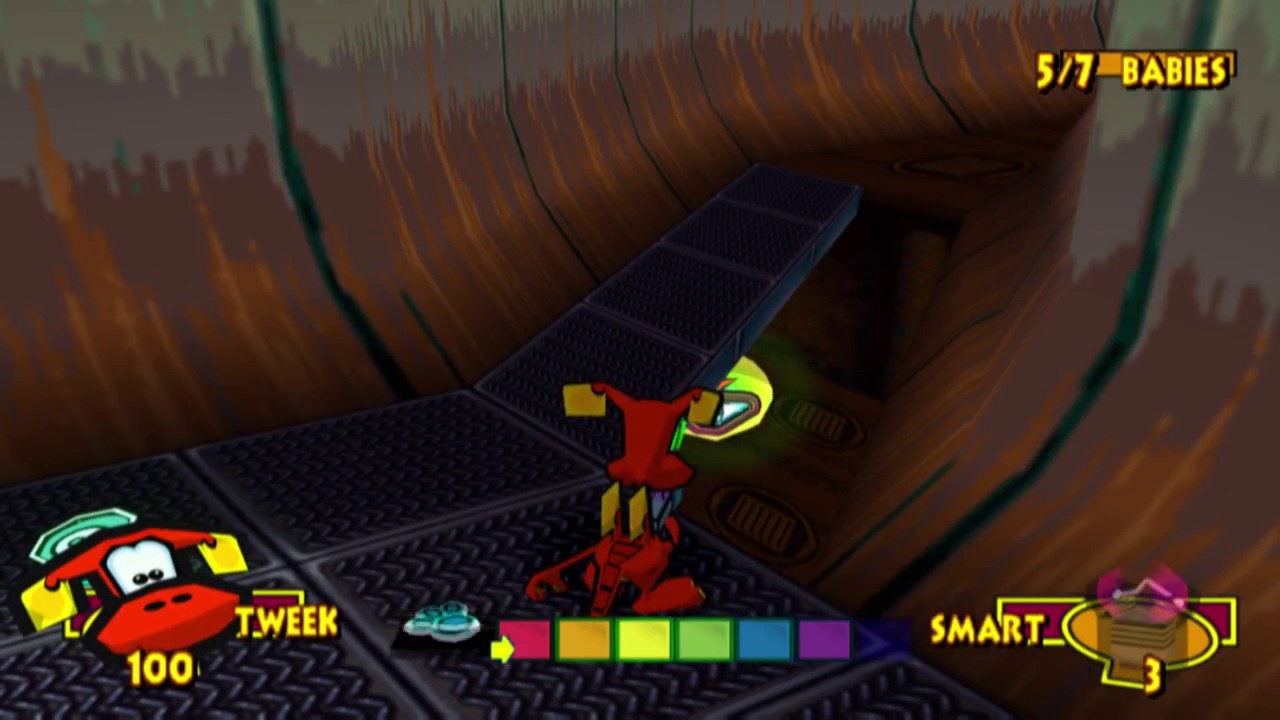
Achieving 100% completion in the Beaver Power Dam stage of Furry Fighters requires more than just raw speed; it demands a surgical understanding of spawn triggers, environmental hitboxes, and movement optimization. Whether you are aiming for a sub-20-minute personal best or simply want to optimize your resource farming, this guide provides the technical breakdown necessary to clear the dam with maximum efficiency.
Understanding the 100% Completion Requirement
In Furry Fighters, "100% completion" is defined by two primary metrics: total enemy clearance (including elite spawns) and the destruction of all environmental interactables—specifically barrels, mechanical nodes, and cache crates.
Many players fail to reach 100% because they treat the stage as a linear rush. However, the Beaver Power Dam is segmented into "Zones of Interest." If you clear a zone but leave behind a single breakable node or skip a hidden mob spawn, you force yourself into backtracking, which adds significant time to your run. To succeed, you must adopt a "Clear-as-you-go" philosophy: always prioritize objects near the critical path before moving to the next room transition.
Optimal Combat Pacing and Target Prioritization
Combat in Furry Fighters should be treated as a movement hurdle rather than a traditional engagement. In a high-speed run, you are not looking to "fight" enemies; you are looking to erase them from the screen instantly.
- Burst-Damage Optimization: Use your Cat Wizard’s area-of-effect (AoE) spells to tag multiple enemies simultaneously. Never use single-target abilities on trash mobs.
- The "Tag and Move" Strategy: If a group of enemies does not block a door, do not wait for the death animation. Tag them with a high-damage ability and continue sprinting toward the exit; the cleanup can happen via secondary damage ticks while you are already moving to the next room.
- Elite Skip vs. Kill: Elite enemies are the biggest run-killers. Learn which elites are mandatory for progression and which can be bypassed. If an elite is not guarding a key, ignore it entirely to save your cooldowns for the room-clearing burst.
Mastering Room-to-Room Transitions
Transitioning between the interior and exterior sectors of the Beaver Power Dam is where the most time is lost. High-level players utilize "Camera Snap" techniques to orient their movement before the screen fully loads the next area.
- Predictive Pathing: As you approach the edge of a room, identify the exit door's location. Begin your movement input toward that coordinate before the transition animation completes.
- Wall-Hugging Geometry: The dam’s layout is designed to funnel players toward the center. Fight this by hugging the walls. This creates a shorter distance to the exit and keeps your movement tight, preventing unnecessary "bouncing" against room geometry.
- Sprint-Jump Canceling: Chain your movement abilities with jumps to maintain maximum velocity. If you are not jumping during the transition, you are losing frames.
Navigating Environmental Hazards
The Beaver Power Dam is filled with rushing water and mechanical traps that punish hesitation. The key to speed is to ignore the visual "telegraphs" of the hazards once you have memorized their cycles.
- Hazard Rhythms: Most traps in the dam operate on a fixed timer. Instead of waiting for the water to clear, jump into the flow at the exact moment the cycle resets.
- Defensive Mobility: If you find yourself consistently taking damage, do not swap to defensive gear. Instead, invest in mobility-focused artifacts that increase your dash distance or invulnerability frames (i-frames). This allows you to "dash through" hazards rather than navigating around them.
Advanced Route for 100% Collectibles
To reach 100% without backtracking, you must integrate collectible retrieval into your primary pathing. Collectibles are often tucked behind destructible pillars or inside small alcoves near the path.
- The "Sweeping" Technique: As you sprint through a room, keep your camera focused on the perimeter. If you see a glimmer or a destructible node in an alcove, use your character's dash-attack to hit it while passing, rather than stopping to turn and attack.
- Zone-Specific Checklists: Mentally partition the Beaver Power Dam into four distinct zones. Each zone has exactly three hidden nodes. If you hit the transition door without seeing three "destruction" pop-ups, pause for a second to scan the room. Knowing the count per zone prevents the need for a full-run reset.
Common Mistakes and Trade-offs
The most common mistake is the "Safety Trap." Many players attempt to slow down to conserve health, believing they need to survive the run to finish it. In Furry Fighters, death is a minor setback compared to a slow time.
- Risk vs. Speed: A 100% run requires aggressive play. If you are constantly healing, you are not moving. Trust your i-frames and prioritize offensive gear.
- Gear Management: Ensure your gear is optimized for "On-Hit" damage rather than sustained DPS. Since you are moving through the dam at high speeds, you only have seconds to clear a room. Your damage must be front-loaded.
Summary Checklist for Competitive Runs
- Pre-Run: Ensure your Cat Wizard/Hamster Brawler loadout is set for burst damage.
- Early Game: Clear the initial exterior zone, ensuring all wooden crates are destroyed for the bonus drop.
- Mid-Game: Maintain "Sprint-Jump" momentum through the water-trap tunnels.
- End-Game: Save your ultimate ability for the final room’s elite spawn to ensure the 100% clearance requirement is met without stalling.
By mastering these mechanics, you will transform the Beaver Power Dam from a confusing maze into a predictable, high-speed sprint. Remember that speed is a product of rhythm—once you find the flow of the enemies and the timing of the traps, 100% completion becomes a matter of muscle memory rather than frantic reaction.

Free Furry Fighters Codes
Current active codes and how to redeem them.

James Brown
James focuses on Android gaming on PC, emulator setup, controls, performance tuning, and practical troubleshooting for longer play sessions.
COMMUNITY
Player Comments
98 players commented on this guide.
This guide answered the exact question I had.
Can you add more details about strategy in a future update?
I wish I had read this before upgrading the wrong thing.
Good guide for Furry Fighters players. The strategy part was useful.