
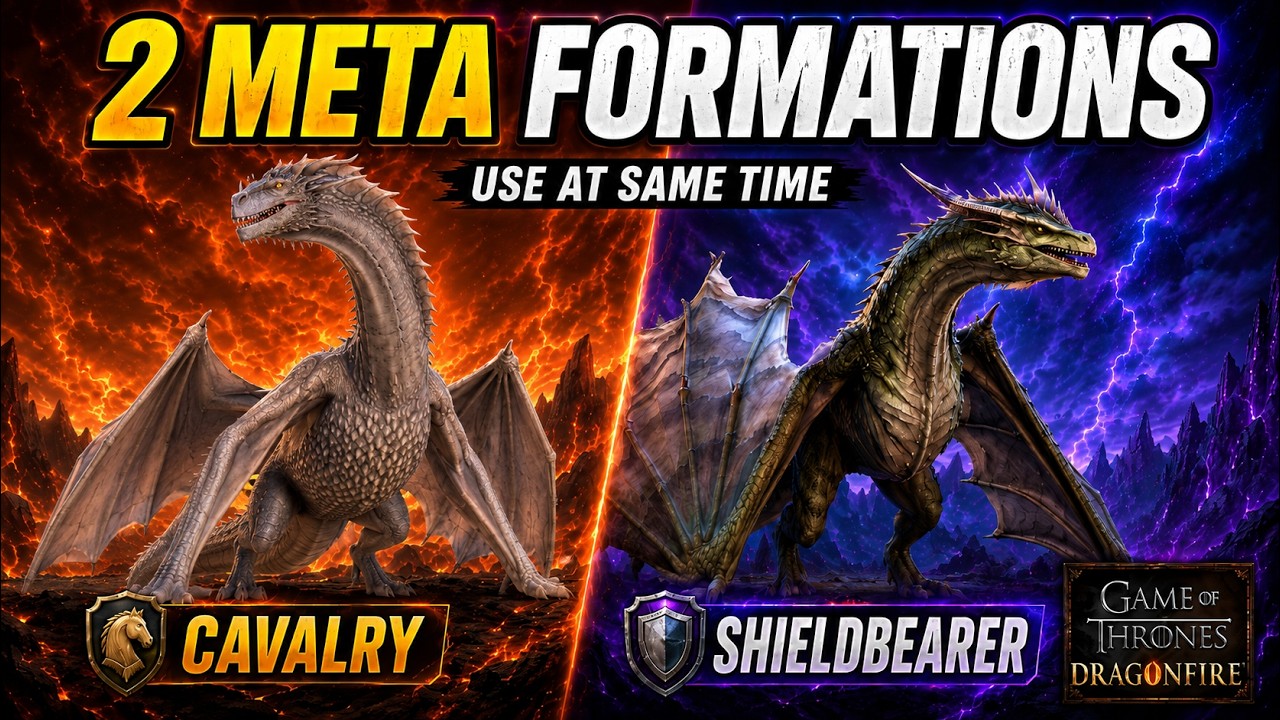
To dominate the Season 2 battlefield in Game of Thrones: Dragonfire, you must transition from single-squad reliance to a dual-formation strategy. By running two specialized squads simultaneously, you gain the ability to dictate engagement flow, forcing opponents to choose between defending against rapid burst damage or fighting through an immovable sustain wall. This guide outlines how to build, deploy, and maintain two meta-tier formations to maximize your tactical dominance in the Seven Kingdoms.
The Cavalry-Heavy Burst Formation: Your Offensive Spear
The core of your primary offensive formation in Season 2 centers on high-speed, cavalry-focused synergy. This squad is designed to decimate enemy backlines—specifically archers and support heroes—before the opponent can stabilize their defensive posture.
Mechanics of the Burst Build
- Engagement Speed: Cavalry units possess the highest mobility in Game of Thrones: Dragonfire. Use this to force engagements on your terms.
- Front-Loading Damage: Your objective is "Shock and Awe." By prioritizing heroes that provide flat damage buffs, charge damage bonuses, or attack speed increases, you ensure the fight is decided within the first 10 seconds.
- Targeting Priority: Always aim to flank the enemy’s squishiest targets. If you find yourself in a head-on clash, use your cavalry to charge through the center to reach the backline, rather than grinding against enemy infantry.
Essential Hero Synergies
To make this formation viable in Season 2, you must pair your cavalry with heroes that boost Armor Penetration. Without this stat, your cavalry will lose steam against high-tier defensive infantry. Look for hero abilities that trigger "on-charge," as these turn your cavalry into specialized assassins capable of one-shotting low-armor targets.
The Balanced Sustain and Control Formation: The Anchor
While your cavalry squad acts as the sword, your second formation serves as the shield. This "Sustain and Control" formation is built for attrition, crowd control, and holding strategic objectives like resource nodes or pass chokepoints.
Mechanics of the Sustain Build
- Durability Over Damage: Prioritize high-health infantry and spearmen. Your goal is not to win quickly, but to make the enemy waste high-value cooldowns against your tanky front line.
- Healing and Mitigation: Incorporate heroes that provide damage reduction (DR) and area-of-effect (AoE) healing. In Season 2, a well-timed shield or heal can negate an entire enemy burst phase.
- Crowd Control (CC): Utilize heroes with stuns, slows, or knockbacks. By locking down the enemy’s primary damage dealers, you allow your sustain formation to out-trade the opponent even if your stats are slightly lower.
Why This Works
The value of the sustain formation lies in the "Time-to-Kill" (TTK) metric. By forcing an opponent to spend 30+ seconds to clear your defensive squad, you create a massive tactical window for your cavalry formation to reposition, flank, or strike the opponent’s vulnerable base or reinforcements.
Tactical Coordination: Executing the Pincer Maneuver
Running two meta formations effectively requires more than just high stats; it requires precise on-map positioning. Never move your squads in a straight line toward a target.
- The Distraction: Send your Sustain Formation in first. Position them to block the enemy’s path or to engage their main force directly.
- The Flank: While the enemy is occupied with your defensive wall, move your Cavalry Formation in a wide arc.
- The Pincer: Once the enemy commits their abilities to your sustain squad, strike from the side or rear with your cavalry. This forces the opponent to rotate their units, which often resets their attack animations and cooldowns, giving you a massive mechanical advantage.
Managing Resource Constraints and Upgrades
The biggest mistake players make in Season 2 is attempting to spread their resources too thin. Maintaining two elite formations requires double the hero fragments, gear, and experience scrolls.
- The 80/20 Rule: Dedicate 80% of your resources to your primary formation until it hits a power plateau, then funnel the remaining 20% into your secondary squad.
- Dragon Affinities: Your dragon’s element should ideally complement your formations. If you have a fire-based dragon, prioritize heroes that synergize with fire damage or burn status effects in your cavalry squad to maximize the "Dragonfire" buff, which provides passive damage scaling.
- Stamina Management: Moving two armies across the map consumes double the stamina. Always verify your proximity to your Alliance territory. If you are caught out of position, your dual formation becomes a liability, as losing both armies simultaneously can cripple your seasonal progress.
Strategic Decisions: When to Split vs. Combine
Should you always run two formations? Not necessarily. Use this decision-making framework:
- When to Split: Use dual formations for open-field PvP, clearing high-level PvE content that requires both tanking and DPS, and capturing territory where you need to hold one point while attacking another.
- When to Combine: If you are attacking a heavily defended city or a high-tier Alliance boss, combine your best heroes into one "super-formation." In Game of Thrones: Dragonfire, concentration of force is often superior to the versatility of two separate squads when dealing with high-defense targets.
Common Mistakes to Avoid
- Ignoring Troop Tier Parity: Do not run a Tier 5 cavalry squad alongside a Tier 2 infantry squad. The sustain formation will collapse instantly, leaving your cavalry unsupported. Ensure both formations are comprised of your highest available troop tier.
- Neglecting Research: If your research tree isn't balanced for both infantry/spearmen defense and cavalry/archery offense, your dual-formation strategy will fail. Ensure your academy research keeps pace with your hero leveling.
- Tunnel Vision: Many players focus only on hero levels and ignore their dragon's gear. Ensure your dragon’s equipment is optimized for the specific squad it is attached to; a defensive dragon on a cavalry squad is a wasted synergy.
Mastering dual meta formations in Game of Thrones: Dragonfire is the hallmark of a top-tier strategist. By balancing the raw speed of your cavalry with the indomitable nature of your sustain squad, you can control the pace of the battlefield and dictate the outcome of every skirmish in Season 2. Focus on the synergies, respect your resource limitations, and always look for the flank.

Free Game of Thrones: Dragonfire Codes
Current active codes and how to redeem them.

James Brown
James focuses on Android gaming on PC, emulator setup, controls, performance tuning, and practical troubleshooting for longer play sessions.
COMMUNITY
Player Comments
117 players commented on this guide.
I tried this today and it worked better than my old setup.
I wish I had read this before upgrading the wrong thing.
Good guide for Game of Thrones: Dragonfire players. The strategy part was useful.
The tips are practical and easy to follow.