
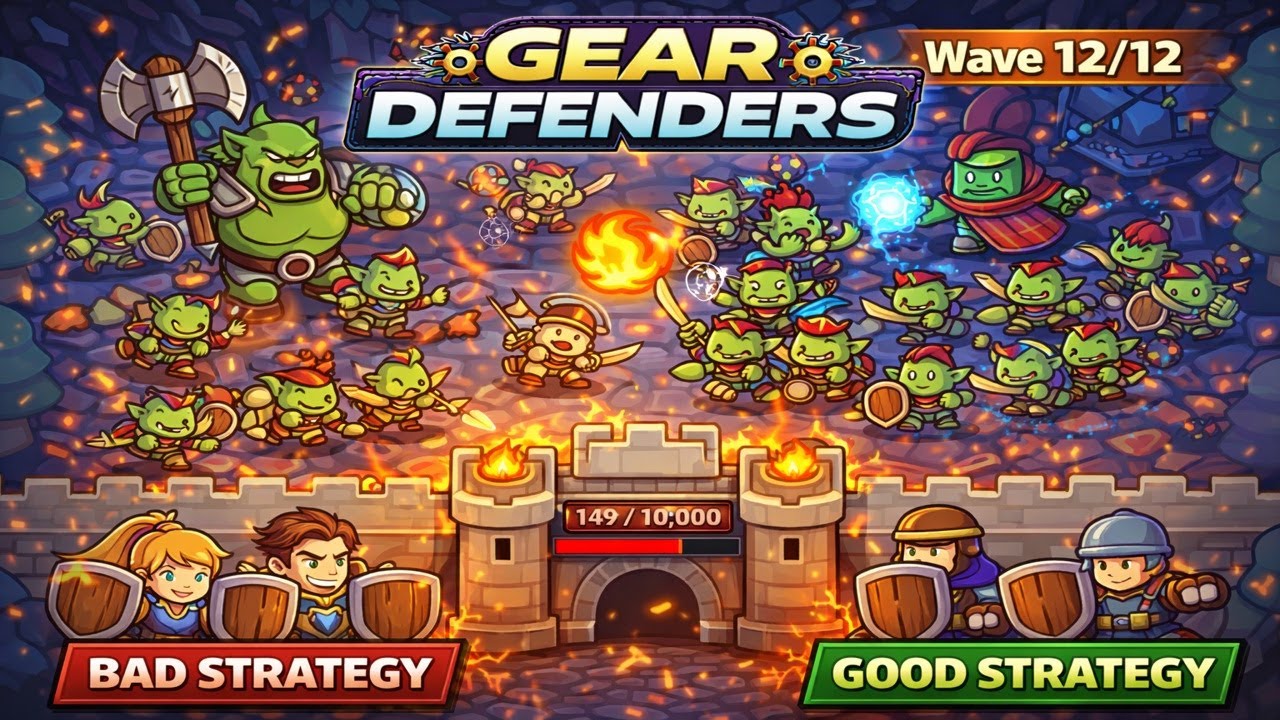
To survive dense enemy waves in Gear Defenders, cluster your turrets at main path bottlenecks to create overlapping kill zones instead of spreading defenses evenly across the map. Position fast, short-range gears near path entrances to weaken incoming units, and place heavy, long-range gears behind them to finish targets off.
Creating Interlocking Kill Zones
Maximizing damage output depends on coverage overlap and physical rotation clearance. Spacing turrets uniformly leaves gaps that allow fast or resilient enemies to slip through.
- Layer by Range and Speed: Place fast-attacking, short-range gears closest to the path entrance. Position long-range, heavy-hitting turrets further back so their ranges intersect over the same target area.
- Check Rotation Obstructions: Ensure adjacent gears or map barriers do not block rotation paths. Physical overlaps or hitbox collisions can interrupt rotation timing and drop continuous damage output.
- Anchor at Chokepoints: Target natural path bends and narrow corridors. Placing high-tier turrets at the apex of a turn keeps enemies inside your active kill zone for the maximum duration.
Managing Resources and Upgrade Timing
Upgrading existing gears inside primary kill zones is generally more cost-effective than placing additional low-level turrets on the outer edges of the map.
| Defensive Action | Best Situation | Strategic Focus |
|---|---|---|
| Upgrade Existing Gear | High-traffic kill zones active | Increases continuous DPS without taking up new board space. |
| Build New Gear | Opening new path coverage | Establishes basic coverage at unhandled chokepoints. |
| Maintain Gold Reserve | Mid-wave transition | Provides emergency funds for immediate target counters. |
| Sell Low-Level Turrets | Board full, late-wave scaling | Reclaims gold to fund maximum upgrades on central anchor gears. |
Avoid spending all available gold immediately. Maintaining a small reserve lets you react to wave compositions by upgrading specific elemental or physical damage types as needed.
Strategic Gear Assignment by Role
A resilient defensive line requires a mix of target roles to handle diverse wave compositions.
- Entrance Area (AoE Gears): Position area-of-effect gears at the start of your kill zone to clear or weaken large swarms of low-health units.
- Center Section (Support/Slow Gears): Integrate slowing or support gears in the middle of your layout to extend the time enemies remain exposed to your primary damage sources.
- Exit Section (Single-Target Focus): Place high-impact, single-target gears at the back of the kill zone to clean up surviving armored units and high-health targets.
Transitioning to Late-Wave Optimization
As difficulty scales, available placement space becomes your main limitation. When your board reaches physical capacity, stop adding low-tier turrets and shift entirely to upgrading your primary anchor gears.
If enemies consistently breach your perimeter despite full coverage, sell off outer or inefficient low-level gears. Reinvest the recovered gold directly into maximizing the levels of your central kill-zone turrets to sustain effective damage output during high-intensity waves.

Free Gear Defenders Codes
Current active codes and how to redeem them.

James Brown
James focuses on Android gaming on PC, emulator setup, controls, performance tuning, and practical troubleshooting for longer play sessions.
COMMUNITY
Player Comments
108 players commented on this guide.
I tried this today and it worked better than my old setup.
This helped me understand strategy much better.
This guide answered the exact question I had.
The tips are practical and easy to follow.