
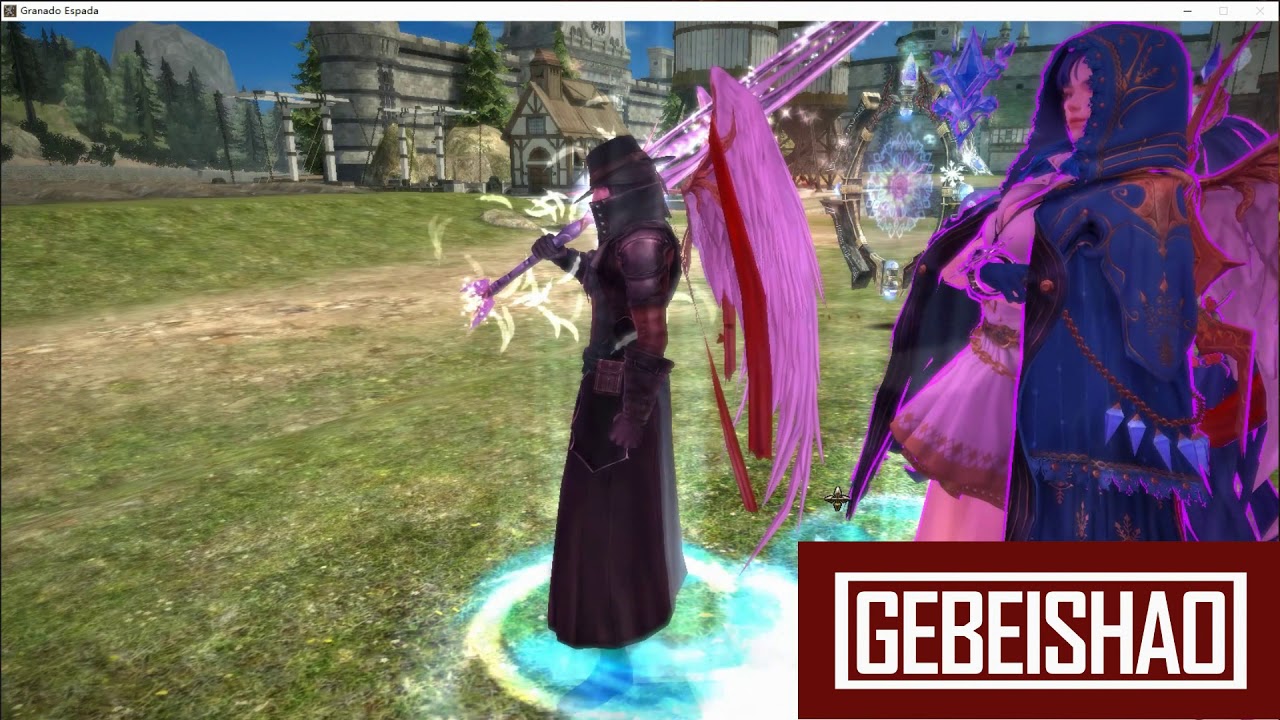
To clear the R7+ Scavenger boss in Granado Espada M in a single rotation, manually control your frontline tank to face the boss away from the party, apply armor reduction debuffs, and immediately discharge your primary carry's highest-multiplier burst stance skills before defensive shield mechanics activate.
Team Composition and Stat Requirements
A single-rotation clear relies on trading sustained healing for front-loaded damage. The 3MCC squad must include one high-threat anchor, one offensive debuffer, and one dedicated single-target burst carry with high armor penetration.
| Role | Stance Archetype | Primary Responsibility | Priority Stats |
|---|---|---|---|
| Frontline Anchor | High-threat tank (Shield/Melee) | Lock boss facing, absorb opening cleave, maintain taunt | Physical Damage Reduction, Guard, Max HP |
| Debuffer / Buffer | Offensive debuffer / Hybrid buffer | Strip physical defense, boost party critical damage | Cooldown Reduction, Skill Hit Rate, Penetration |
| Burst Carry | High-scaling single-target DPS | Discharge full cooldown sequence during debuff window | Critical Strike Chance, Penetration, Boss ATK |
Because R7+ encounters feature high baseline armor mitigation, a carry lacking sufficient penetration will see damage fall by more than half regardless of raw attack power. Ensure your carry's weapon sockets and codex bonuses prioritize armor penetration.
Arena Positioning and Aggro Setup
The Scavenger opens with a wide frontal cone strike that can interrupt or kill unbuffed damage dealers. Manual movement is required to position the squad safely before triggering offensive skills.
- Advance the Tank Alone: Move your frontline anchor forward manually while leaving your support and carry behind the arena entrance threshold.
- Turn the Boss 180 Degrees: Maneuver the tank directly through the Scavenger so the boss turns its back to the entrance, aiming its frontal cleave away from the team.
- Deploy to the Rear Flank: Move the debuffer and carry into the boss's rear flank. Do not align them directly behind the tank, as high-tier piercing attacks can strike targets behind the primary target.
- Maintain Skill Range: Keep your carry at the maximum functional range of their stance skills to stay outside the boss's point-blank area-of-effect pulse damage.
Single-Rotation Execution Sequence
Do not rely on auto-combat toggles, which frequently trigger long-cooldown damage skills before defense debuffs register on the target.
- Verify Threat and Buffs: Once the tank secures aggro and locks the boss's facing direction, activate team combat potions and offensive stance buffs.
- Apply Defense Shred: Cast your debuffer's armor reduction and resistance vulnerability skills. Check the status bar under the Scavenger's health bar to confirm the shred icons are active.
- Discharge Burst Multipliers: Immediately trigger your carry's longest-cooldown, highest-multiplier stance skills first, followed by secondary chained abilities.
Handling Failed Burst Cycles
If your damage sequence stalls with 20% to 30% of the boss's health remaining, the Scavenger will begin its phase transition and activate defensive shields.
- Immediate Disengagement: Move your squishy support and DPS units toward the outer perimeter of the arena.
- Absorb the Pulse: Keep the frontline anchor centered to absorb the transition shockwave.
- Reset Cooldowns: Wait for offensive skill cooldowns and debuffs to replenish before attempting a second coordinated burst window rather than continuously attacking into active shields.

Free Granado Espada M Codes
Current active codes and how to redeem them.

Michael Smith
Michael covers live-service games, events, reward systems, and efficient daily routines, turning frequent updates into clear actions for players.
COMMUNITY
Player Comments
67 players commented on this guide.
I tried this today and it worked better than my old setup.
This saved me time in the early game.
Can you add more details about strategy in a future update?
Good guide for Granado Espada M players. The strategy part was useful.