
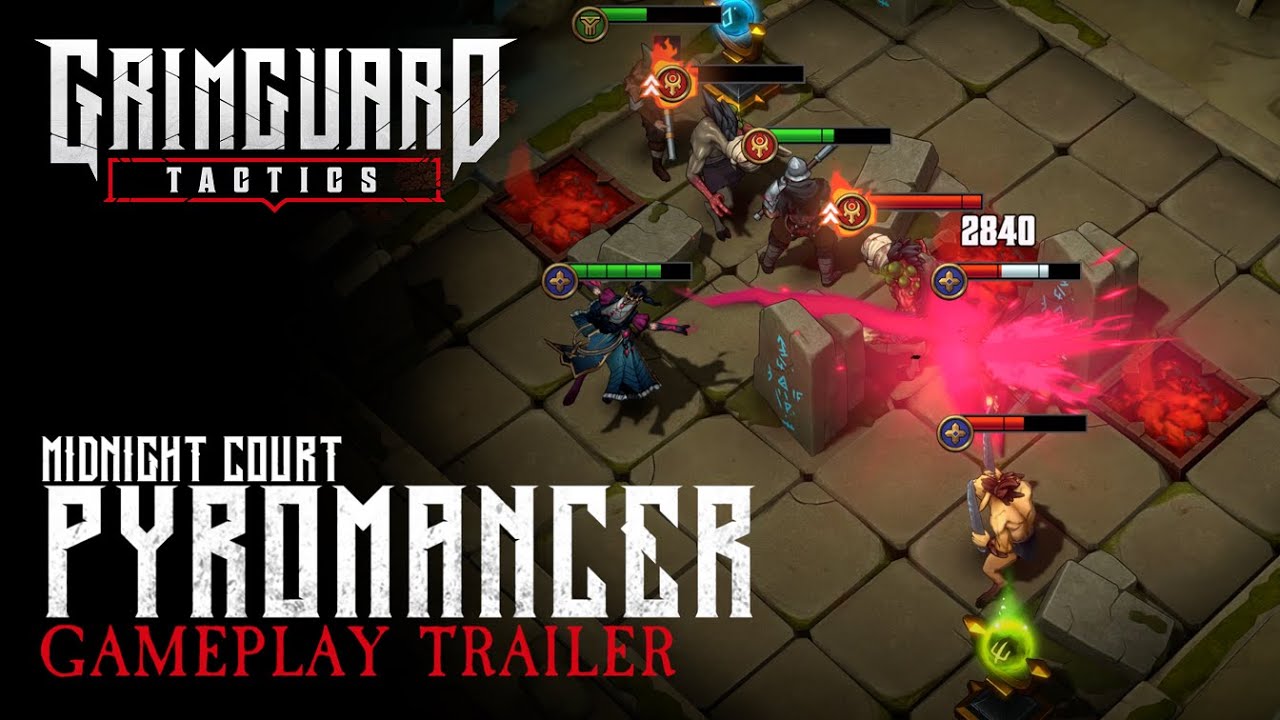
Deploy the Midnight Court Pyromancer two to three tiles behind your frontline defenders, hold her multi-tile spells until enemies cluster together, and use her burn effects to bypass high-armor targets. Because she has low base defenses and lacks mobility skills to escape melee combat, her survival depends entirely on defensive screening and disciplined ability timing.
Role and Core Mechanics
The Midnight Court Pyromancer operates as a ranged offensive spellcaster built around area denial, burst damage, and damage-over-time pressure.
Her key combat traits include:
- Armor-Bypassing Burn Damage: Her fire skills inflict burning effects that ignore standard armor values, making her effective at softening heavily shielded frontline brawlers before melee combatants clash.
- Wide Area Patterns: Cone and circular targeting patterns allow her to strike multiple grid spaces at once, countering dense minion packs and swarm formations.
- Low Survivability: She possesses a small health pool and low physical defense. If an enemy flanks or engages her in melee, she cannot disengage without taking heavy damage.
- Cooldown Dependence: Her damage output drops between major skill activations, requiring basic ranged attacks while awaiting cooldown resets.
Spell Timing by Combat Phase
Holding her high-impact area-of-effect (AoE) abilities until targets converge ensures that spell casts yield maximum value across multiple tiles.
| Combat Situation | Recommended Action | Tactical Goal |
|---|---|---|
| Opening Skirmish | Cast basic ranged attacks; hold major AoE cooldowns | Conserve skill cooldowns while monitoring enemy approach lanes |
| Choke Points and Funnels | Cast multi-tile area fire abilities | Strike grouped units and control movement through narrow lanes |
| Armored Frontline Clash | Target armored hostiles with burn spells | Bypass high physical defense stats with stacking burn debuffs |
| Scattered or Flanking Units | Let melee teammates engage; withhold wide AoE spells | Avoid expending high-cooldown skills on isolated single targets |
Grid Positioning Rules
Because the Pyromancer cannot survive direct attacks, maintain the following positioning rules throughout every encounter:
- Maintain Backline Distance: Keep her two to three tiles behind your vanguard. This distance preserves her line of sight for spellcasting while keeping her out of reach of basic enemy melee movement.
- Anchor Near Terrain: Position her adjacent to impassable environmental objects or destructible barriers to shut down diagonal flanking routes.
- Break Line of Sight Against Ranged Foes: When facing enemy snipers or opposing spellcasters with comparable reach, shift her behind terrain or behind a shielding frontline unit to block incoming targeting lines.
- Avoid Exposed Flanks: Never position her on an isolated wing of the board where fast rush units can pin her against the grid boundary.
Squad Synergies and Support
The Pyromancer requires a squad setup that groups enemies and creates casting windows:
- Frontline Tanks: Taunt-heavy defenders, such as the Dreadknight, gather enemy units into tight clusters, creating ideal targets for her circular and cone spells.
- Crowd Control: Allies equipped with stuns or immobilization lock high-priority targets inside active burn areas, ensuring debuffs tick over multiple turns.
- Turn and Cooldown Support: Heroes that grant cooldown reduction or turn acceleration offset her downtime between burst spells.
- Midnight Court Synergies: Running her within a Midnight Court team lineup reinforces debuff-heavy strategies, maximizing the offensive value of her sustained fire ticks.
Free Grimguard Tactics: Fantasy RPG Codes
Current active codes and how to redeem them.

Sarah Williams
Sarah specializes in RPG and collection games, explaining team building, character growth, and beginner-friendly ways to avoid expensive early mistakes.
COMMUNITY
Player Comments
75 players commented on this guide.
The explanation is clear, especially for beginners.
This guide answered the exact question I had.
This saved me time in the early game.
I tried this today and it worked better than my old setup.