
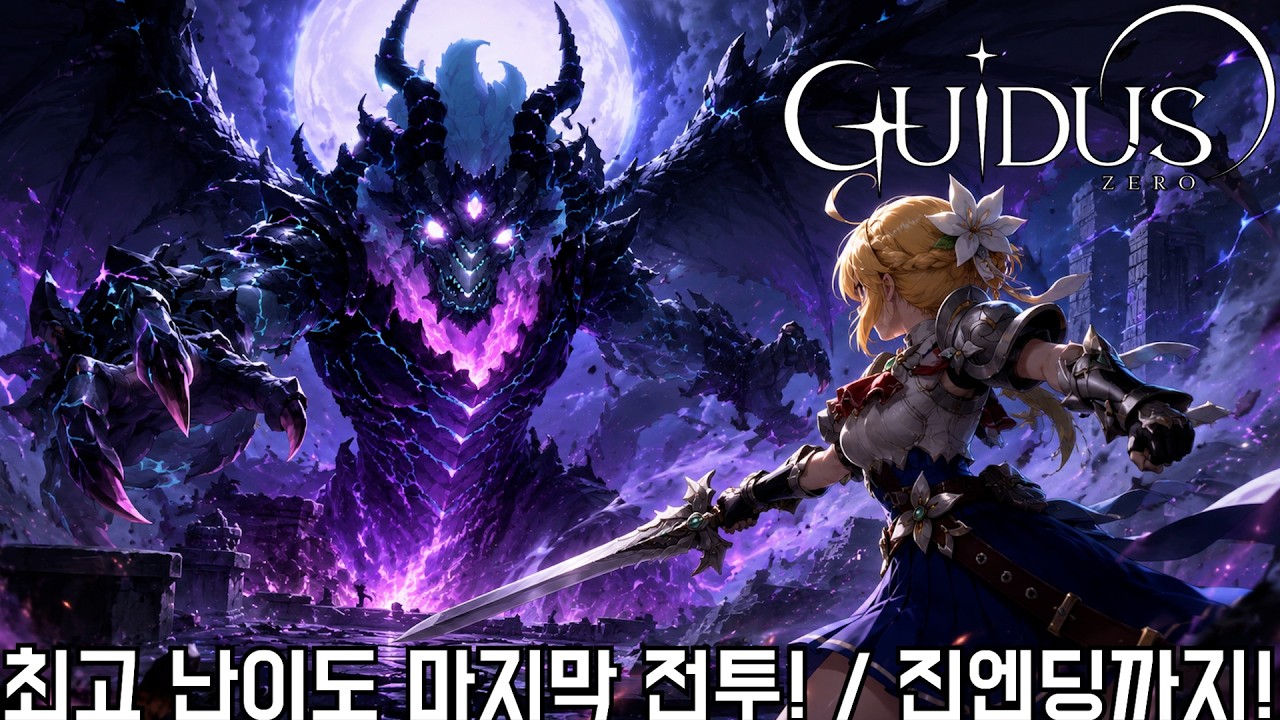
To defeat the final boss on the highest difficulty and trigger the true ending in Guidus One, you must hold the center of the arena, save your defensive dashes for unblockable shockwaves, and restrict your burst attacks strictly to post-cast recovery windows. Depleting the boss's health pool through its enrage state completes the run and unlocks the true ending sequence.
Pre-Battle Build and Relic Preparation
Entering the final chamber requires prioritizing sustained survivability over glass-cannon burst damage. Multi-hit boss sequences can eliminate your entire health pool if you sacrifice maximum hit points for small critical strike bonuses.
Before entering the final arena fog:
- Restore your health pool completely and activate any available shielding buffs.
- Equip combat relics that grant movement speed, skill cooldown reduction, and single-target damage amplification.
- Select defensive relics that extend dodge distance or grant temporary barriers when triggering skills.
- Check your inventory for cursed relics obtained earlier in the run, ensuring none impose penalties to invulnerability frames or dash recovery cooldowns.
Phase 1: Telegraphs and Positioning
Phase 1 tests your ability to control space against wide projectile sweeps and melee swings. Avoid retreating toward the perimeter walls, as trapping yourself along the edge eliminates your diagonal escape routes. Hold the center of the room and react to the boss's telegraph animations:
- Radial Orbs: Expanding rings travel outward across the floor. Take two steps back to let the projectile gaps widen, then walk through the openings without burning a dash.
- Targeted Sweeps: A grounded red telegraph cone indicates a wide physical slash. Dash forward through the strike to position behind the boss, then execute a rapid two-hit attack sequence.
- Overhead Slams: Downward smashes send linear shockwaves across the floor tiles. Circle strafe at mid-range distance to let the shockwaves pass harmlessly.
Deliver damage only during the brief recovery pauses following these attacks. Return to a neutral stance immediately once the boss begins preparing a new attack animation.
Managing Phase Transitions and Floor Hazards
Lowering the boss past its first health threshold initiates Phase 2. The boss channels a screen-wide radial shockwave during the transition. Time your dash invulnerability frames to pass cleanly through this expanding wave.
Immediately after the shockwave, stationary hazard zones spawn across sections of the floor, narrowing the safe combat area into tight corridors. Adapt your movement to these environmental restrictions:
- Reserve your dash cooldown strictly for emergency evasion rather than standard navigation.
- Use micro-step walking adjustments within uncontaminated floor tiles during dense bullet patterns.
- Cease all offensive attacks while saturated bullet barrages cross the arena floor, focusing entirely on avoiding damage until the pattern ends.
Exploiting Vulnerability Windows
The boss gains temporary vulnerability following heavy attacks. After finishing an extended combo or channeling an arena-wide ultimate, the boss enters an exhaustion state where defense values drop and counter-hit damage modifiers apply.
| Boss State | Primary Threat | Player Action |
|---|---|---|
| Combo Wind-Up | Multi-hit tracking strikes | Maintain distance and save dash for the final strike |
| Channeled Hazard Cast | Saturated floor AoE | Relocate to clean tiles and hold position |
| Post-Cast Exhaustion | None (vulnerability window) | Close distance and execute primary high-cooldown skills |
| Phase Transition Surge | Radial knockback shockwave | Dash through the wave toward the boss |
Queue high-impact skills sequentially during the exhaustion window rather than activating them all at once. Back away the moment the boss returns to an upright stance to avoid point-blank retaliatory strikes.
Executing the Final Enrage Phase
The final phase begins when the boss enters an enraged state for the remaining 15% of its health pool. Attack intervals shrink significantly, combining rapid teleportation strikes with overlapping projectile spreads.
Shift your strategy to hit-and-run tactics:
- Focus your eyes directly on your hero's hitbox and immediate incoming hazards rather than watching the boss sprite.
- Deploy instant single-hit abilities or lingering damage-over-time effects instead of standing still to channel extended combos.
- Bait the boss into overcommitting to heavy downward slams, then land quick counter-hits during the brief ground impact delay.
Maintaining steady positioning and dodging incoming projectiles until the remaining health bar empties concludes the battle and initiates the true ending cutscene.

Free Guidus One Codes
Current active codes and how to redeem them.

Emily Johnson
Emily writes practical mobile strategy guides with a focus on resource planning, base progression, and the early decisions that shape a long-term account.
COMMUNITY
Player Comments
158 players commented on this guide.
This saved me time in the early game.
I tried this today and it worked better than my old setup.
The tips are practical and easy to follow.
This guide answered the exact question I had.