
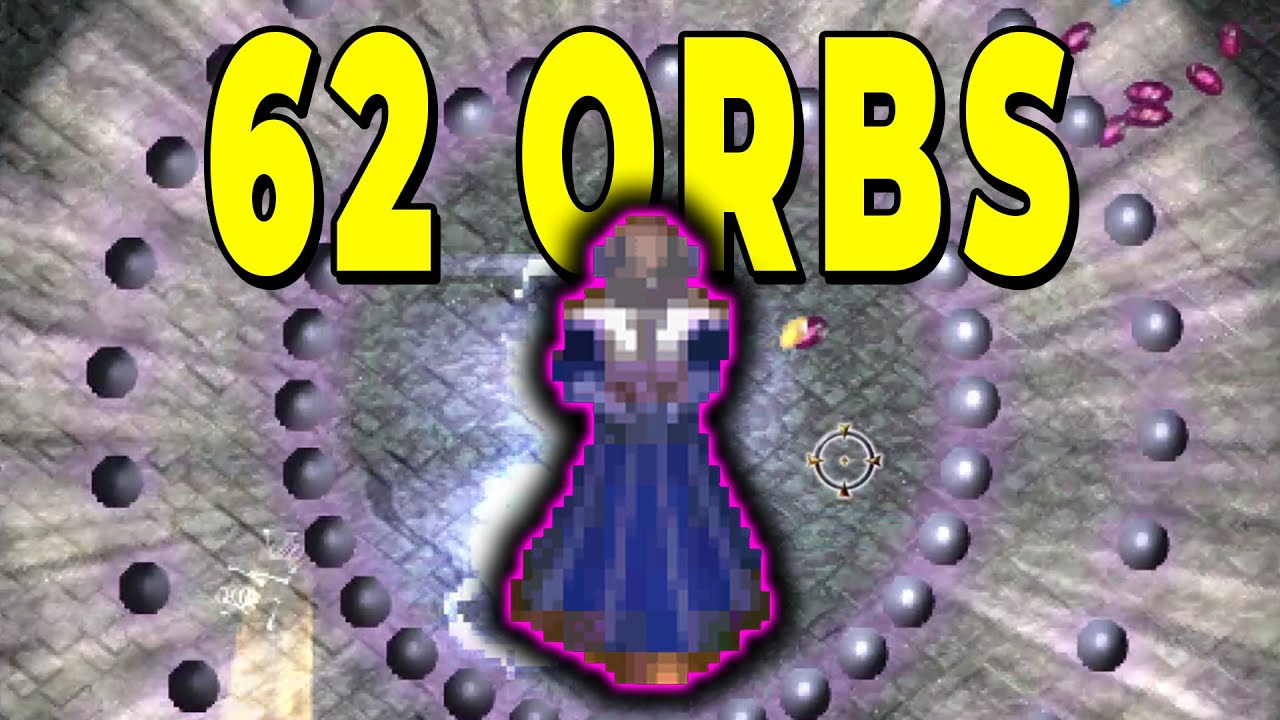
In Halls of Torment, the Astronomer’s Orb is more than just a defensive ring; when optimized correctly, it becomes a screen-wide engine of destruction capable of reaching 60+ active projectiles. Achieving this level of density turns the Sorceress into a stationary turret, vaporizing waves of enemies before they can enter your personal space. This guide outlines the precise stat priorities, mechanical synergies, and tactical considerations required to build an unstoppable Astronomer’s Orb setup.
Why the Astronomer’s Orb Scales So Well
The Astronomer’s Orb functions as a rotational projectile ability that benefits from multiplicative scaling. Unlike abilities that rely on single-target burst, the Orb’s power lies in its ability to occupy space. As you increase your projectile count, the "dead zones" in your surrounding aura vanish, creating a constant, overlapping damage field.
At high counts, you aren't just dealing damage; you are creating a mechanical barrier. Because the Orbs deal damage on contact, having a higher quantity of them ensures that you are rolling for critical hits more frequently per second, which is the primary driver for high-tier DPS in the late-game stages of Halls of Torment.
The Sorceress: The Optimal Vessel
While other classes can utilize the Astronomer’s Orb, the Sorceress is the superior choice for this build due to her natural affinity for magic damage and intelligence-based scaling.
- Intelligence Scaling: The Sorceress benefits significantly from Intelligence, which directly boosts your base damage per orb.
- Defensive Playstyle: Her natural kit complements a "static" playstyle. Since the Orbs create a protective shell, you do not need to play aggressively. Instead, you can anchor yourself, allowing enemies to walk into your orb field, which minimizes the risk of taking unnecessary chip damage from elites.
- Trait Synergy: The Sorceress has easier access to "Magic" category traits, allowing you to maximize the damage potential of your orbiting projectiles early in the run.
Prioritizing Stats for Orb Maximization
To reach the high projectile counts seen in elite runs, your leveling strategy must be hyper-focused. Avoid spreading your choices too thin; prioritize these stats in order:
- Projectile Count: This is your primary multiplier. Every point added here expands the density of your orb ring, closing gaps and ensuring more objects are colliding with enemies per frame.
- Attack Speed: Faster rotation translates to more hits per second. This is vital for triggering on-hit effects and keeping high-density enemy groups staggered, preventing them from pushing through your wall.
- Area of Effect (AoE): Larger orbs create a wider collision box. This is essential for ensuring that even enemies moving quickly are caught by the edge of your rotation before they reach your character model.
- Crit Chance and Damage: Once your orb count is sufficient to cover the screen (roughly 30+ stacks), shift your trait picks toward Crit. Since you are hitting so frequently, even a moderate crit chance will result in constant, high-damage output.
Positioning and Combat Tactics: The "Anchor" Technique
While the Astronomer’s Orb provides a strong shield, your positioning dictates the efficiency of your DPS.
- The Anchor: When enemy density is high, hold your ground. Moving erratically can cause you to leave gaps in your orb coverage, allowing fast-moving mobs or projectiles to slip through. Standing still maximizes your "hit window" on incoming enemies.
- Boss Micro-adjustments: When a boss appears, move slightly toward them so the "sweet spot" of the orb rotation (where the orbs are most densely packed) is centered on the target. Do not rush into them; instead, "nudge" your position to keep the orb ring overlapping the boss's hitbox.
- Visual Management: At 60+ orbs, the screen becomes extremely cluttered. Because you will struggle to see ground-based hazards, you must rely on audio cues and the mini-map to track boss attacks. Do not rely on your eyes alone to navigate through high-density bullet hell moments.
Gear Synergies and Trade-offs
To push your build to the limit, look for gear that complements the Astronomer’s Orb’s mechanics:
- Multi-Hit Gear: Items that provide additional hits or projectile frequency are top-tier priorities.
- Area Damage Items: Since your orbs cover so much ground, gear that increases area damage will significantly boost your clear speed against large hordes.
- Defensive Trade-offs: The biggest limitation of this build is the "Visual Noise" factor. When your screen is full of orbs, it is easy to lose track of elite enemy projectiles. Ensure you have at least one or two defensive items (such as those providing base health or damage reduction) to survive the one-off hit that slips through your barrier.
Common Mistakes to Avoid
- Neglecting Base Damage: While projectile count is king, if your base damage is too low, you will struggle against high-health bosses. Always balance your projectile count with Intelligence and Magic Damage traits.
- Over-Moving: Players often panic when enemies get close. Moving too quickly breaks your orbit pattern. Trust the build; if your stats are correct, the wall of orbs will kill almost anything before it reaches you.
- Ignoring Cooldowns: While the Astronomer’s Orb is passive, ensure your other abilities (like secondary projectiles or utility spells) provide utility—such as knockback or slow—to help keep enemies trapped in your orb ring for longer.
By focusing on density, staying anchored, and prioritizing the Sorceress's magic-scaling traits, you can consistently reach the 60-orb threshold. This turns Halls of Torment from a frantic survival challenge into a controlled, tactical dominance of the underground worlds.

Free Halls of Torment Codes
Current active codes and how to redeem them.

James Brown
James focuses on Android gaming on PC, emulator setup, controls, performance tuning, and practical troubleshooting for longer play sessions.
COMMUNITY
Player Comments
50 players commented on this guide.
This helped me understand strategy much better.
Good guide for Halls of Torment players. The strategy part was useful.
Can you add more details about strategy in a future update?
The tips are practical and easy to follow.