
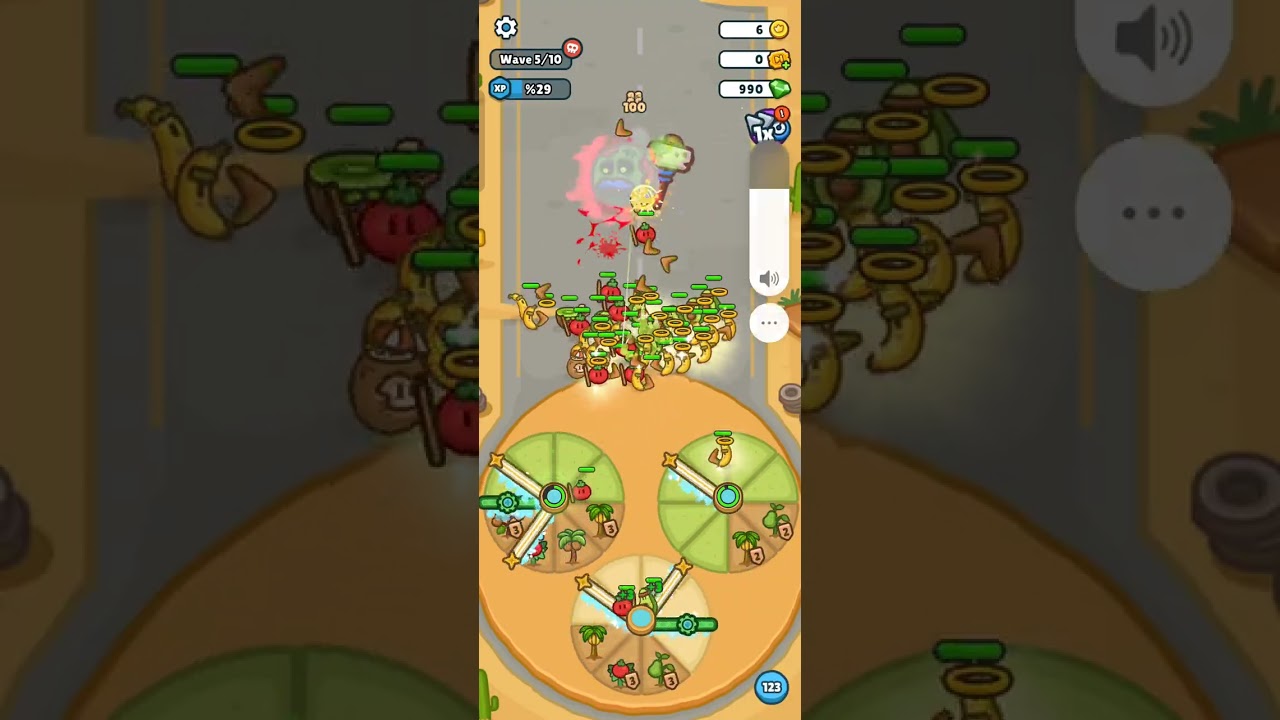
Stage 91 in Harvest King: Farm Defense TD represents a significant difficulty spike that separates casual players from tactical experts. At this level, basic defensive setups fail because enemy health pools and movement speeds outpace low-level unit damage. To clear this stage, you must shift your mindset from "filling the board" to "optimizing throughput." Success on Stage 91 requires a combination of aggressive merging, precise grid positioning, and disciplined resource management to handle the relentless scaling of enemy waves.
The Mechanics of High-Level Scaling
On Stage 91, the game’s core mechanics shift. Enemies are no longer just fodder; they possess armor values that render low-tier "spam" strategies ineffective. Understanding the scaling is the first step toward victory:
- Health Bloat: Enemies reach health thresholds where low-level defenders cannot break their shields before they cross your defense line.
- Wave Density: The number of enemies per wave increases, making single-target units less valuable than Area of Effect (AoE) defenders.
- Movement Velocity: Late-stage mobs move significantly faster, reducing the "uptime" your units have to attack them.
To counter these mechanics, you must prioritize quality over quantity. A board filled with Level 1 and 2 vegetables will collapse; a board with two or three Level 5+ units will hold the line.
Prioritizing High-Tier Merging
The most common mistake players make in Harvest King is hoarding low-level units to fill every grid slot. In Stage 91, grid space is a finite resource. Every slot occupied by a weak unit is a slot that cannot be used to house a high-tier defender.
The Golden Rule of Merging: Always aim for the highest possible tier for your lead defenders. When you merge, you aren't just combining damage; you are often unlocking new attack patterns or range bonuses that are essential for Stage 91.
- Early Wave Strategy: Focus on merging to get at least one Tier 4 unit within the first five waves.
- The Mid-Game Pivot: Stop spawning new units once you have a core of four solid defenders. From this point on, every gold coin should be spent on rerolling the shop for specific units needed for merges or upgrading your existing high-tier anchors.
Grid Positioning and Lane Control
Your layout in Harvest King is just as important as the strength of your units. Because Stage 91 features multiple pathing points, you cannot afford to defend every inch of the farm equally.
The "Death Zone" Strategy
Identify the central lane or the area where pathing converges. This is your "Death Zone." Place your highest-damage, long-range units in the center, ensuring they have the widest possible field of fire.
- Frontline Anchors: Place high-health or slow-effect units at the very start of the path. Their job is not to kill, but to cluster enemies together, making them easier targets for your AoE damage dealers.
- Backline Support: Position your strongest, pure-damage units in the back. Because they have the most time to attack enemies while they navigate the path, they act as the final insurance policy against leaks.
Resource Management and Sprinkler Efficiency
Gold is the fuel for your defense. If you spend too aggressively, you leave yourself vulnerable to a sudden, high-speed wave.
- The Reserve Buffer: Never drop your gold count to zero. Always keep a "safety fund" equal to at least three spawn costs. This allows you to panic-spawn or reroll in the middle of a wave if your line breaks.
- Sprinkler Water Management: Use your water resources to boost the attack speed of your core high-tier units. Do not waste water on Tier 1 or 2 units—it provides a negligible return on investment. Focus your irrigation exclusively on your highest-level defenders.
- Strategic Rerolls: Between waves, if your board is stable, use your excess gold to reroll the shop. Searching for the specific unit type needed to complete a high-tier merge is often better than buying a random unit that doesn't fit your current layout.
Handling Boss Waves and Late-Stage Spikes
The end of Stage 91 is a test of attrition. When the boss-tier waves arrive, your standard strategy might feel insufficient.
- The Sell-to-Merge Tactic: If a boss is approaching and you are one unit away from a critical high-tier upgrade, sell your weakest, lowest-impact units. The gold gained from selling, combined with the space cleared, allows you to spawn and merge immediately, providing the power boost necessary to burn down the boss.
- The "Gap" Technique: Keep one or two grid slots empty at all times. This "flex space" allows you to perform emergency merges during the middle of a wave without having to wait for a unit to be destroyed.
Common Mistakes to Avoid
- Over-Spawning: Filling the board with Level 1 units creates a "cluttered" defense that lacks the DPS to kill armored enemies. Stop spawning when you are close to the limit and focus on merging.
- Ignoring Range: Many players place high-DPS units behind corners or obstacles. Always check the radius of your units—if they aren't firing, they are useless.
- Panic Selling: Only sell units if you are certain the gold will allow you to reach a higher tier that directly counters the current threat. Selling your core defense because you are afraid will lead to a guaranteed loss.
Conclusion: Putting It All Together
Clearing Stage 91 in Harvest King is a process of refinement. Start by establishing a strong, centralized defensive core, use your gold for targeted merges rather than mass-spawning, and keep your irrigation focused on your heaviest hitters. By managing your grid space with a focus on high-tier output and keeping a reserve of gold for emergencies, you will be able to weather the "VERY HARD" difficulty spikes and progress to the later stages of the game. Remember: on this stage, a small army of weak units will always lose to a small team of elite defenders.

Free Harvest King Codes
Current active codes and how to redeem them.

Emily Johnson
Emily writes practical mobile strategy guides with a focus on resource planning, base progression, and the early decisions that shape a long-term account.
COMMUNITY
Player Comments
50 players commented on this guide.
Good guide for Harvest King players. The strategy part was useful.
I tried this today and it worked better than my old setup.
The tips are practical and easy to follow.
Nice guide. I am checking the other Harvest King articles next.