
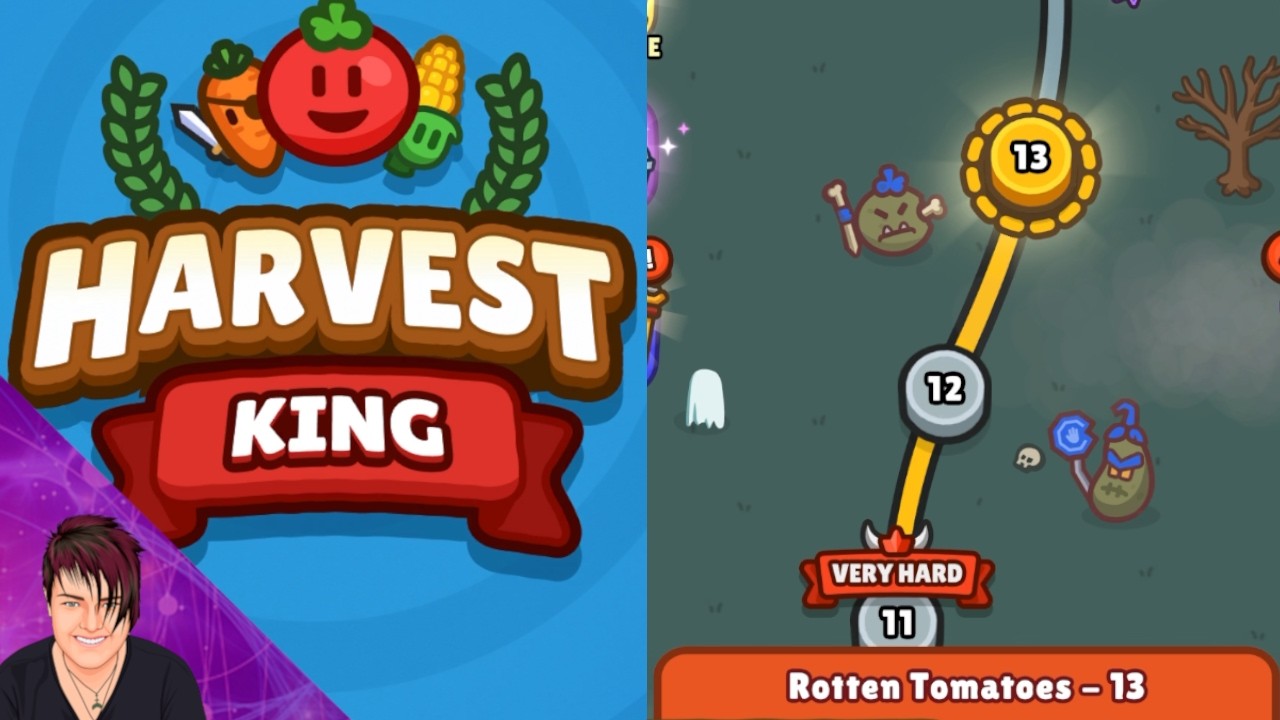
Stage 13 in Harvest King, often referred to as the "Rotten Tomatoes" level, serves as a significant difficulty spike that tests your ability to balance economy, spatial awareness, and rapid decision-making. To succeed, you must abandon the passive planting style used in early levels and adopt an aggressive, high-speed merging strategy. Because the tomato enemies arrive in dense, high-health clusters, static low-level defenses will inevitably fail. This guide provides the tactical framework required to optimize your farm layout, manage your resources under pressure, and secure a victory against the toughest waves in the game.
The Philosophy of Aggressive Merging
The primary reason players fail during Stage 13 is "merge stagnation." If your board is cluttered with low-level, basic plants, your total damage-per-second (DPS) will remain too low to penetrate the armor of the Rotten Tomatoes. In Harvest King, your power isn't found in the number of plants you have, but in the tier of those plants.
Why Tier-5 Crops are Necessary
- Damage Scaling: High-tier crops offer exponential damage increases compared to base-level units.
- Space Optimization: A single level-five plant is significantly more effective than four level-two plants, freeing up three valuable farm slots for additional merges or utility crops.
- Action Economy: By merging aggressively, you cycle through your deck faster, increasing the probability of spawning high-rarity defenders that possess special abilities or splash damage.
Pro-Tip: Never hoard gold if your board is full of weak units. Spend your reserves to generate more seeds, merge them immediately, and force your way to higher tiers. If you are sitting on two level-two plants, merge them instantly rather than waiting for a third; the freed-up space allows you to continue the cycle.
Positioning for Maximum Area Control
In Harvest King, placement is just as important as unit quality. For Stage 13, you should abandon a spread-out defense in favor of a "Concentrated Kill Zone."
The Kill Zone Strategy
- Centralization: Position your highest-level units in the center of the pathing grid. This maximizes their range, allowing them to hit enemies as they enter and leave the most vulnerable parts of the lane.
- Peripheral Support: Reserve the outer edges for lower-level or utility plants. These units function as "cleanup crew" for enemies that somehow bypass your primary line.
- Avoid Thinning: Spreading your high-tier units across the entire board creates gaps in your defense. Tomatoes are fast; if your damage isn't focused, they will slip through the "seams" of your defensive perimeter.
By forcing enemies through a bottleneck of your strongest assets, you ensure that every shot fired is optimized for maximum impact.
Managing the Rotten Tomatoes Surge
The Rotten Tomatoes wave is unique because it relies on swarm mechanics. Unlike boss waves that feature a single high-health target, these waves overwhelm you with volume. If your current layout lacks splash damage, you are at high risk of a "leak."
Tactics for Swarm Defense
- Prioritize Splash Damage: During your rerolls between waves, look specifically for plants that offer area-of-effect (AoE) damage. These are your best friends against tomatoes.
- Resource Dumping: If the tomato surge is nearing your farm core, do not save gold. Spend your entire treasury to create new plants and merge them into your line. Even if you don't reach a "perfect" tier, having more active units on the board provides the necessary volume of fire to slow the swarm down.
- The "Panic Merge": If you see a cluster of tomatoes breaching your line, perform an immediate, unordered merge. It is better to have a slightly lower-tier unit active now than a higher-tier unit a few seconds too late.
Balancing Economy vs. Defensive Thresholds
Stage 13 requires a constant stream of income to fund your merges, but spending too much on economy upgrades can leave your farm undefended. Use this "Golden Rule of 50" to manage your farm:
- Above 50% Farm Health: Focus 70% of your gold on rerolls and new seeds to push for higher-tier units.
- Below 50% Farm Health: Cease all economy-focused spending. Shift 100% of your gold into board density. Fill every empty slot immediately, even if it means keeping low-level units on the field. Your priority is to stop the bleeding, not to build the perfect late-game engine.
Common Mistakes and How to Avoid Them
Even experienced players fall into these traps during the later stages of Harvest King:
| Mistake | Consequence | Correction |
|---|---|---|
| Hoarding Gold | You lose while having 500+ gold in the bank. | Spend gold aggressively to fill the board. |
| Ignoring Sprinklers | Plants lose efficiency due to lack of water. | Keep your high-tier units near active sprinkler coverage. |
| Delayed Merging | Low-tier units crowd out high-tier potential. | Merge as soon as you have a pair; never wait for a "lucky" drop. |
| Over-focusing on One Lane | Enemies slip through the other side. | Maintain a centralized, flexible defense that can reach multiple paths. |
Final Recommendations for Success
To finally conquer Stage 13, you need to be decisive. Harvest King rewards players who treat their board like a living, breathing entity. If you are struggling, record a replay of your defeat. Look at the specific moment the tomatoes broke through—was it because you had too many weak units? Did you have empty slots that weren't producing damage?
By maintaining a high-tier core, utilizing the kill-zone positioning, and being willing to sacrifice gold for immediate board presence, you will turn the tide against the Rotten Tomatoes and move on to the next challenge in Harvest King. Remember: in this game, your board is your weapon, and your speed is your armor. Keep merging, stay focused, and clear those waves.

Free Harvest King Codes
Current active codes and how to redeem them.

Emily Johnson
Emily writes practical mobile strategy guides with a focus on resource planning, base progression, and the early decisions that shape a long-term account.
COMMUNITY
Player Comments
135 players commented on this guide.
I wish I had read this before upgrading the wrong thing.
This saved me time in the early game.
Can you add more details about strategy in a future update?
The explanation is clear, especially for beginners.