
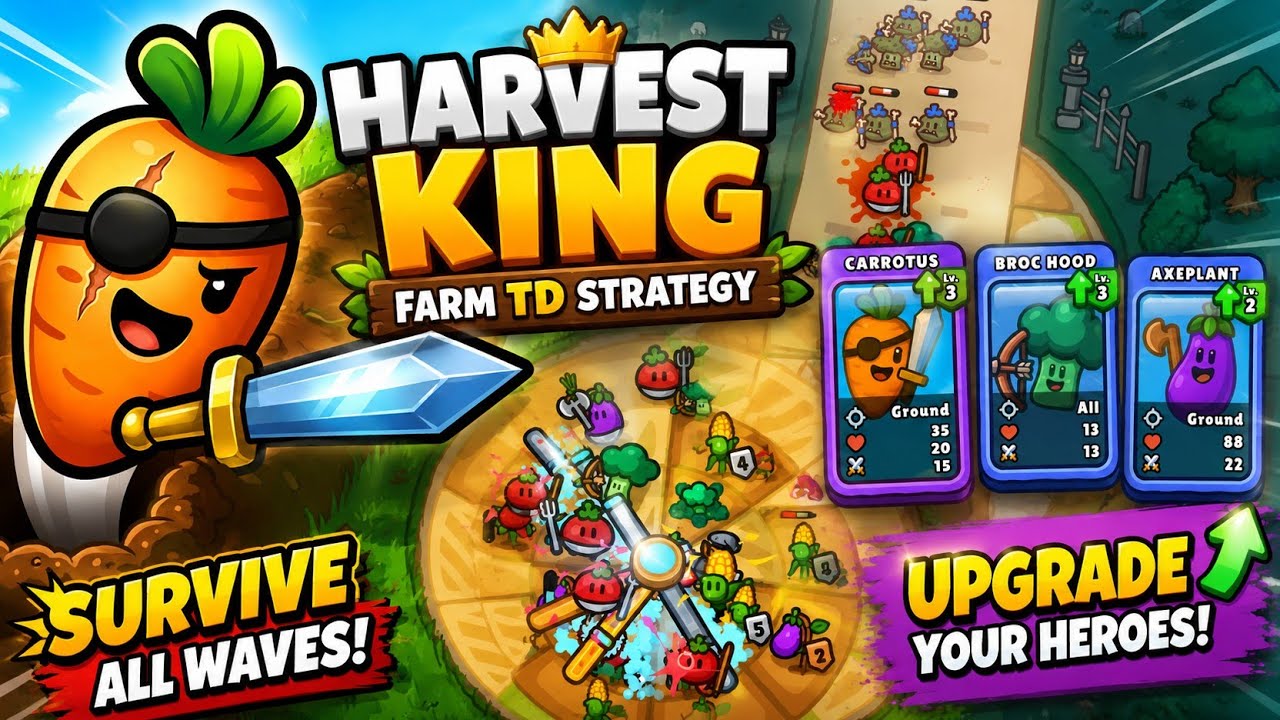
To excel in Harvest King: Farm Defense TD, you must move beyond basic tower placement and embrace a strategy centered on high-tier merges, efficient pathing control, and precise resource management. The core of success lies in maximizing the "damage-per-slot" efficiency of your vegetable defenders while maintaining a steady flow of water from your sprinkler systems to ensure your crops remain productive. By focusing your gold on merging high-level towers rather than spamming low-tier units, you create a lethal defense capable of handling even the most aggressive enemy waves.
The Art of Merging: Quality Over Quantity
In Harvest King: Farm Defense TD, your farm slots are limited. A common mistake among new players is filling every available tile with level-one defenders. This strategy quickly hits a "power ceiling" where your damage output fails to scale with the increasing health of incoming waves.
- Prioritize Merges: Always aim to combine two identical towers to create a higher-tier unit. A single level-three tower is significantly more effective than three level-one towers because it occupies less space and provides a multiplier effect to its stats.
- The "Core" Strategy: Designate specific zones for your highest-level towers. Keep these towers in the center of the path's most winding sections, where they can exert influence over the largest portion of the map.
- Merging Timing: Don't rush to merge during an active wave if it leaves a large gap in your line. Wait for the brief pause between waves to reorganize your board and solidify your strongest defenders.
Strategic Tower Positioning and Pathing
The map layout in Harvest King: Farm Defense TD is your greatest weapon. You are not just placing towers; you are building a gauntlet.
The Choke Point Philosophy
Identify "dead zones"—areas where the path curves or narrows. These are the only spots that matter. By placing your AoE (Area of Effect) towers at these bends, you ensure their projectiles hit multiple enemies simultaneously.
- Front-Load Slows: Place your slowing or "stunning" vegetable towers at the very start of the entry path. This bunches the enemies together, turning a spread-out wave into a dense cluster.
- Back-Load Burst: Place your highest-damage, single-target towers in the center of the kill zone where the enemies are bunched. This allows your DPS towers to capitalize on the slowed, clustered enemies, maximizing the impact of every shot.
Sprinkler Management and Resource Economy
Your farm isn't just about combat; it's about the economy. Sprinklers serve as the lifeblood of your operation, providing the resources necessary to reroll your shop or purchase new seeds.
- Water Distribution: Ensure your sprinkler coverage is optimized to hit as many crop tiles as possible. An idle resource is a wasted opportunity. If a crop isn't being watered, it isn't generating the gold you need to buy higher-tier vegetable defenders.
- Idle Resource Cycles: During the early waves, resist the urge to spend all your gold on towers. Invest in sprinkler upgrades first. A robust water economy in the early game provides the compound interest needed to afford legendary-tier defenders in the late game.
- The Shop Reroll: Between waves, use the reroll feature sparingly. Only reroll if your current board lacks a specific synergy element (like a slow or an armor-piercer) needed to counter the next wave's enemy type.
Identifying Enemy Weaknesses
Success in Harvest King: Farm Defense TD requires an adaptive mindset. Not every vegetable defender is suited for every scenario.
| Enemy Type | Primary Counter | Strategy |
|---|---|---|
| Swarmers (Fast/Weak) | Rapid-fire/AoE | Use high-speed units to prevent leaks. |
| Tanks (Slow/Heavy) | Armor-piercing | Focus fire with single-target high-damage towers. |
| Bosses | Stun/Debuff | Use crowd-control towers to keep them in range of DPS units. |
If you notice a wave of armored units approaching, check your shop for armor-piercing upgrades. If the wave is too fast, prioritize placing towers that offer slowing effects. Never stick to a "static" build; the game demands you swap units based on the incoming threat level.
Avoiding Common Mid-Game Mistakes
As you transition to mid-game, the complexity of the waves increases. Players often fall into these three traps:
- Refusal to Sell: Players are often emotionally attached to their towers. If a tower is placed in a corner that no longer sees action, sell it immediately. Reinvest that gold into a more advantageous position.
- Over-buying: Buying too many cheap towers clogs your farm slots and prevents high-tier merging. It is better to have four powerhouse towers than twelve weak ones.
- Ignoring Wave Intel: Before the wave starts, look at the enemy composition preview. If you see shielded enemies, ensure you have the appropriate piercing damage ready before the wave begins.
Advanced Tactical Decisions
When you reach the late-game stages of Harvest King: Farm Defense TD, your decisions must be calculated. The most successful players use a "Buffer Zone" strategy: keep your most valuable crops protected by a final line of defense that acts as a "last stand."
If enemies break through your primary choke point, your final line—comprised of your highest-level towers—should be positioned to clean up the stragglers. By maintaining this two-tier defense, you create a fail-safe that prevents a single slip-up from ending your run. Remember: your goal is not just to kill enemies, but to protect the harvest. Every decision, from the placement of a single potato defender to the timing of a sprinkler upgrade, should be measured by how it contributes to the long-term survival of your farm.

Free Harvest King Codes
Current active codes and how to redeem them.

Emily Johnson
Emily writes practical mobile strategy guides with a focus on resource planning, base progression, and the early decisions that shape a long-term account.
COMMUNITY
Player Comments
121 players commented on this guide.
Good guide for Harvest King players. The resources part was useful.
The explanation is clear, especially for beginners.
Nice guide. I am checking the other Harvest King articles next.
I wish I had read this before upgrading the wrong thing.