
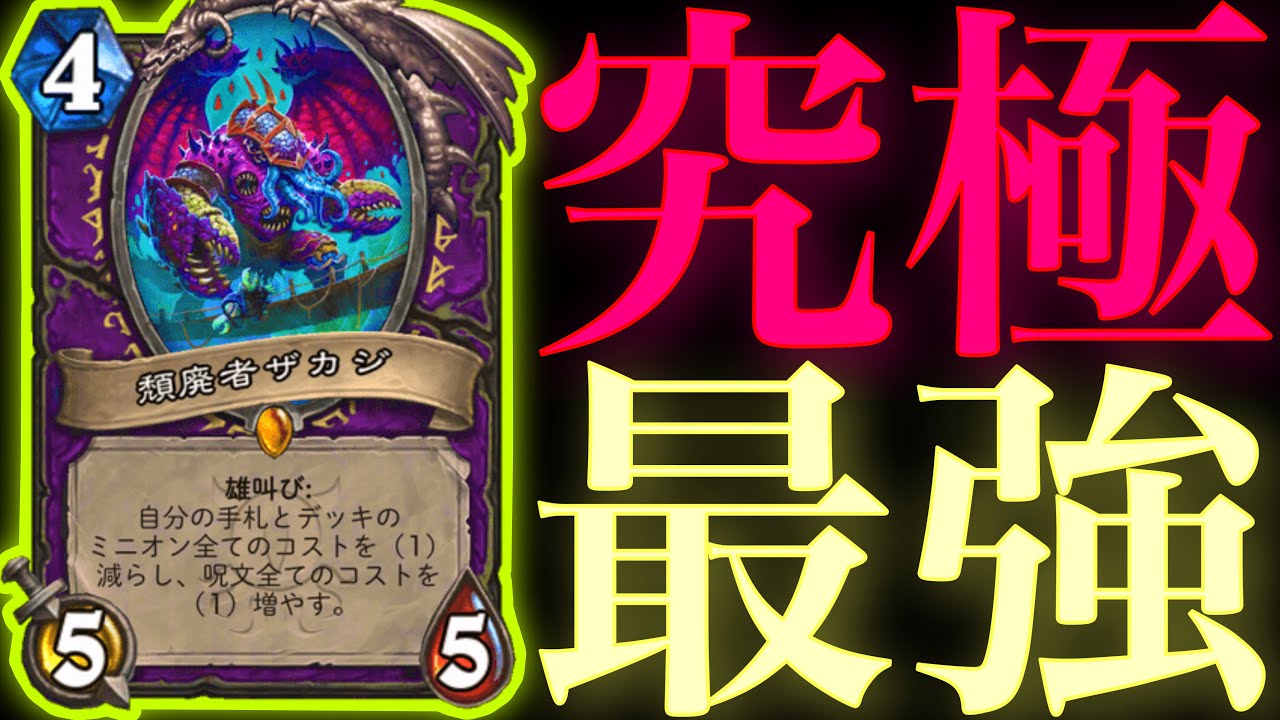
To play Kazakus Zoo Warlock in Hearthstone, build your deck without any other four-cost cards, swarm the board across Turns 1 through 3, and play Kazakus, Golem Shaper on Turn 4 to craft a game-ending 5-Cost golem.
Deckbuilding Constraint: Cutting Other Four-Drops
Kazakus, Golem Shaper requires that your starting deck contains no other four-mana cards for its Battlecry to trigger. In Zoo Warlock, meeting this condition is straightforward because the archetype focuses heavily on aggressive one-, two-, and three-mana cards.
Removing traditional four-drops ensures that Kazakus always activates on curve. Kazakus acts as your sole designated Turn 4 play, bridging your early board swarm directly into a powerful mid-game threat while the Warlock Life Tap hero power keeps your hand refilled.
Mulligan Rules and Turn Sequencing
Your primary mulligan goal is securing active one-drops and establishing early board initiative.
- Always keep: Flame Imp, Spirit Jailer, and Tour Guide.
- Situational keep: Keep Kazakus, Golem Shaper if you already have a confirmed Turn 1 and Turn 2 play, especially when holding The Coin. Coining Kazakus on Turn 3 provides an immediate tempo spike.
Follow this standard turn sequence to maintain control:
- Turn 1: Play your most durable one-drop. Deploy Spirit Jailer or Voidwalker against weapon-wielding classes, or Flame Imp against slower decks.
- Turn 2: Summon two one-drops or a sticky two-drop. Avoid using Life Tap on Turn 2 if you have playable minions in hand.
- Turn 3: Widen the board with tokens and use board buffs like Wicked Whispers to trade efficiently while keeping your minions alive.
- Turn 4: Drop Kazakus, Golem Shaper and craft a golem tailored to the board state.
- Turn 5: Play your crafted golem to push lethal damage or shut down opposing counter-attacks.
Selecting Golem Sizes and Battlecry Effects
Kazakus allows you to craft a 1-Cost (1/1), 5-Cost (5/5), or 10-Cost (10/10) golem. Zoo decks should almost never select the 10-Cost option, as games are decided well before Turn 10.
| Golem Size | Intended Turn | Primary Tactical Use |
|---|---|---|
| 1-Cost (1/1) | Turn 5 or later | Pick when hand resources are depleted and you need to combine a minion drop with a Life Tap or another cheap unit. |
| 5-Cost (5/5) | Turn 5 | The standard pick on Turn 4 to maintain maximum curve pressure and threaten lethal. |
After picking the size, choose two abilities based on the current board:
- Board Buffs: If you already control three or more minions, take the Battlecry that gives other minions +1/+1 or +2/+2. Pairing this with Divine Shield or Stealth sets up an immediate lethal turn.
- Direct Removal: If the opponent is contesting the board, choose Rush alongside the Battlecry that deals 3 damage to an enemy minion to remove two opposing threats in one turn.
- Card Draw: When facing heavy control removal and your hand is running empty, choose the Battlecry that draws two cards to sustain pressure.
Managing Health and Closing the Match
Zoo Warlock expends life through self-damaging cards and the Life Tap hero power. Against aggressive decks and direct burn damage, calculate incoming damage before tapping, and only use the hero power when you need to fill unspent mana on your curve.
Once your 5-Cost golem enters the board on Turn 5, shift your focus from minion trading to attacking the opponent directly. Zoo lists struggle in extended games beyond Turn 8, so use your golem's stats and keywords to close out the match before the opponent stabilizes.

Free Hearthstone Codes
Current active codes and how to redeem them.

Sarah Williams
Sarah specializes in RPG and collection games, explaining team building, character growth, and beginner-friendly ways to avoid expensive early mistakes.
COMMUNITY
Player Comments
158 players commented on this guide.
This helped me understand early game much better.
I wish I had read this before upgrading the wrong thing.
Good guide for Hearthstone players. The early game part was useful.
This saved me time in the early game.