
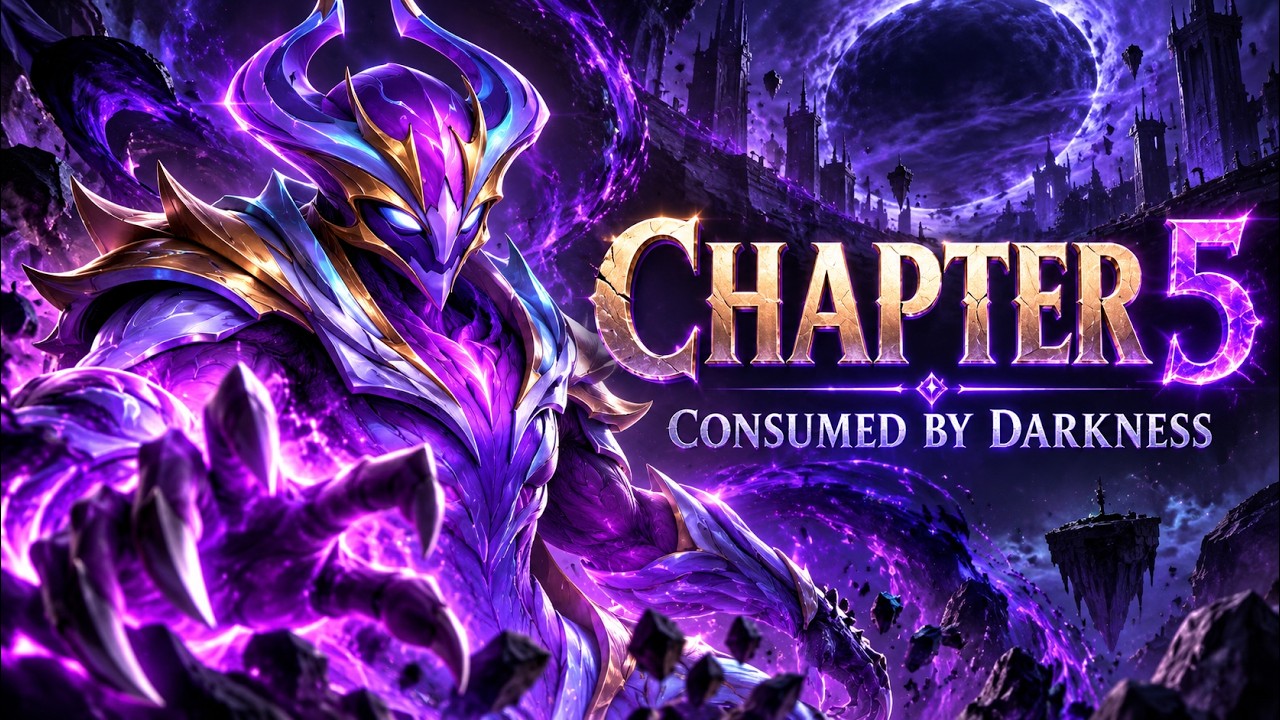
To clear Chapter 5 in the Orm event in Hero Wars: Alliance Adventure: Alliance Adventure, turn off Auto combat, field a dual-sustain lineup with reliable crowd control, and stagger defensive shields manually across all three waves.
Unlike the opening four chapters, Chapter 5 features high enemy penetration and synchronized enemy ultimate abilities that wipe fragile rosters before healers can react.
Team Lineup and Role Requirements
Chapter 5 punishes single-tank, glass-cannon lineups. Your team needs enough initial durability to absorb synchronized burst damage, coupled with energy denial to delay opposing ultimates.
| Role | Recommended Heroes | Primary Stage Function |
|---|---|---|
| Main Tank | Astaroth, Julius, Aurora | Absorbs opening burst damage, shields allies, or provides resurrection |
| Off-Tank / Warrior | Orm, Kayla, Rufus | Soaks targeted burst, disrupts frontlines, and benefits from event stat bonuses |
| Primary DPS | Aidan, Iris, Corvus | Cuts through opposing frontline shields and melts single targets |
| Control / Utility | Jorgen, Phobos, Faceless | Denies enemy energy generation and interrupts dangerous channeled skills |
| Dedicated Healer | Martha, Fafnir, Celeste | Cleanses debuffs and stabilizes health during prolonged wave damage |
Running Orm or an off-tank alongside a primary shield tank like Julius gives your backline enough time to charge their abilities. Pairing this front line with a dedicated healer prevents critical strikes from collapsing your defense.
Wave-by-Wave Manual Combat Strategy
Auto mode wastes high-impact skills on low-health enemies and activates shields when no threats are casting. Manage your abilities manually through each wave:
- Wave 1 (Energy Building): Defeat the opening enemy wave primarily with basic attacks and passive skills. Do not spend ultimate abilities once the wave is under control. Allow your tank and crowd-control heroes to reach near-maximum energy before moving forward.
- Wave 2 (Immediate Crowd Control): Trigger your control abilities—such as Jorgen’s energy suppression or Phobos's lockouts—immediately as the second wave starts. This delays the enemy's opening burst cycle. Focus single-target damage to eliminate their highest damage dealer first.
- Wave 3 (Defensive Staggering): Do not cast all protective abilities at the same time. Activate your primary tank’s shield to absorb the initial wave barrage. Trigger your healer or off-tank’s secondary mitigation only after the first shield breaks to avoid wasted overlapping protection.
Event Buff and Relic Priorities
If you are struggling with stat thresholds, invest your event currency directly into combat stat multipliers rather than summoning resources:
- First Priority (Survivability): Upgrade bonus health, armor, and magic defense. Surviving the opening burst of Wave 2 and Wave 3 is the main bottleneck.
- Second Priority (Energy Regeneration & Penetration): Upgrade energy generation so your utility heroes can lock down enemies earlier, then add armor and magic penetration to defeat high-durability targets.
Troubleshooting Stage Failures
- Main tank falls in the first five seconds of Wave 2 or 3: Add an off-tank or shielding protector such as Astaroth or Fafnir, or upgrade your defensive relics before re-entering.
- Assassins or burst skills wipe your backline carry: Deploy Jorgen to suppress enemy energy and redirect burst away from your healer.
- Battle times out against surviving enemy tanks: If your team survives easily but cannot beat the timer, replace one defensive support with an armor-shredding or percentage-damage carry such as Iris.
Free Hero Wars: Alliance Adventure Codes
Current active codes and how to redeem them.

Michael Smith
Michael covers live-service games, events, reward systems, and efficient daily routines, turning frequent updates into clear actions for players.
COMMUNITY
Player Comments
100 players commented on this guide.
Good guide for Hero Wars: Alliance Adventure players. The heroes part was useful.
This helped me understand heroes much better.
Nice guide. I am checking the other Hero Wars: Alliance Adventure articles next.
Can you add more details about heroes in a future update?