
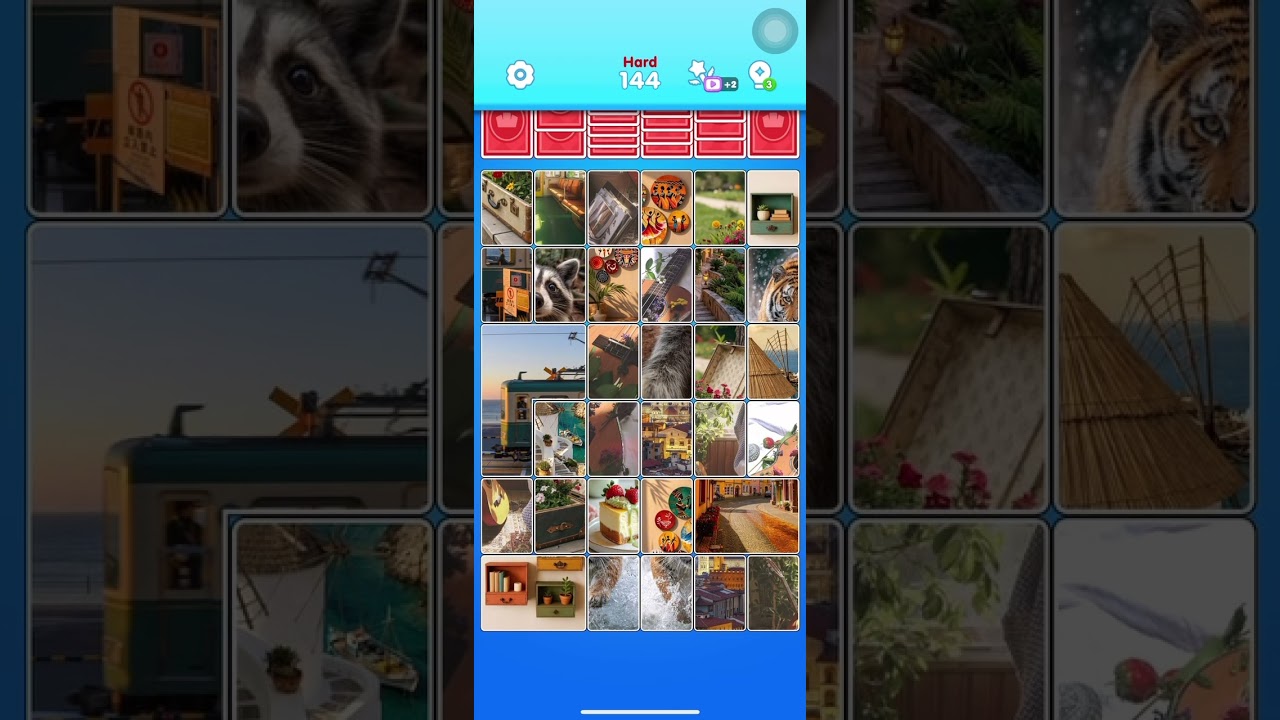
Conquering the mid-game milestone of levels 142, 143, and 144 in Jigsaw Drop: Solitaire Puzzle requires a fundamental shift in strategy. Unlike the earlier, more forgiving stages, these levels introduce a tighter drop rhythm and higher piece density that punish frantic, uncoordinated play. To succeed, you must move away from reactive placements and toward a proactive, structural approach that prioritizes board geometry and long-term space management.
The Foundation of Success: Vertical Column Discipline
The primary reason players fail in the 142–144 bracket is "board clutter"—the accumulation of uneven, jagged pieces that prevent future tiles from fitting correctly. To counter this, you must adopt a vertical-first mentality.
Instead of placing pieces randomly to clear immediate rows, focus on building uniform columns. When you commit to clearing or filling one column entirely before moving to the next, you maintain "clean" edges on the board. This is critical because Jigsaw Drop frequently sends wider or more complex pieces that require a flat, horizontal base to lock into place. By keeping your columns at roughly the same height, you ensure that no matter what shape drops next, you have a viable landing zone.
Why Vertical Alignment Matters:
- Predictability: A flat board means you aren't guessing where a piece will land; you know it will sit flush against the existing stack.
- Reduced Complexity: Focusing on a single column reduces the number of "active" decisions you make per second, lowering the cognitive load during high-speed segments.
- Combos: You are significantly more likely to trigger automatic row clears when your pieces are stacked in straight, vertical lines rather than haphazard piles.
Mastering the Falling Piece Rhythm
Levels 142–144 feature a distinct acceleration in the drop speed. If you rely solely on your reaction time to place pieces, you will eventually fall behind. The secret to maintaining control is anticipatory placement.
Always keep your eyes on the "next piece" indicator. While your current piece is descending, your brain should already be calculating where the following piece will fit. If you see a particularly difficult or wide piece approaching in the queue, prioritize clearing a space for it on the outer edges of your board immediately. This "look-ahead" technique transforms the game from a test of reflexes into a test of planning. If you find yourself frequently caught off guard, force yourself to look at the preview window every three seconds—it will feel unnatural at first, but it is the single most effective way to prevent the "panicked stacking" that leads to a game over.
Board Space Management: The "Flat-Top" Strategy
In level 144, the game introduces higher piece density, meaning the board fills up faster than you can clear it. To combat this, you must adopt the "Flat-Top" strategy. The goal is to keep the surface of your pieces as level as possible across the entire width of the screen.
Pro-Tips for Managing Density:
- Avoid the "Mountain" Effect: Never stack pieces high in the center of the board. A central mound effectively cuts your board in half, making it impossible to place wide tiles.
- Edge Utilization: The far-left and far-right columns are your best friends. Use these for "awkward" pieces—the ones that don't fit your current vertical stack. By isolating these odd shapes at the edges, you keep the center of the board open for standard, high-scoring placements.
- Prioritize Width over Height: If you have to choose between a move that adds height to a column or one that fills a gap horizontally, always choose the horizontal fill. Keeping the total height of your stack low is more important than clearing a single row early on.
Navigating Difficulty Spikes in Level 144
Level 144 is designed to test your composure under pressure. As you reach the final objectives of this level, the game will intentionally increase the drop frequency. When this happens, your strategy must shift from "perfection" to "survival."
During these spikes, stop trying to set up complex, high-point combos. Instead, focus on safe placements. A safe placement is any move that prevents the board from reaching the top line, regardless of whether it clears a row. If you survive the intensity spike, the game will often revert to a slower pace, giving you a "reset" window to clear your remaining objectives. Do not get greedy during these moments; one bad placement made in haste is usually what ends a run.
Piece Compatibility and Foundation Building
Jigsaw Drop: Solitaire Puzzle relies on piece geometry. As you progress, you will notice that certain pieces are designed to "lock" into others. Learning these pairings early in the level is vital.
If you identify two shapes that fit together perfectly to create a flat, 2x2 or 2x3 block, prioritize using them to build a base at the bottom of the board. A solid, level foundation early in the level acts as a buffer. When the chaotic, fast-paced drops begin in the final stages, you won't have to worry about the base of your board shifting or collapsing.
Troubleshooting Your Strategy:
- The "Trash Column": If you are consistently failing because of a specific, awkward shape, designate one column as your "trash bin." Only put the difficult pieces there. It may look messy, but it prevents that one piece from ruining the alignment of your other six columns.
- The Reset Window: If the board becomes dangerously high, stop looking for perfect matches. Start placing pieces in whatever column has the most space, regardless of shape. Your only objective is to buy time until the game slows down.
By applying these principles of vertical discipline, anticipatory planning, and safe-zone management, you will find that levels 142–144 are not just manageable, but entirely beatable. Focus on the geometry of the board, ignore the urge to rush, and you will clear these stages with room to spare.

Free Jigsaw Drop: Solitaire Puzzle Codes
Current active codes and how to redeem them.

James Brown
James focuses on Android gaming on PC, emulator setup, controls, performance tuning, and practical troubleshooting for longer play sessions.
COMMUNITY
Player Comments
92 players commented on this guide.
This guide answered the exact question I had.
Can you add more details about strategy in a future update?
Good guide for Jigsaw Drop: Solitaire Puzzle players. The strategy part was useful.
I tried this today and it worked better than my old setup.