
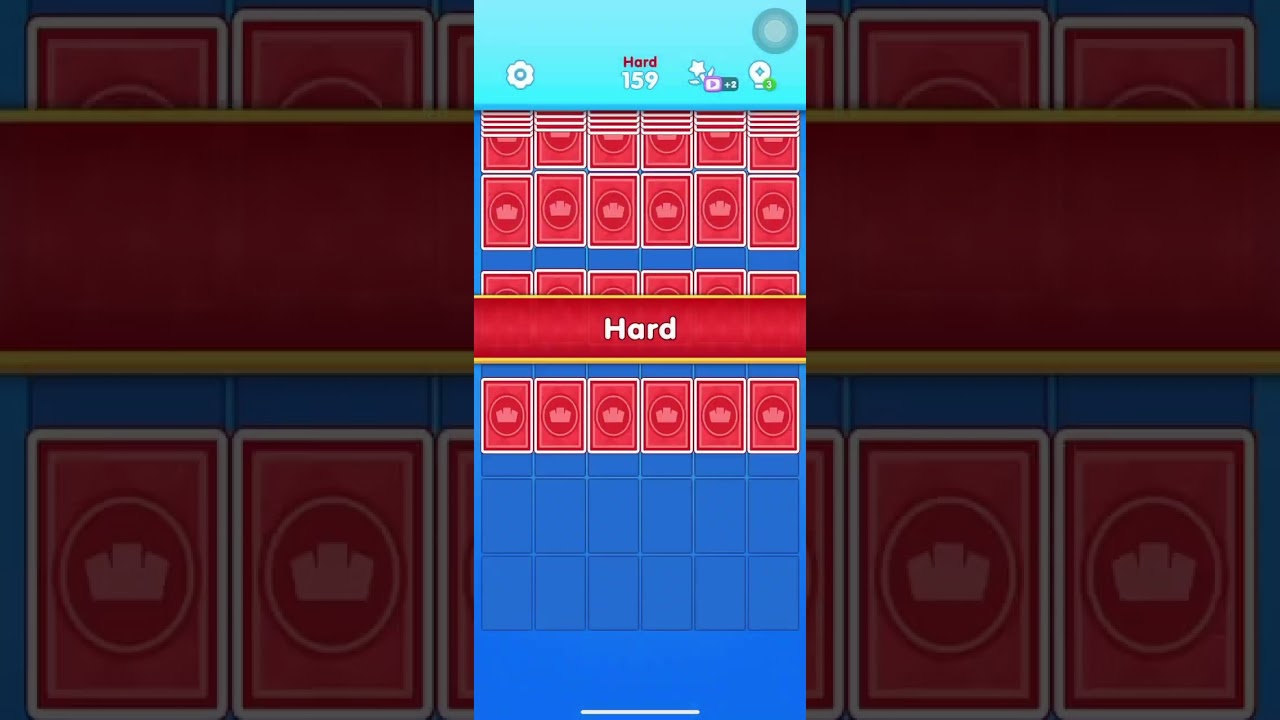
Levels 157 through 159 in Jigsaw Drop: Solitaire Puzzle represent a significant shift in difficulty, moving from casual pattern matching to intense resource management. Players often find themselves overwhelmed by the "final piece drop" mechanic, which serves as a strict move limit that punishes inefficient play. To clear these levels, you must transition from a reactive playstyle—where you simply match whatever is available—to a proactive strategy focused on board architecture and space management.
Understanding the Mid-Game Difficulty Spike
In Jigsaw Drop: Solitaire Puzzle, levels 157-159 introduce higher piece density and more restrictive board layouts. The primary challenge here is the "final piece drop," a fail-state triggered when the board reaches maximum capacity or your move count expires. Unlike earlier levels where the board is generous with space, these stages require you to treat every tile as a permanent fixture until it is cleared. Success depends on your ability to maintain a "low-profile" board, keeping the average stack height across all columns as level as possible to prevent bottlenecks.
Prioritizing Central Column Clearance
The most common mistake players make in these levels is focusing on the outer edges. In Jigsaw Drop: Solitaire Puzzle, the central columns are the most dangerous areas because they influence your access to both sides of the board.
- The Bottleneck Effect: If your center columns stack too high, you lose the ability to move pieces horizontally, effectively splitting your board into two isolated, unmanageable sections.
- The Buffer Zone: Prioritize clearing the center early. By keeping the central columns low, you create a "buffer zone" that allows for cross-board movement. This flexibility is critical when you need to shift a piece from the left side to a potential match on the right.
- Tactical Placement: When you have multiple match options, always choose the one that removes pieces from the center. It may be tempting to take an easy match on the periphery, but if that move doesn't lower the central stack, you are essentially ignoring the source of your eventual failure.
Managing the Final Piece Threshold
The "final piece drop" acts as your primary antagonist in levels 157-159. To manage this, you must adopt a high-efficiency mindset. Think of each move as an investment. If a move doesn't clear space or set up a future cascade, it is a liability.
Strategies for Move Efficiency:
- Look for Cascades: Always scan for "chain reactions" where clearing one set of pieces allows another set to drop into a matching position.
- Avoid New Stacks: If a piece doesn't fit, place it in an existing column rather than starting a new stack in an empty one. This keeps your board width open for incoming pieces.
- Calculate the Risk: Before placing a piece, count how many columns are near capacity. If more than half the board is at 75% height, stop looking for perfect matches and start clearing anything to lower the board altitude.
Executing Multi-Stage Setups
A hallmark of advanced Jigsaw Drop: Solitaire Puzzle gameplay is the multi-stage setup. This is the art of placing a piece not to clear it immediately, but to prepare the board for a future, more powerful move.
When you identify a potential match, look at the tiles immediately above and below the target area. Can you clear a row to drop a piece into a waiting match? This proactive approach turns the board's density into an advantage. By triggering two or three matches in one chain, you clear significantly more space per move, effectively "buying" yourself more time before the final piece threshold is reached. Avoid "panic clicking" when the board feels crowded; taking an extra two seconds to scan for a double-clear is often the difference between clearing the level and losing your progress.
Identifying When to Reset Strategy
Sometimes, the RNG (random number generation) of the pieces simply isn't in your favor. Recognizing when a board is becoming "dead" is essential for high-level play. If your central columns are blocked by mismatched pieces and you lack the necessary components to clear them, you must immediately shift your strategy to the side lanes.
Always maintain at least one side column as a "safety valve." This column should be kept as clear as possible to serve as a dumping ground for pieces that don't fit your current, more important matches. If you find yourself in a situation where all columns are high and there are no immediate matches, use your "safety valve" to hold a piece while you hunt for a horizontal connection that can break the blockage. If you lose access to all your side lanes, your probability of recovery drops to near zero.
Minimizing Wasted Moves: The Checklist
To excel in Jigsaw Drop: Solitaire Puzzle at this level, utilize a quick mental checklist before every click. If you cannot answer "yes" to at least one of the following, reconsider your move:
- Does this move lower the height of a column? (Critical for preventing the final piece drop.)
- Does this move create a clear path for a future match? (Critical for maintaining long-term board health.)
- Does this move avoid blocking a potential high-value match? (Critical for scoring and board control.)
If a move only serves to fill an empty space without providing an immediate or near-term benefit, it is likely a wasted turn. By slowing down and applying this logic, you will find that levels 157-159 become significantly more manageable. The game rewards patience and structural foresight over speed, so prioritize the integrity of your board layout above all else. With a disciplined approach to column height and move efficiency, you will consistently clear these stages and progress deeper into the game’s collection.

Free Jigsaw Drop: Solitaire Puzzle Codes
Current active codes and how to redeem them.

Sarah Williams
Sarah specializes in RPG and collection games, explaining team building, character growth, and beginner-friendly ways to avoid expensive early mistakes.
COMMUNITY
Player Comments
88 players commented on this guide.
I tried this today and it worked better than my old setup.
Nice guide. I am checking the other Jigsaw Drop: Solitaire Puzzle articles next.
I wish I had read this before upgrading the wrong thing.
The tips are practical and easy to follow.