
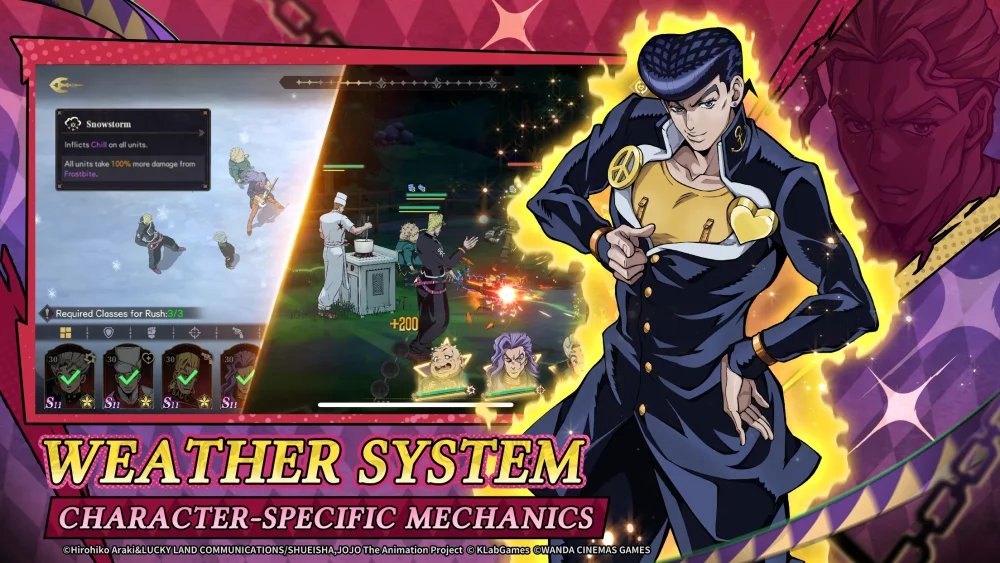
Earning 100% stars in the Hard Mode campaign of JoJo's Bizarre Adventure: GS is the definitive benchmark for a skilled player. While Normal mode allows for trial and error, Hard Mode demands tactical precision, strict adherence to mission conditions, and a deep understanding of your roster’s synergies. To secure every star, you must move beyond simply defeating the enemy and start playing to the specific constraints of each battlefield.
Decoding Stage-Specific Secondary Objectives
The path to 100% completion begins before the first turn is even taken. Every stage in JoJo's Bizarre Adventure: GS Hard Mode features a "Conditions" tab that dictates your success criteria. These objectives are non-negotiable for star completion and typically fall into three categories:
- Turn Efficiency: Clear the stage within a specific number of turns. This is often the most challenging constraint as it forces an aggressive, high-DPS playstyle.
- Survival Thresholds: End the battle with a specific percentage of party health remaining. This forces you to prioritize self-sustain, damage mitigation, and healing over brute force.
- Flawless Victory: Complete the stage without any character falling. This objective demands careful positioning and the use of "tank" units to draw enemy aggression away from your squishier damage dealers.
If you consistently miss a star, identify which condition is being failed. If your units are dying, you need more crowd control; if you are running out of turns, you need to optimize your ability rotations to focus fire on priority targets.
Optimizing Team Compositions for Hard Mode
Hard Mode is not the place for a "one-size-fits-all" team. Success requires tailoring your lineup to the enemy composition and the mission's star requirements.
The Sustain-Heavy Build
When the condition is "Keep party HP above 50%," a dedicated healer or a character with passive lifesteal is mandatory. Avoid glass-cannon builds that lack defensive utility. Instead, utilize characters who can provide "Shield" buffs, as these often count toward your total effective health pool without requiring healing cooldowns.
The Burst-DPS Build
When faced with turn limits, you must maximize your damage output. Replace long-term sustain units with "battery" characters who provide energy regeneration or speed buffs. By increasing the frequency of your turns and the output of your ultimates, you can clear waves of enemies before they have the chance to drain your health or waste your time.
Mastering Ability Timing and Resource Management
The secret to high-level play in JoJo's Bizarre Adventure: GS lies in managing your Ultimate (S1) cooldowns. New players often use their most powerful abilities on the first wave of enemies, leaving them vulnerable when the boss arrives.
- Conservation: Use basic attacks and low-cost skills to clear minor mobs. Build your energy bar steadily throughout the initial stages of the fight.
- Focus Fire: When entering the final wave or boss encounter, unleash your full arsenal of Ultimates simultaneously. This "burst window" prevents the boss from executing their powerful mechanics, which often helps you satisfy both "Turn Limit" and "No Death" objectives simultaneously.
- Interrupts: If an enemy has a "telegraphed" heavy attack, save a character with a stun or freeze ability to interrupt their animation. This is critical for maintaining your "No Death" star.
Tactical Positioning and Unit Synergy
In JoJo's Bizarre Adventure: GS, where you place your characters matters. Hard Mode enemies are smarter and target your weakest units first.
- Frontline Tanks: Position your high-defense units in the front to absorb basic attacks. Ensure they have equipment that boosts their "Taunt" or "Aggro" generation if such mechanics are available.
- Backline Utility: Keep your healers and support units in the back. If a specific stage forces you to use a character that is naturally squishy, equip them with defensive gear or items that boost their evasion to ensure they don't fail the "No Death" condition.
- Elemental Advantage: Always check the enemy's elemental weaknesses. A team that exploits these weaknesses will deal significantly more damage, which is often the difference between clearing a stage in 6 turns versus 10.
Strategic Replays and Difficulty Scaling
There is no shame in retreating from a Hard Mode stage to grind elsewhere. If you find your combat power is insufficient to meet the secondary conditions, focus on the following:
- Leveling and Ascension: Ensure your core team is maxed out for your current account level.
- Gear Optimization: Upgrade your gear sets. In Hard Mode, the difference between a 3-star clear and a 2-star clear often comes down to a few hundred points of attack or defense provided by your gear.
- The "Sweep" Mechanic: Once you have achieved 100% stars on a stage, you can often "sweep" or skip the combat for future farming. Use this to your advantage to quickly gather the resources needed to push through the next set of difficult missions.
Final Decision-Making Checklist for 100% Completion
Before committing to a high-difficulty stage, run through this mental checklist:
- Have I read the "Conditions" tab? Knowing the target is half the battle.
- Does my team composition match the requirement? (e.g., Do I have a healer for the HP constraint?)
- Is my gear upgraded? Don't attempt Hard Mode stages with outdated or un-leveled gear.
- Am I saving my Ultimate for the boss? Never enter a boss fight with empty energy bars.
By systematically applying these strategies, you will find that the "impossible" Hard Mode stages of JoJo's Bizarre Adventure: GS become manageable puzzles. Focus on the conditions, adapt your team to the specific threat, and manage your resources with patience to secure that 100% star rating.

Free JoJo's Bizarre Adventure: GS Codes
Current active codes and how to redeem them.

Emily Johnson
Emily writes practical mobile strategy guides with a focus on resource planning, base progression, and the early decisions that shape a long-term account.
COMMUNITY
Player Comments
136 players commented on this guide.
This saved me time in the early game.
The explanation is clear, especially for beginners.
The tips are practical and easy to follow.
Good guide for JoJo's Bizarre Adventure: GS players. The base building part was useful.