
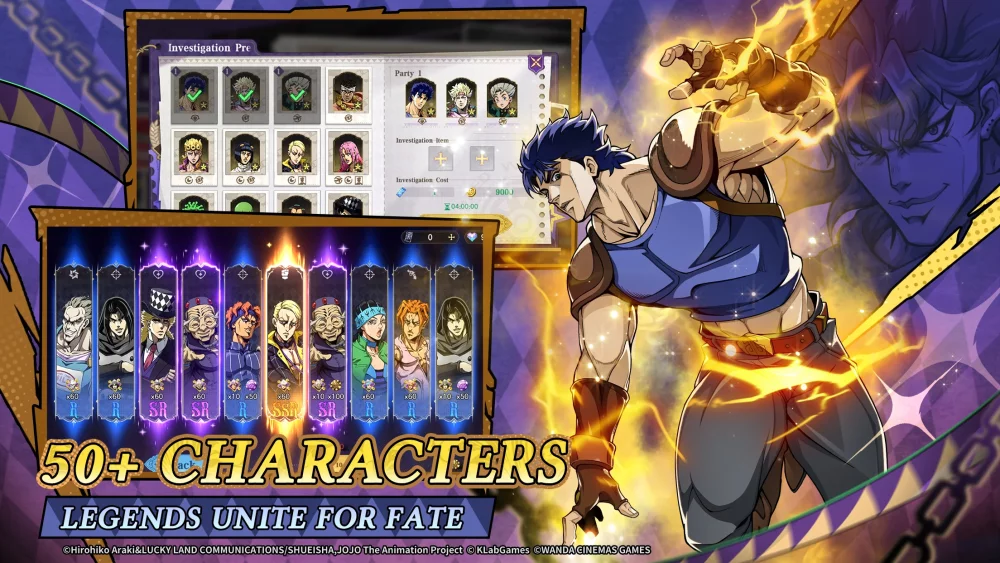
Building a formidable roster as a free-to-play (F2P) player in JoJo's Bizarre Adventure: GS requires a disciplined approach to resource management. The game provides a generous influx of currency early on, but your long-term success depends on how you spend those initial 70 summons. By prioritizing high-value banners, understanding pity mechanics, and utilizing promotional codes, you can establish a competitive foundation without spending real-world money.
Leveraging Active Gift Codes for Immediate Pulls
The most effective way to accelerate your progression is by redeeming all available gift codes immediately upon unlocking the game's menu. These codes provide a significant head start, granting you the premium currency needed to hit your 70-summon milestone without relying solely on story completion.
Confirmed active codes for JoJo's Bizarre Adventure: GS include:
- PREJOJO2026
- JOJOGS2026
- JOJORPG2026
- AX2026
Pro Tip: Always double-check for typos when entering codes. Because these rewards are time-sensitive and often tied to launch events, failing to redeem them early can put you at a significant disadvantage compared to other players. Once redeemed, these resources should be funneled directly into your primary banner of choice.
Strategic Banner Selection and Pity Awareness
Not all banners offer the same value. As an F2P player, your currency is finite, making "banner sniping" essential. Before committing your summons, analyze the drop rates and the featured characters.
The "pity" system is your best friend. This mechanic guarantees an SSR character after a specific number of unsuccessful pulls. Before spending, check the banner’s "Details" tab to see your progress toward that pity threshold. If you are nearing the guarantee, prioritize that banner over newer, unproven options. Investing in a guaranteed unit is almost always superior to gambling on a banner with a low drop rate, especially when you are building your first viable team.
Executing the 70-Summon Strategy
To maximize your 70-summon head start, avoid the "scattergun" approach. Spreading your resources across four or five different banners will likely leave you with a collection of disjointed, low-level characters.
The Concentrated Approach:
- Targeting: Identify one high-tier damage dealer or essential support character featured on a rate-up banner.
- Focus: Sink your primary currency into that specific banner until you secure the featured character or hit the pity threshold.
- Synergy: Once you have your core unit, evaluate whether you should pull for duplicates to increase their Stand ability potential or switch to a banner that provides the necessary support units (healers or buffers) to balance your squad.
Managing Resource Constraints After the Launch Boost
The initial 70-summon influx is a one-time event. Once the launch rewards are exhausted, your resource acquisition will slow down significantly. To survive the transition into the mid-game, you must shift from an aggressive spending mindset to a conservative one.
- Avoid Stamina Refreshes: Resist the urge to spend premium currency on stamina. While it feels like a shortcut, it is a massive waste of resources in the long run.
- Save for Meta Shifts: Always keep a "reserve fund" of currency. Developers frequently rotate banners, and new, more powerful meta-defining characters may appear shortly after you spend your savings.
- Event Planning: Review the in-game event schedule. Often, the best banners are tied to specific limited-time events that offer increased rates or bonus currency for participating.
Optimizing Roster Composition for Diverse Combat
Combat in JoJo's Bizarre Adventure: GS is highly tactical. A team consisting only of high-damage "glass cannons" will struggle against boss mechanics and late-game story missions. You need a balanced composition to handle different combat scenarios.
The Golden Ratio for Early Game Teams:
- 1 Primary Carry: A character with high AOE or single-target damage to clear waves.
- 1 Support/Healer: Essential for maintaining party health during extended encounters.
- 1 Utility/Crowd Control: Characters that can debuff enemies or manipulate the battlefield.
- Flex Slot: A secondary damage dealer or a secondary support, depending on the mission requirements.
If your initial 70 pulls result in a heavy imbalance (e.g., three damage dealers and no support), do not panic. Use the secondary currency earned from clearing story stages to fill the gaps. Every mission you complete contributes to your "daily income," which is the bread and butter of F2P sustainability.
Common Mistakes to Avoid
Many new players fall into traps that hinder their growth. By avoiding these common pitfalls, you can maintain a competitive edge:
- Chasing "Waifu/Husbando" Over Utility: While it is fun to pull for favorite characters, focus your first 70 pulls on utility. Once your account is stable, you can afford to pull for favorites.
- Ignoring Duplicate Value: In JoJo's Bizarre Adventure: GS, pulling a duplicate isn't a "failure." Duplicates are used to empower your Stands, which is necessary for high-level content. If you pull a duplicate of a top-tier unit, celebrate it as a massive power spike.
- Neglecting Daily Missions: The steady drip-feed of resources from daily and weekly tasks is what keeps your account alive after the initial launch phase. Never miss a day of clearing your dailies.
By strictly adhering to these strategies, you ensure that every piece of currency in JoJo's Bizarre Adventure: GS is used to push your account toward greater power, effectively allowing you to compete with paid players who rely on luck rather than tactical resource allocation.

Free JoJo's Bizarre Adventure: GS Codes
Current active codes and how to redeem them.

Emily Johnson
Emily writes practical mobile strategy guides with a focus on resource planning, base progression, and the early decisions that shape a long-term account.
COMMUNITY
Player Comments
106 players commented on this guide.
Good guide for JoJo's Bizarre Adventure: GS players. The redeem codes part was useful.
Nice guide. I am checking the other JoJo's Bizarre Adventure: GS articles next.
The explanation is clear, especially for beginners.
Can you add more details about redeem codes in a future update?