
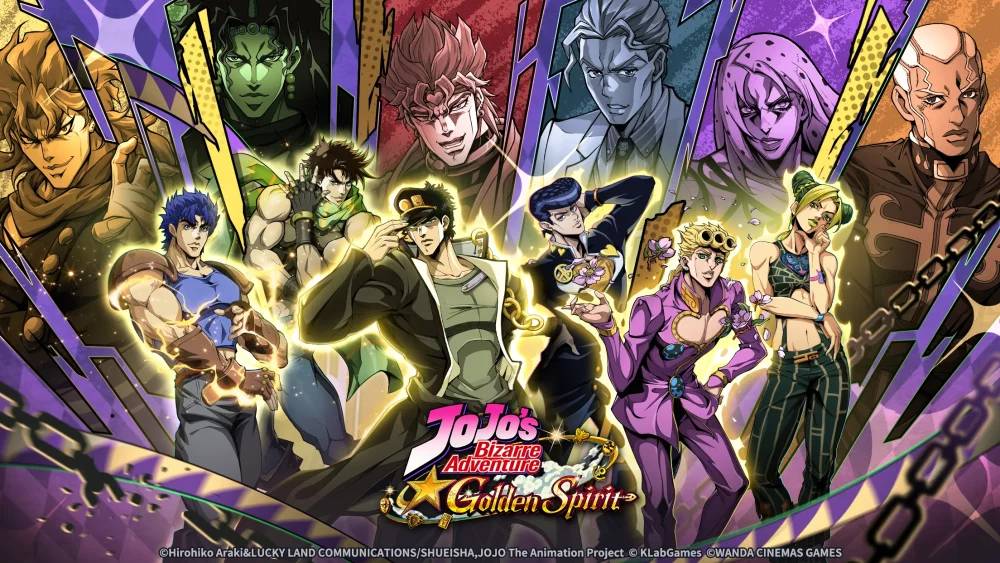
To overcome late-game progression walls in JoJo's Bizarre Adventure: GS—specifically Bloody Battle Stages 11 and 12—shift your team building from pure damage output to defensive sustainability and buff control. Prioritize maxing your existing main attackers before pulling on new banners, match badge types to specific role requirements, and synchronize skill cooldowns around burst windows.
Clearing Bloody Battle Stages 11 and 12
Bloody Battle Stages 11 and 12 mark a sharp spike in enemy difficulty where standard offensive setups routinely fail. Passing these stages depends on wave management, defensive survival, and counters to enemy traits rather than raw unit levels.
- Check Enemy Resistances: Inspect stage modifiers before launching a battle. If your primary damage dealer deals minimal damage, their damage type is likely being reduced by inherent stage resistances.
- Adjust Team Formation: Replace non-essential damage dealers with units capable of stripping enemy buffs or supplying steady healing.
- Prioritize Control and Survival: Use crowd-control abilities to disrupt high-damage enemy attack waves, allowing your support units to maintain your team's health pool.
Evaluating the Diavolo Banner
Pulling on the Diavolo banner should be based on current roster needs and available upgrade resources rather than collection goals.
- Pull Conditions: Pull for Diavolo only if your account lacks specialized boss-killing capability or utility in competitive modes, and you have enough resources to upgrade him immediately.
- Skip Conditions: Skip the banner if your main damage dealers are not fully upgraded, or if you lack the materials needed for full unit awakening and gear investment. Funneling gems into existing core units yields a more reliable power gain than spreading resources across unbuilt characters.
Badge Assignment: Jotaro vs. Caesar and Ermes
Badge choices directly dictate team survival and damage caps in high-level content. Equipping pure damage sets on units that cannot survive incoming waves leads to failed clears.
| Badge Type | Target Unit Role | Core Function | Primary Application |
|---|---|---|---|
| Jotaro | Primary DPS | Raw damage amplification | Time-gated damage objectives |
| Caesar / Ermes | Tank / Support | Survival and tactical utility | Endurance battles and wave stability |
Reserve Jotaro badges for main damage dealers who need to hit time-sensitive damage targets. Equip Caesar and Ermes badges on frontline tanks and support characters so they remain on the field long enough to apply buffs, manage enemy crowds, and protect your main DPS.
Executing the Double Clash Mechanic
The Double Clash mechanic creates a temporary damage window against bosses and tough enemies. To execute it effectively:
- Hold Main Cooldowns: Save high-impact damage abilities while building up to the Double Clash trigger.
- Align Skill Timings: Wait for the boss to enter a vulnerable or down phase, then trigger the Double Clash.
- Unload Burst Damage: Release your saved abilities simultaneously during the brief overlap window to strip massive portions of the boss's health pool.
Practicing this timing in low-stakes stages ensures you do not waste cooldowns when attempting tight endgame clears.
Resource Allocation Guidelines
Prevent resource drain by limiting material investment to long-term roster mainstays:
- Focus Materials on Core Units: Avoid spending spirit stones or gear upgrade resources on secondary characters intended only for temporary use. Unused investments directly reduce your overall account cap.
- Monitor Event and Shop Rotations: Check limited-time shops regularly for rare materials. Obtaining exclusive upgrade items during scheduled events reduces routine farming demands and helps bypass major level thresholds.

Free JoJo's Bizarre Adventure: GS Codes
Current active codes and how to redeem them.

James Brown
James focuses on Android gaming on PC, emulator setup, controls, performance tuning, and practical troubleshooting for longer play sessions.
COMMUNITY
Player Comments
133 players commented on this guide.
This helped me understand strategy much better.
Can you add more details about strategy in a future update?
I tried this today and it worked better than my old setup.
The tips are practical and easy to follow.