
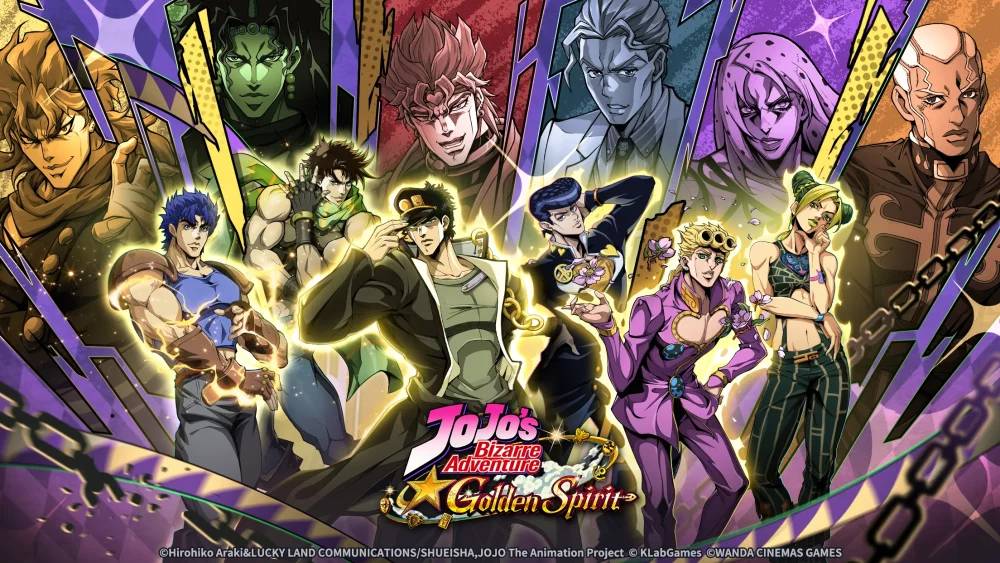
To clear challenging Part 4 content in JoJo's Bizarre Adventure: GS, build your squad around Josuke Higashikata for healing sustain and Okuyasu for area manipulation. Part 4 stages shift focus from pure offensive power to controlling enemy placement and absorbing high-frequency damage.
Josuke Higashikata Setup and Positioning
Josuke functions as the primary sustain anchor for Part 4 compositions. His main role is offsetting chip damage and negating burst strikes from boss encounters.
- Positioning: Keep Josuke directly adjacent to your main damage dealer. His healing triggers depend on close proximity, so misplacing him cuts off vital HP recovery.
- Stat Priorities: Upgrade Josuke's defensive stats first. Higher survivability allows him to endure initial boss bursts and repeatedly cycle his recovery skills.
- Skill Investment: Prioritize leveling Josuke's support skills before spending rare upgrade materials on secondary damage characters. A durable support unit keeps under-geared attackers alive through tough narrative nodes.
Okuyasu Field Control and Target Isolation
Okuyasu controls enemy formations by manipulating space and dragging priority targets into strike range. He is particularly effective in narrow corridor maps where high-threat foes must be isolated from the rest of their group.
- Target Isolation: Use Okuyasu to pull dangerous ranged or high-damage enemies away from their squad to interrupt their area-of-effect abilities.
- Avoiding Overextension: Do not open an encounter with Okuyasu's movement skill unless you have a clear retreat path or a secondary tank ready to take the incoming aggro. Overextending leaves Okuyasu vulnerable to direct counter-attacks.
- Line Breaking: Use Okuyasu to disrupt defensive enemy lines so your burst units can focus the boss without minion interference.
Boss Mechanics and Tactical Execution
Part 4 bosses frequently rely on sudden phase changes, invulnerability states, and rapid targeting shifts. Countering them requires strict skill timing rather than immediate skill dumping.
| Encounter Element | Tactical Response | Key Signal or Trigger |
|---|---|---|
| Phase Shifts | Hold high-cooldown ultimates until the phase transition animation fully resolves. | Boss enters an invulnerable phase-shift animation. |
| Channeling Skills | Cast fast, low-cost abilities immediately to break the enemy attack setup. | Red channeling indicators or cast bars. |
| Aggro Target Shift | Swap positioning to put a high-defense unit in the strike path. | Boss targets your lowest-HP character. |
| Proximity Bosses | Bring units with the "Close-Range" tag to activate bonus damage multipliers. | Boss forces tight, close-quarters combat. |
Roster Balance and Tag Synergy
A common failure point in Part 4 stages is running exclusively single-target damage dealers. Without wide-area damage, minion groups will overwhelm your squad before you reach the stage boss.
- Include One Wide-Area Attacker: Ensure at least one team member can hit multiple enemies simultaneously to clear minion waves efficiently.
- Verify Passive Tag Requirements: Before committing resources to a new character, confirm your active squad meets the exact tag conditions needed to trigger their passive damage bonuses.
- Balance Control and Offense: Combine Okuyasu's target displacement with Josuke's proximity healing to establish a consistent, low-risk combat loop.

Free JoJo's Bizarre Adventure: GS Codes
Current active codes and how to redeem them.

Emily Johnson
Emily writes practical mobile strategy guides with a focus on resource planning, base progression, and the early decisions that shape a long-term account.
COMMUNITY
Player Comments
34 players commented on this guide.
I tried this today and it worked better than my old setup.
I wish I had read this before upgrading the wrong thing.
Good guide for JoJo's Bizarre Adventure: GS players. The strategy part was useful.
The explanation is clear, especially for beginners.