
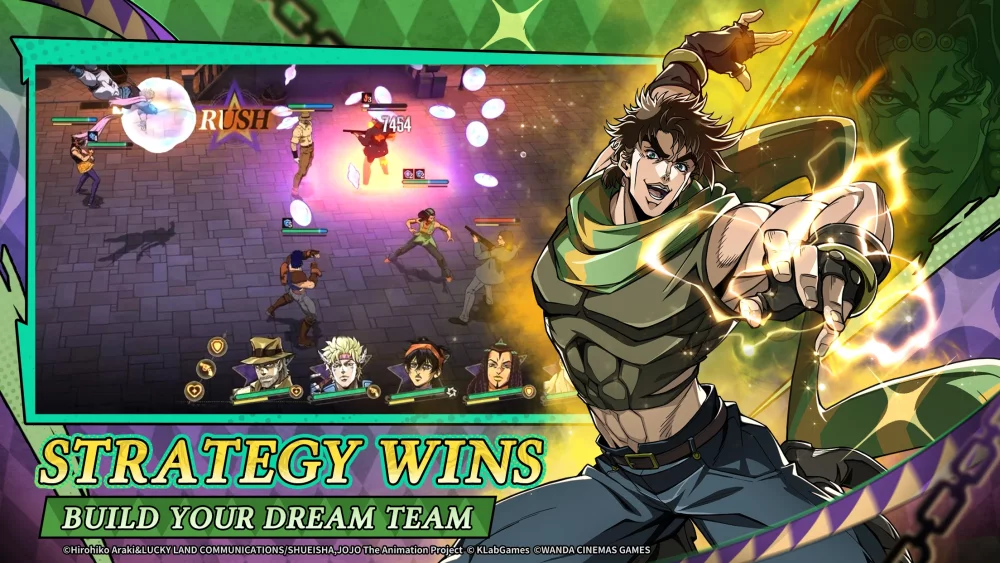
Securing a competitive edge in JoJo's Bizarre Adventure: GS begins the moment you hit the summon screen. Because the game relies heavily on the synergy between your chosen Stand and your overall team composition, starting your account with a high-impact unit is the most efficient way to bypass early-game friction. This guide provides the expert framework needed to navigate the summoning system, evaluate your initial pulls, and build a roster capable of conquering both PvE story content and high-stakes competitive modes.
Determining Your Reroll Targets
The "Golden Spirit" meta is defined by Stands that offer high versatility. In a game where strategic combat is paramount, raw power is often secondary to a unit's ability to manipulate the turn order, apply critical debuffs, or provide sustained team support.
When rerolling, you are looking for units that qualify as "account anchors." An anchor is a character who can carry your team through the first three chapters of the campaign with minimal equipment investment. Look for these traits in your pulls:
- Action Economy Manipulation: Stands that can grant extra turns or reduce the enemy's ability to act are top-tier. In JoJo's Bizarre Adventure: GS, controlling the pace of the match is the most reliable path to victory.
- True Damage/Ignore Defense: As you move into late-game content, enemy armor values scale aggressively. Units that ignore defense or deal damage based on percentages are future-proof investments.
- Passive Synergy: Prioritize units whose passive abilities trigger off the actions of teammates. These characters rarely drop out of the meta because they gain value as the roster of available characters expands.
How to Effectively Use the Golden Spirit Codex
The Golden Spirit Codex serves as the community's authoritative reference for unit valuation. While it is tempting to chase the "coolest" Stand, the Codex tracks the mathematical efficiency of each character.
To use the Codex effectively, don't just look at the letter grade. Examine the "Role" and "Synergy" tags associated with each S-tier character. If your first multi-pull yields an S-tier unit, check the Codex to see which secondary units pair best with them. If your pull is a solo S-tier powerhouse but you lack the support units to keep them alive, you may find your progression stalling at boss milestones. Use the Codex as a roadmap for your future banner pulls, not just as a snapshot of current power levels.
The Mechanics of Rerolling in JoJo's Bizarre Adventure: GS
Rerolling is the process of resetting your account data to repeat the initial "new player" summoning sequence. In JoJo's Bizarre Adventure: GS, the launch rewards are generous, but they are finite.
Step-by-Step Reroll Protocol:
- Skip the Introduction: If the game allows, skip cinematics to save time. Every minute spent in an unskippable cutscene is a minute added to your reroll cycle.
- Clear Initial Quests: Focus exclusively on the primary objective. Do not get distracted by side activities or character management until you have exhausted your starting premium currency.
- The Multi-Pull Strategy: Always prioritize "10-pulls" (multi-summons) over single summons. Most games feature a guaranteed higher-rarity drop on multi-pulls, which is essential for maximizing your chances of hitting an S-tier target.
- Account Reset: If the results are unsatisfactory, use the "Clear Data" or "Delete Account" function in the settings menu. Ensure you are not linking your account to a permanent social media profile until you are satisfied with your roll.
Avoiding Common Reroll Pitfalls
New players often fall into the "Quantity over Quality" trap. It is objectively better to have one S-tier Stand and four C-tier support units than a roster of five B-tier units.
- Don't Over-Reroll: Perfection is the enemy of progress. If you pull a high-A or S-tier unit, save your time and begin playing. Spending 10 hours rerolling for the absolute "best" unit will leave you behind the global curve on daily login rewards and event participation.
- Ignore Aesthetic Bias: Some Stands are visually iconic but mechanically lackluster. Always verify a unit’s performance against the latest Codex data before deciding to delete an account.
- Resource Hoarding: Do not spend your premium currency on standard banners if a "Rate-Up" event is active for a high-tier character.
Strategic Team-Building Priorities
Once you have secured your primary S-tier anchor, your team-building should follow a "Support-Carry-Utility" structure:
- The Carry: Your S-tier reroll target. They receive 70% of your initial upgrade materials.
- The Battery/Healer: A unit that restores health or provides energy/action points. Without these, your carry will fall in extended boss fights.
- The Debuffer/Controller: A unit that can freeze, stun, or lower the defense of bosses. This creates the window of opportunity for your Carry to unleash their ultimate ability.
By focusing on this trinity, you ensure that your team can handle the three primary modes of combat: boss battles (Single Target), waves (AOE), and competitive duels (Crowd Control).
Long-Term Resource Allocation
Progression in JoJo's Bizarre Adventure: GS is a marathon. Once you have established your core team, stop pulling on standard banners. Save your premium currency for limited-time character releases that introduce new mechanics.
Always participate in daily farming stages for character ascension materials. These materials are the primary bottleneck for power growth. By aligning your stamina usage with these farming requirements, you ensure that your S-tier units stay at the level cap, allowing you to consistently clear the hardest content available. Keep an eye on the game's official discord or the Golden Spirit Codex for announcements regarding balance patches—sometimes, a "weak" character receives a buff that vaults them into the S-tier overnight, and you’ll want to have the materials ready to pivot your strategy accordingly.

Free JoJo's Bizarre Adventure: GS Codes
Current active codes and how to redeem them.

Michael Smith
Michael covers live-service games, events, reward systems, and efficient daily routines, turning frequent updates into clear actions for players.
COMMUNITY
Player Comments
45 players commented on this guide.
This saved me time in the early game.
I tried this today and it worked better than my old setup.
I wish I had read this before upgrading the wrong thing.
This helped me understand early game much better.