
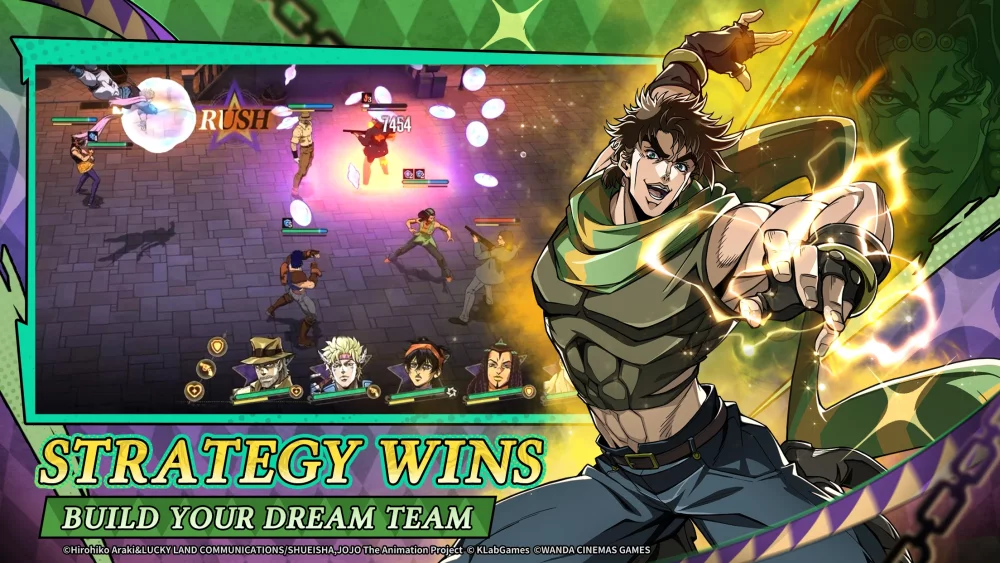
In JoJo's Bizarre Adventure: GS, Metallica stands as one of the most mechanically complex and punishing encounters for any player. Whether you are navigating the campaign or facing off against Risotto Nero in tactical combat scenarios, Metallica’s ability to manipulate iron content and utilize light-refraction stealth creates a unique challenge that demands more than just raw DPS. To defeat this Stand, you must pivot from aggressive playstyles to a mode of calculated spatial awareness and resource management.
Understanding the Iron-Manipulation Mechanic
The primary threat Metallica poses is the "Iron Attrition" effect. Unlike standard direct-damage Stands, Metallica functions through a persistent, low-damage DoT (damage-over-time) that scales based on the distance between you and the Stand user.
In JoJo's Bizarre Adventure: GS, this mechanic is represented by a subtle UI indicator—often a metallic sheen or a slight darkening at the edges of your screen. When this effect is active, you are losing health incrementally. The key to mitigating this is understanding that the damage is tethered to the user's proximity. If you notice your health bar ticking down, you are within the "Iron Zone." You must immediately reposition to break the link. Do not attempt to tank this damage; even the sturdiest tanks in your roster will eventually crumble if they allow the iron-stacking debuff to reach its maximum threshold.
Breaking the Invisibility and Stealth Windows
Metallica’s most formidable asset is its ability to cloak its user, effectively removing them from your auto-targeting system. In high-stakes JoJo's Bizarre Adventure: GS encounters, this "blind spot" mechanic forces you to switch from automatic target tracking to manual observation.
When the enemy vanishes, do not panic or spam your abilities. Instead, look for environmental tells:
- Light Refraction: Look for shimmering air, similar to a heat haze, which signals the user’s position.
- Metallic Debris: Metallica often causes floating iron filings or ripples in the air. These visual cues are your best indicator of where the enemy is positioning themselves for an ambush.
- Audio Cues: Listen for the distinct high-pitched "tink" of magnetic resonance, which often precedes a strike.
If you lose track of the target, prioritize defensive movement—dodging or dashing—rather than attacking. By waiting for the enemy to break their stealth to initiate a strike, you create a momentary window where they are vulnerable to counter-attacks, as the energy required to maintain their cloak is diverted to their offensive kit.
Strategic Team Composition and Mitigation
Mitigating Metallica’s kit requires selecting a team that can sustain through chip damage and punish stealth users.
- Prioritize High-Regen Supports: Bring characters who provide passive health regeneration or "Cleanse" abilities. Since Metallica’s iron-based attacks often leave a lingering debuff, a cleanser can effectively neutralize the DoT, keeping your health bar stable during the long-haul segments of the fight.
- AOE Utility: If you are struggling to pin down a hidden target, utilize characters with large-area crowd control (CC) or wide-sweeping attacks. Even if you cannot see the enemy, an AOE ability that hits their general vicinity will often reveal them or interrupt their current animation, forcing them back into a neutral state.
- Iron Resistance Imprints: Always check your equipment menu before entering a boss battle. Certain gear sets provide "Iron Resistance" or "Magnetic Deflection," which significantly reduce the damage taken from Metallica’s passive effects.
Countering the Iron-Accumulation Cycle
Metallica operates on a cycle: Stealth -> Attrition -> Lethal Strike. Your goal is to interrupt this cycle before the final stage. The lethal strike usually occurs when the user has stacked enough iron in your system to manifest a blade or projectile.
If you notice your character beginning to exhibit signs of internal iron concentration, you are approaching the window where the enemy will materialize to strike. This is the optimal time to use your high-cooldown ultimates or defensive cooldowns. By baiting the strike, you force the user to "overcommit."
Common Mistakes to Avoid
- Stagnation: Staying in one spot allows Metallica to stack iron damage efficiently. Always keep moving to reset the range-based damage calculation.
- Panic-Using Ultimates: Using your ultimate while the enemy is invisible is a waste. They are likely moving, and you will miss, leaving you defenseless when they finally strike. Wait for them to materialize.
- Ignoring the Environment: In JoJo's Bizarre Adventure: GS, maps with high metallic content (such as construction sites or industrial zones) buff Metallica. If possible, kite the enemy into areas with less iron to reduce their offensive output.
Tactical Decisions for Long-Term Success
When facing Metallica, patience is your greatest weapon. The Stand user relies on you making a mistake—rushing into a trap or panicking when your health drops. By maintaining a measured pace, you deny them the opportunity to maximize their damage-over-time output.
Ultimately, your strategy should be to play a game of "cat and mouse." Keep your distance until you identify their position, use an AOE ability to reveal them, and then pour your resources into a burst window. Because Metallica’s defensive capabilities are significantly lower while actively manipulating large volumes of iron to form weapons, this is the exact moment to unleash your full team rotation. By controlling the pace of the engagement, you turn one of the game's most intimidating mechanics into a predictable, manageable encounter.

Free JoJo's Bizarre Adventure: GS Codes
Current active codes and how to redeem them.

Michael Smith
Michael covers live-service games, events, reward systems, and efficient daily routines, turning frequent updates into clear actions for players.
COMMUNITY
Player Comments
69 players commented on this guide.
This guide answered the exact question I had.
This saved me time in the early game.
Good guide for JoJo's Bizarre Adventure: GS players. The strategy part was useful.
The explanation is clear, especially for beginners.