
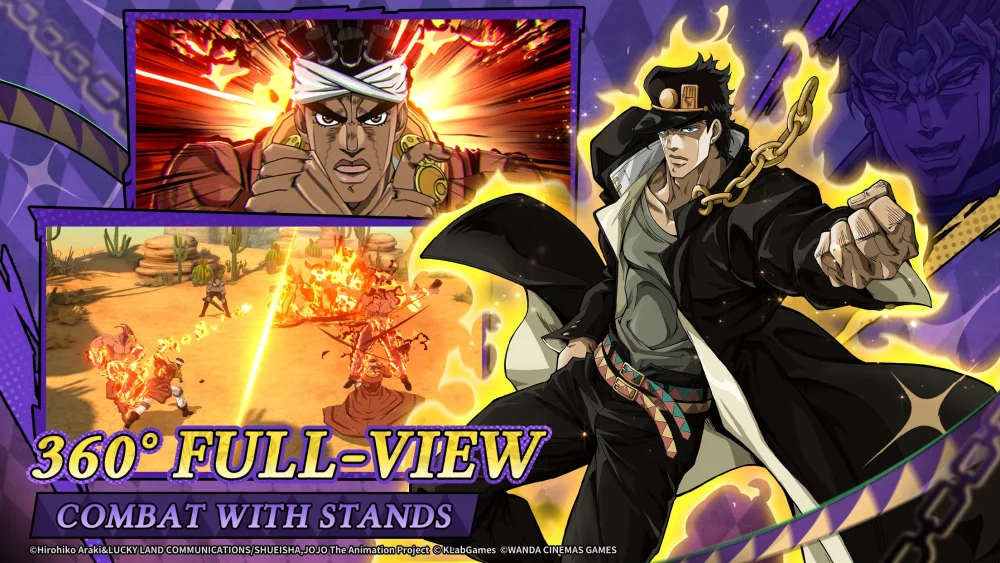
To excel in JoJo's Bizarre Adventure: GS, you must move beyond simply collecting high-rarity characters and start focusing on the mechanical synergy of your squad. The game’s difficulty scaling is designed to punish teams that lack cohesion, specifically those that ignore the necessity of damage mitigation and support roles. By prioritizing character utility over raw stats and mastering the timing of your Stand abilities, you can overcome even the most daunting mid-to-late game story missions.
The Foundation: Building for Sustainability
In JoJo's Bizarre Adventure: GS, the most common mistake players make is building "glass cannon" teams. While high-damage dealers are essential, they are useless if they cannot survive the heavy burst damage common in later stages.
Effective team composition starts with sustainability. You should always aim to include at least one "anchor" unit—a character capable of providing consistent damage mitigation, healing, or crowd control.
- Damage Mitigation: Look for characters with "Shield" or "Invulnerability" passives that trigger when enemy gauges fill up.
- Sustained Healing: Prioritize units that offer passive health regeneration or lifesteal, which reduces the reliance on burst-heal cooldowns.
- The Rule of Thumb: If your team is wiping before the boss hits 50% health, replace your lowest-performing damage dealer with a dedicated support character.
Mastering Stand Synergy and Elemental Combos
The combat system relies heavily on how Stand abilities interact with one another. Rather than viewing your team as five individual units, view them as a single machine where each part feeds into the next.
Understanding Skill Chains
- Debuff Inflictors: These characters apply states like "Armor Break" or "Slow." Always initiate your ability rotation with these units to maximize the effectiveness of your heavy hitters.
- Combo Enablers: Some characters possess knock-back or stun abilities. Use these to pin high-priority targets, ensuring your slower, high-damage attacks land without the enemy dodging or interrupting them.
- Buff Providers: Supports that increase Attack Speed or Critical Hit rate should be timed to overlap with your primary damage dealer’s "Burst" window.
Strategic Resource Allocation
Resource scarcity is a defining feature of the early and mid-game. Spreading your experience points and ascension materials thin across your entire roster will leave you with a team of "jack-of-all-trades" units that fail to clear high-tier content.
The Anchor Strategy:
- Identify your Core Two: Select two characters who provide the most utility (e.g., one primary damage dealer and one primary support).
- Max-Out First: Pour all available resources into these two. An over-leveled anchor can often "carry" three under-leveled units through content that would otherwise be impossible.
- The Borrow System: Use the game’s support system to borrow high-level units from friends or the community to fill the gaps in your roster while you slowly build up your secondary team members.
Tactical Combat: Managing Cooldowns and Timing
In JoJo's Bizarre Adventure: GS, ability management is the difference between a clean win and a total party wipe. A common beginner trap is "button mashing"—using all abilities as soon as they become available.
Instead, practice Phase-Based Combat:
- Predictive Play: Observe enemy patterns. Most bosses have a "telegraph" animation before a massive attack. Hold your defensive cooldowns or crowd-control abilities until you see this animation.
- Resource Management: If you are fighting a wave of smaller enemies followed by a boss, try to enter the boss fight with your most powerful Stand abilities already off cooldown.
- Energy Conservation: Do not use ultimate abilities on the final, low-health enemy of a wave. Save that energy to burst down the boss immediately upon entering the next stage.
Evaluating Meta Viability
The "meta" in JoJo's Bizarre Adventure: GS shifts as new characters are released, but the core mechanics—healing, armor shredding, and turn manipulation—remain evergreen.
When deciding whether to pull for a new character, evaluate them based on their utility rather than their raw damage numbers. A character that provides a 10% team-wide speed buff will often be more valuable in the long term than a character that deals high damage but offers no team utility.
Decision Checklist:
- Does this character fill a missing role? (e.g., Do I need more crowd control?)
- Does their kit synergize with my current "Anchor" units?
- Is their utility tied to a mechanic that is likely to stay relevant? (Avoid units that rely solely on raw stat multipliers, as these are the first to be outclassed by newer, higher-stat units.)
Avoiding Common Pitfalls
- Over-valuing Rarity: Do not assume an SSR character is better than an SR character. Many SR units have essential support skills that are more useful for team synergy than a high-damage SSR unit with no utility.
- Neglecting Equipment/Stands: Never ignore the "gear" aspect of your characters. Even the best team will fail if their Stand levels and equipment stats are neglected.
- Ignoring Elemental Affinity: Always check the stage requirements. Many difficult missions have specific elemental weaknesses that can reduce incoming damage or increase your output by significant percentages.
By focusing on these pillars—sustainability, synergy, smart investment, and disciplined combat—you will find that JoJo's Bizarre Adventure: GS becomes significantly more approachable. Remember that the game is a marathon, not a sprint; building a solid, synergistic foundation today will pay dividends as you climb through the later chapters of the story.

Free JoJo's Bizarre Adventure: GS Codes
Current active codes and how to redeem them.

Sarah Williams
Sarah specializes in RPG and collection games, explaining team building, character growth, and beginner-friendly ways to avoid expensive early mistakes.
COMMUNITY
Player Comments
144 players commented on this guide.
The explanation is clear, especially for beginners.
I wish I had read this before upgrading the wrong thing.
Nice guide. I am checking the other JoJo's Bizarre Adventure: GS articles next.
I tried this today and it worked better than my old setup.