
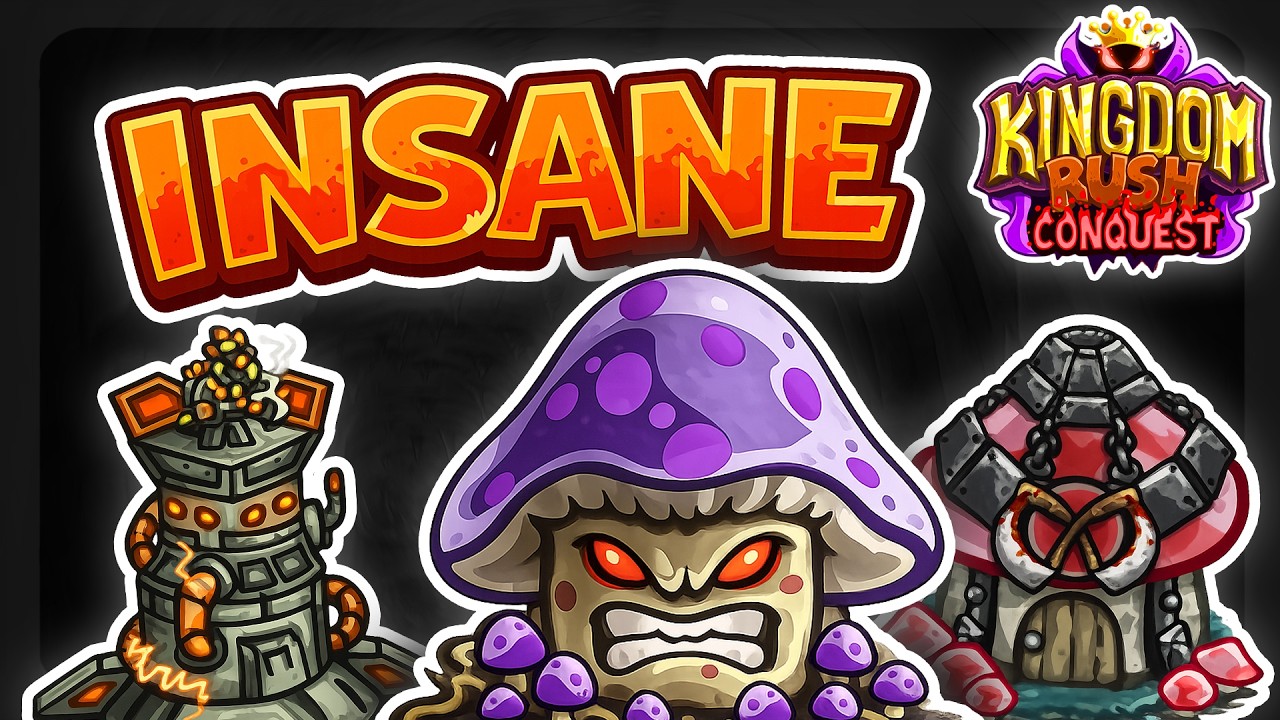
Surviving the "Impossible" difficulty setting in Kingdom Rush Conquest requires a fundamental departure from the casual, "build-and-forget" playstyle often used in standard campaigns. On this difficulty, enemy health pools, movement speeds, and spawn counts are tuned to exploit any inefficiency in your defensive line. Success demands a transition from static defense to active, high-intensity tactical management.
This guide breaks down the core mechanics required to survive the relentless onslaught, ensuring your kingdom remains secure even when the odds are stacked against you.
1. Mastering Hero Micro-Management
In Kingdom Rush Conquest, your hero is the single most important unit for lane control. On Impossible difficulty, static towers will inevitably be overwhelmed if left to handle waves on their own.
- Active Tanking: You must use your hero to manually intercept enemies at the very edge of your tower range. By "kiting" or stalling enemies, you force them to remain stationary, effectively extending the time they spend under your towers' fire.
- Hero Positioning: Never leave your hero in a static position behind your towers. Place them at the front of your "kill zones." If a lane is about to leak, move your hero to the pathing exit to act as a final barrier while your towers deal the finishing blows.
- Cooldown Management: Treat your hero's health and ability cooldowns as a ticking resource. If your hero is low on health, pull them back briefly to recover—a dead hero is a massive loss in DPS, and the respawn timer on Impossible can be the difference between a victory and a game over.
2. Strategic Tower Placement and Economy
Gold is your most restricted resource. On Impossible, every coin spent on an underperforming tower is a step closer to defeat. You must focus on creating "Kill Zones" rather than spreading your defenses thinly across the map.
The Kill Zone Philosophy
Instead of placing one tower per slot, concentrate your gold in one or two high-density areas. A typical kill zone should consist of:
- The Anchor: A high-damage or high-armor-piercing tower that serves as your primary DPS source.
- The Enabler: A slowing tower (like a mage or specialized utility tower) that keeps enemies within the anchor’s range.
- The Support: A tower that provides crowd control, stuns, or additional troop spawns to keep enemies clustered.
Pro Tip: Avoid the urge to upgrade every tower simultaneously. Upgrade your Anchor tower to its maximum tier first before spending gold on peripheral towers. One max-level tower is almost always more effective than two mid-tier towers on Impossible difficulty.
3. Managing Wave Density and Choke Points
Impossible difficulty is defined by "wave density"—the sheer volume of enemies appearing at once. If your towers are firing at different targets, you aren't maximizing your DPS.
- Forcing Clusters: Use your reinforcements specifically to pull enemies into tight groups. When enemies are bunched together, area-of-effect (AoE) attacks from your towers become infinitely more valuable.
- Identifying Leaks: If a wave is slipping past, it is rarely due to a lack of damage; it is usually due to a lack of crowd control. Instead of building more damage, add a slowing or binding tower at the start of your kill zone to force the wave to bunch up.
- Reinforcement Timing: Do not use reinforcements as soon as they are available. Hold them until the wave hits your primary kill zone. Deploying them too early wastes their potential to stall high-threat units in the middle of your heavy-hitting artillery.
4. Balancing Active Abilities and Upgrades
Your active abilities—Reinforcements and special Hero powers—should be treated as rhythmic tools. In an Impossible run, these are not "panic buttons"; they are part of your core rotation.
The Upgrade Priority Hierarchy
- Stall/Slow (Early): Build the foundation by slowing down the first few waves.
- Burst Damage (Mid): Once the lane is moving predictably, invest in high-damage towers to clear the crowd.
- Specialization (Late): Tailor your final upgrades to the specific enemy types (e.g., armor-piercing for heavily armored foes, or magic damage for physical-resistant swarms).
5. Common Mistakes to Avoid
Even experienced Kingdom Rush players struggle when moving to Impossible difficulty because they rely on bad habits. Avoid these common pitfalls to stay ahead:
- Over-building: Filling every slot with level-1 towers creates a mess that lacks the focus needed to kill high-health units. Less is more; focus on 3-4 high-level towers over 8 low-level ones.
- Ignoring Enemy Pathing: Every map has a unique flow. Spend the first few seconds of a level watching the enemy pathing. Identify the precise tile where your towers have the most overlapping range and build there.
- Panic-Spelling: Do not dump all your spells at once. A single, well-placed spell that hits a cluster of enemies is worth more than three spells used individually on stragglers.
Conclusion: The Path to Victory
Conquering Kingdom Rush Conquest on Impossible difficulty is a test of efficiency. You are managing a tight budget, high-value hero cooldowns, and precise placement to counteract the game’s aggressive scaling.
By focusing your gold into concentrated kill zones, using your hero as a mobile tank to cluster enemies, and pacing your tower upgrades to match the specific threats of each wave, you can overcome even the most difficult stages. Remember: in Kingdom Rush, a perfectly placed, upgraded tower controlled by an active hero is always superior to a map filled with mediocre defenses. Stay patient, observe the enemy patterns, and force the battlefield to suit your strengths.
Free Kingdom Rush Codes
Current active codes and how to redeem them.

James Brown
James focuses on Android gaming on PC, emulator setup, controls, performance tuning, and practical troubleshooting for longer play sessions.
COMMUNITY
Player Comments
37 players commented on this guide.
This guide answered the exact question I had.
The tips are practical and easy to follow.
This helped me understand heroes much better.
This saved me time in the early game.