
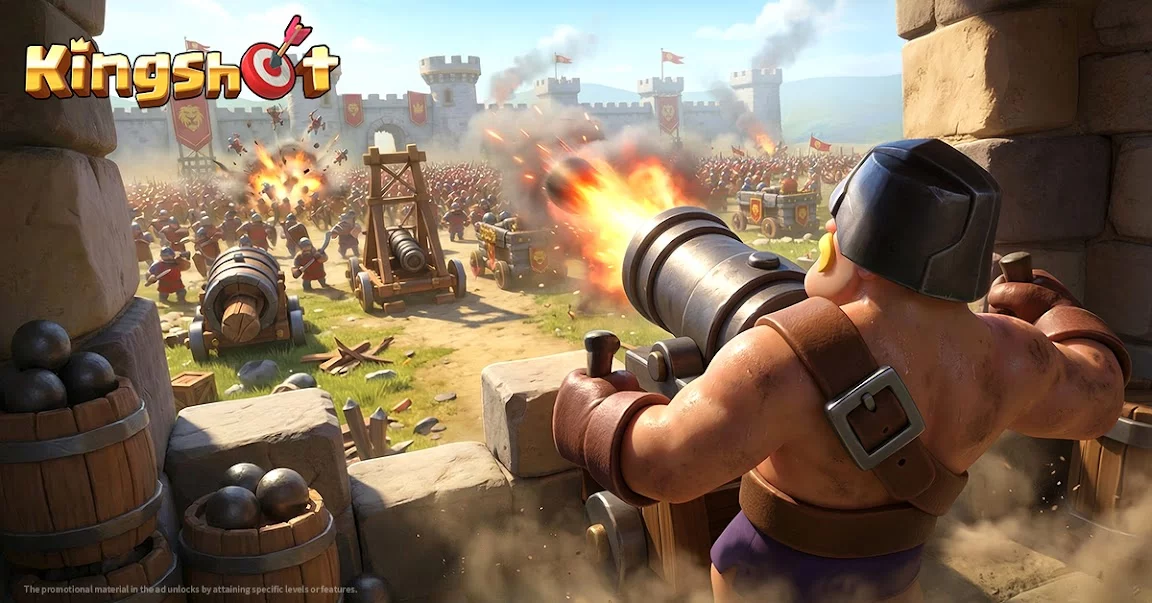
To improve combat trades and stop losing battles to equal-power opponents in Kingshot, stop using the default auto-fill button. Auto-deploy evenly distributes troops across all three classes, leaving your frontline too thin to survive the opening combat rounds. To minimize hospital casualties and maximize damage output, manually configure your march presets to maintain a heavy frontline of 45% to 55% infantry, reduce cavalry to 10% to 15%, and allocate 35% to 45% of your capacity to backline archers.
Why Default Auto-Fill Fails
Kingshot's auto-fill function fills marches based on overall tier availability, typically producing an even 33% infantry, 33% cavalry, and 33% archer split. While an even split seems balanced, combat calculations do not distribute incoming damage equally across all unit classes.
Incoming damage targets the frontline first. In an even 33% split, the infantry pool dissolves during the initial exchange rounds. Once this defensive screen collapses, opposing attacks hit your cavalry and fragile archers directly. This causes premature defeats, triggers heavy hospital overflow, and results in severe permanent troop losses against optimized armies.
Troop Class Roles and Distribution
Each troop class serves a specific combat function that dictates how much of your march capacity it should occupy:
- Infantry (45% to 55%): Serves as your primary damage shield. High base health and natural damage reduction allow infantry to absorb regular hits and hero skill bursts. Keeping infantry at or above 45% ensures your frontline survives long enough for your backline to cycle through full skill rotations.
- Archers (35% to 45%): Acts as your main damage engine. Operating from the backline, archers deal continuous ranged damage and land critical skill procs. As long as your infantry screen holds, archers deal uninterrupted damage without taking direct retaliatory hits.
- Cavalry (10% to 15%): Provides burst damage and mobility, but lacks the defensive stats of infantry and the sustained range of archers. In mixed open-field battles, excess cavalry take heavy splash damage, driving up hospital healing costs without providing lasting screen value. Keep them at low utility numbers.
| Formation Style | Infantry | Cavalry | Archers | Tactical Focus |
|---|---|---|---|---|
| Auto-Deploy Default | ~33% | ~33% | ~33% | Fails early as the frontline collapses under initial burst damage. |
| Standard PvP Skirmish | 50% | 15% | 35% | Balanced open-field combat with steady frontline protection. |
| Heavy Anti-Tank | 45% | 10% | 45% | Maximizes ranged damage to break high-durability enemy frontlines. |
| Garrison Hold | 55% | 10% | 35% | Outlasts prolonged rally attacks against settlement walls. |
Recommended March Presets
Set your march presets before entering combat so you do not have to adjust troop sliders under pressure:
- Standard PvP Skirmish (50% Infantry / 15% Cavalry / 35% Archers): Use this preset as your default open-field march. The 50% infantry pool provides enough endurance to weather initial enemy bursts while your archers whittle down the opposing frontline.
- Heavy Anti-Tank Assault (45% Infantry / 10% Cavalry / 45% Archers): Deploy this setup when facing heavily fortified, infantry-dense targets. Shifting 10% of your total pool from cavalry into archers maximizes sustained damage while keeping frontline absorption above the 40% failure threshold.
- Garrison and Wall Defense (55% Infantry / 10% Cavalry / 35% Archers): Assign this distribution to stationary defenses and settlement garrisons. Defending armies cannot retreat from incoming rallies, so weighting infantry up to 55%—or up to 60% against multi-wave attacks—prevents wall breaches and exhausts incoming rally momentum.

Free Kingshot Codes
Current active codes and how to redeem them.

Emily Johnson
Emily writes practical mobile strategy guides with a focus on resource planning, base progression, and the early decisions that shape a long-term account.
COMMUNITY
Player Comments
78 players commented on this guide.
The tips are practical and easy to follow.
The explanation is clear, especially for beginners.
I tried this today and it worked better than my old setup.
Good guide for Kingshot players. The strategy part was useful.