
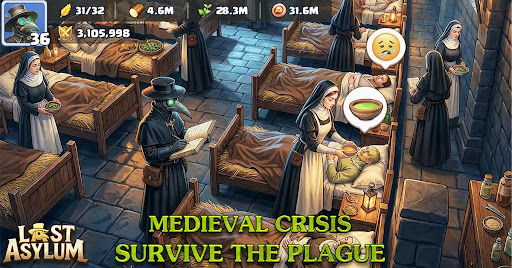
Navigating the later stages of Last Asylum requires more than just basic combat skills. As you progress through the game’s increasingly difficult waves and resource-heavy mechanics, your approach to base management and hero positioning becomes the deciding factor between total collapse and successful containment.
This guide focuses on the critical strategies needed to maintain efficiency in the mid-to-late stages of the game.
Prioritizing Resource Allocation
In Last Asylum, resources are finite and often bottlenecked by your base infrastructure. To sustain long-term operations, you must balance your spending between immediate defense upgrades and long-term economic growth.
Resource Management Checklist
- Don't Over-extend: Only expand your base footprint when you have the defensive capacity to cover the new perimeter.
- Active Farming: Ensure your resource nodes are constantly active. Downtime in production is the silent killer of progress.
- Buffer Stocks: Always keep a reserve of essential materials to handle sudden repairs or emergency unit production if a defensive line is breached.
Defensive Perimeter Strategy
A common mistake in Last Asylum is relying on a single layer of defense. As the plague spreads, enemies become more resilient and numerous.
| Defensive Layer | Primary Purpose | Best Positioning |
|---|---|---|
| Frontline Barriers | Delaying enemy advance | Furthest point from central base |
| Turret Emplacements | Sustaining DPS output | Behind barriers, covering chokepoints |
| Hero Support | Buffing units and picking off elites | Centered between defensive layers |
| Fall-back Points | Emergency survival zone | Near key resource infrastructure |
Effective Hero Management
Heroes are your force multipliers. Using them incorrectly—such as leaving them stationary in low-traffic areas—is a waste of potential.
- Rotation: Rotate heroes between defensive sectors based on where the heaviest enemy pressure is occurring.
- Special Ability Timing: Save ultimate or high-impact abilities for "Elite" waves rather than wasting them on standard mob clusters.
- Synergy: Position heroes near units that benefit from their specific aura or buff type.
Survival Tips for Late-Game Waves
As you push deeper into the Last Asylum campaign, the difficulty curve spikes. Follow these tactical adjustments to survive:
- Analyze Enemy Paths: Observe the spawn points and movement patterns. Build your kill zones specifically to funnel enemies into your highest damage-per-second (DPS) areas.
- Don't Ignore Repairs: A damaged wall is an invitation for a breach. Use downtime between waves to perform proactive maintenance on all structures.
- Adaptability: If a specific defensive setup fails, don't repeat the same mistake. Rearrange your turret layout to focus fire more efficiently on the specific enemy type that caused the breach.
Consistent Improvement
The key to mastering Last Asylum is iteration. After every encounter, evaluate what worked and what didn't. Did your turrets lack range? Were your heroes too far from the front line? By treating each wave as a learning opportunity, you can refine your layout and push further than before.
Stay alert, manage your resources wisely, and keep your defensive lines tight to ensure the survival of your asylum.

Free Last Asylum: Plague Codes
Current active codes and how to redeem them.

Emily Johnson
Emily writes practical mobile strategy guides with a focus on resource planning, base progression, and the early decisions that shape a long-term account.
COMMUNITY
Player Comments
54 players commented on this guide.
This guide answered the exact question I had.
Nice guide. I am checking the other Last Asylum: Plague articles next.
I tried this today and it worked better than my old setup.
The explanation is clear, especially for beginners.