
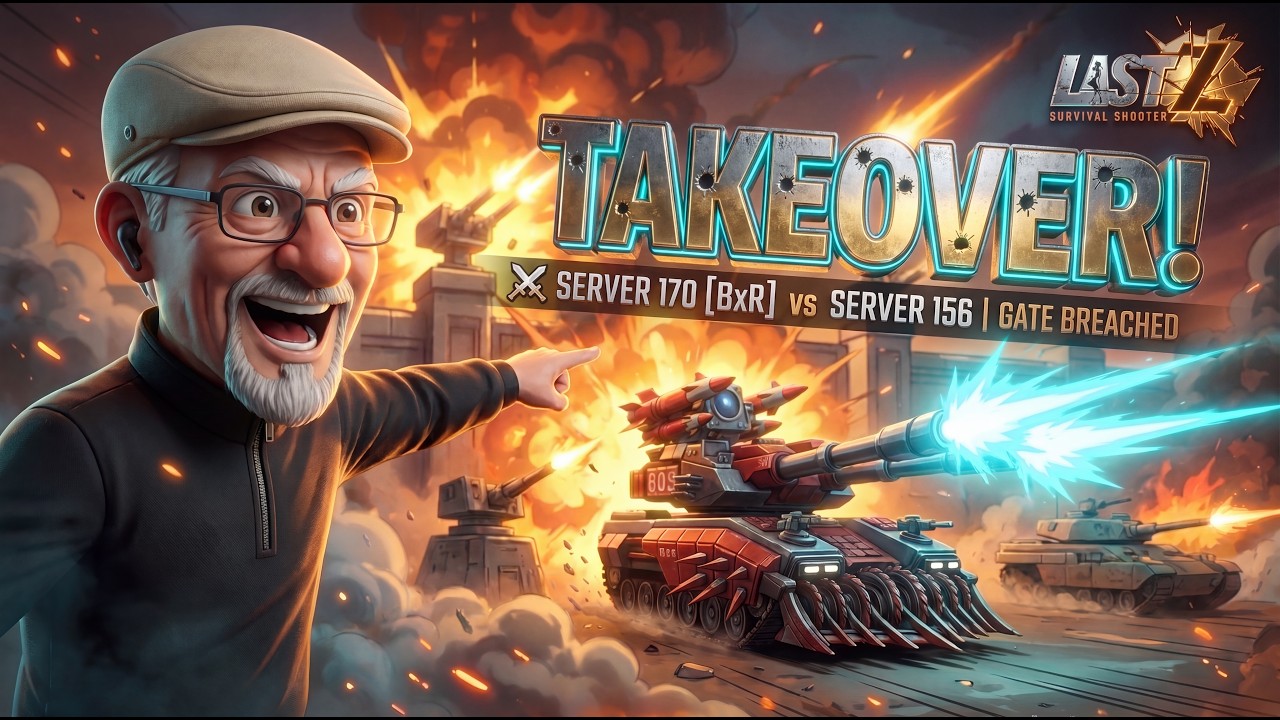
To capture and hold the Trade Hub during cross-server wars in Last Z: Survival Shooter, your alliance must relocate bases directly around the objective, breach the defensive garrison with synchronized rallies, and immediately rotate fresh reinforcements into the hub to endure counter-attacks.
Secure the Combat Perimeter
March distance directly dictates response time during Trade Hub conflicts. Long-range marches leave units vulnerable to interception and prevent defensive reinforcements from arriving before hostile strikes hit.
- Cluster Forward Bases: Primary rally leads and high-tier accounts must teleport onto the inner tiles closest to the Trade Hub to minimize march times.
- Position Support Bases: Secondary members should set up immediately behind the frontline cluster to provide rapid reinforcement lines without taking up inner tiles.
- Clear Enemy Bases: Scout and rally hostile bases occupying nearby tiles to force them to teleport away, eliminating close staging grounds for enemy solo marches.
Breach Fortified Enemy Garrisons
Attacking an entrenched Trade Hub with uncoordinated, solo marches results in heavy troop losses and grants kill points to the defender. Garrison defense relies on layered numbers, so your alliance must coordinate massed strikes led by your strongest offensive commanders.
- Lead with Your Strongest Offensive Commander: Designate rally leads with the highest offensive stats and rally capacity so all participating troops benefit from their bonuses.
- Launch Staggered Rallies: Time the main rally to hit the hub first, followed seconds later by secondary rallies to wipe out incoming enemy trickle reinforcements before they settle.
- Scout After Impact: Send immediate scouts following the primary impacts to evaluate remaining enemy defender counts and troop tiers.
- Occupy with Fast Marches: Once the defensive garrison drops below critical levels, dispatch rapid marches to clear the remaining defenders and secure the structure.
Rotate Garrisons and Manage Casualties
Holding the Trade Hub requires sustaining the garrison through successive enemy waves. Leaving a damaged garrison in place leads to a rapid collapse once the opposing server launches coordinated counter-rallies.
| Defense Stage | Primary Action | Critical Risk to Avoid |
|---|---|---|
| Immediate Takeover | Fill garrison capacity to maximum with high-tier troops | Leaving the hub under-defended during travel delays |
| Pre-Impact | Align defensive troop types to counter incoming rallies | Allowing mismatched units to absorb the main hit |
| Post-Impact | Dispatch fresh reinforcements to replace wounded troops | Letting garrison capacity linger below 50% strength |
| Sustained Defense | Recall depleted squads to base hospitals for recovery | Clogging the hub with low-tier or damaged units |
Hospital capacity must be monitored continuously during these exchanges. If your field hospital fills completely, subsequent casualties become permanent troop deaths. To maintain active troop counts:
- Heal in Small Batches: Queue short healing intervals to let alliance help taps clear timers instantly without burning speed-ups.
- Save Speed-Ups for Combat Spikes: Use healing speed-ups only when defending against active enemy rally pushes.
- Activate Peace Shields Under Pressure: If your home base takes direct fire while you reinforce the hub, activate a shield to prevent rear-guard losses.
Free Last Z: Survival Shooter Codes
Current active codes and how to redeem them.

Michael Smith
Michael covers live-service games, events, reward systems, and efficient daily routines, turning frequent updates into clear actions for players.
COMMUNITY
Player Comments
107 players commented on this guide.
This guide answered the exact question I had.
This helped me understand base building much better.
I tried this today and it worked better than my old setup.
The tips are practical and easy to follow.