
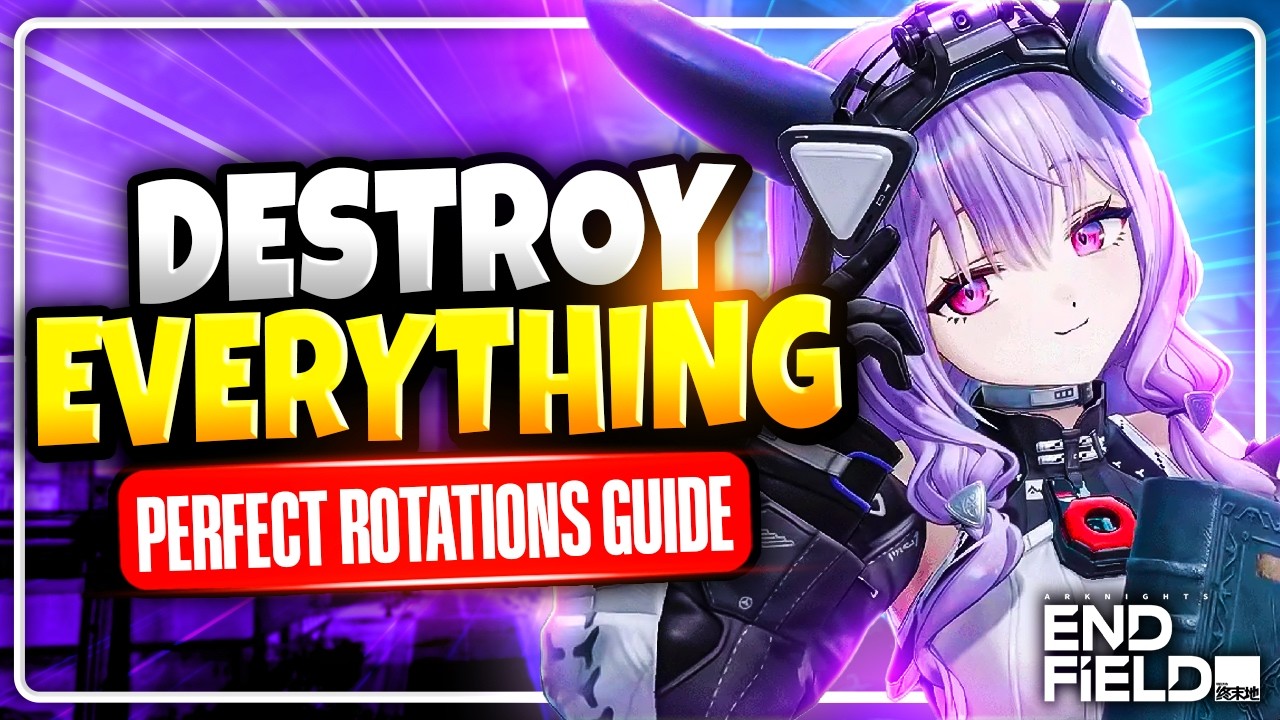

To master Typhoeus in Arknights: Endfield, you must move beyond basic ability spamming and embrace a rhythm-based approach to combat. Typhoeus is a premier damage dealer, but her effectiveness is tethered to how well you manage her ability uptime and position her within the battlefield. Whether you are clearing waves of mobs or burning down a high-health boss, her damage potential is dictated by your ability to weave skills and basic attacks efficiently. This guide breaks down the precise mechanics, team setups, and gear strategies required to play Typhoeus at a professional level.
Understanding Typhoeus’s Combat Role
Typhoeus excels as a sustained ranged damage dealer. Unlike burst-heavy assassins, her kit is designed to maintain consistent pressure. Her core strength lies in her ability to manipulate her own cooldowns and scale her damage based on target count.
To play her effectively, you must recognize that your primary goal is to minimize "dead air"—the time spent waiting for ability cooldowns without contributing meaningful damage. Because her scaling is heavily reliant on percentage-based buffs, she thrives in environments where she can remain stationary and focus on target prioritization.
Mastering the Two-Enemy Rotation
When facing two enemies, efficiency is your primary metric. The goal here is "cleave optimization." You want to ensure that every skill activation provides value across both targets simultaneously.
The Execution Strategy
- Initial Positioning: Engage from your maximum effective range. This keeps you safe from melee displacement attacks while ensuring your projectiles hit both targets in a cluster.
- The Sequence: Lead with your AOE-focused skill to apply any necessary debuffs or marks to both targets.
- The Weave: Between skill casts, move just enough to keep the enemies aligned in your line of sight. Do not over-reposition, as movement cancels your attack animation frames, leading to a net loss in DPS.
- Cooldown Management: Use your secondary utility skill to bridge the gap while your primary AOE skill resets. By alternating these, you keep constant pressure on both targets rather than focusing one down while the other remains at full health.
Executing Single-Target Burst Sequences
Against bosses, the strategy shifts from cleave management to "window maximization." You have a finite window of time where the boss is vulnerable or stationary; your goal is to dump your entire kit into that window.
The Optimal Burst Loop
- Step 1: The Setup. Activate your offensive buffs or team-wide damage amplifiers first. Never lead with your hardest-hitting skill if your damage buffs aren't active.
- Step 2: The Opener. Fire your primary damage skill immediately after the buff window opens. This guarantees every tick of that skill benefits from the multiplicative bonus.
- Step 3: The Filler. While your primary skill is on cooldown, perform a "Basic-Skill-Basic" weave. By inputting a basic attack immediately after a skill cast, you can often animation-cancel the recovery frames of the skill, allowing you to start your next attack faster.
- Step 4: The Reset. Once your rotation is complete, prioritize energy regeneration cycles. If you have teammates that grant energy, use them now to force your primary skill back off cooldown for a second burst.
Optimal Team Compositions for Typhoeus
Typhoeus is an anchor, not a nomad. She requires teammates who can protect her and facilitate her high-damage windows.
Synergy Priorities
- Crowd Control (CC) Enablers: Pair Typhoeus with units that can group enemies (vacuum or pull mechanics). When enemies are tightly packed, Typhoeus’s AOE efficiency skyrockets.
- Energy Batteries: Characters that restore energy are invaluable. They reduce the "downtime" mentioned in the previous sections, allowing you to cycle your rotations significantly faster.
- Aura Buffers: Since Typhoeus is a "stationary" carry, she benefits most from aura-based buffs that persist as long as you are within a certain radius. Avoid units that require you to chase them for buffs, as this forces movement and interrupts your DPS output.
Gear and Stat Prioritization
For high-level Arknights: Endfield content, gear is not just about raw numbers; it is about scaling. Avoid flat stat bonuses once you hit the mid-to-late game; these fall off sharply compared to percentage-based scaling.
Stat Priorities
- Attack Percentage (ATK%): This is your most important stat. It acts as the multiplier for all your skill damage.
- Skill Haste / Cooldown Reduction: This is the "hidden" DPS stat. Reducing your cooldowns by even 10% can mean the difference between getting off two rotations during a boss's "stunned" phase versus only one.
- Energy Regeneration: If you find your rotations feel sluggish, swap a secondary piece of gear for one with an energy regeneration substat. Fluidity is better than raw damage if it means you can reach your primary rotation 20% faster.
Common Mistakes to Avoid
- The "Panic Move": The most common mistake players make is moving too much. Every step you take is a moment you aren't attacking. Only move if you are about to be hit by a high-damage ability or if the enemy has moved out of your optimal range.
- Ignoring Buff Windows: Players often hold their ultimate or burst skills for "the perfect moment" that never comes. In Arknights: Endfield, it is often better to use your skills on cooldown to ensure you get more total uses over the course of the fight.
- Sub-optimal Targeting: Always ensure your camera is positioned so your AOE skills hit the maximum number of targets. If you are aiming at a single target in a crowd, you are wasting your primary kit's potential.
Conclusion: Consistent Execution is Key
Typhoeus rewards players who treat Arknights: Endfield combat like a dance. By mastering the distinction between her cleave rotations and her single-target burst loops, you can significantly outperform standard playstyles. Focus on your gear substats to hit those critical cooldown thresholds, and always prioritize team units that keep your energy flowing. Remember: Typhoeus’s damage is not just about the numbers on the screen—it is about the efficiency of your sequence management.

Michael Smith
Michael covers live-service games, events, reward systems, and efficient daily routines, turning frequent updates into clear actions for players.
COMMUNITY
Player Comments
66 players commented on this guide.
I tried this today and it worked better than my old setup.
The tips are practical and easy to follow.
Nice guide. I am checking the other HOT articles next.
This helped me understand base building much better.