
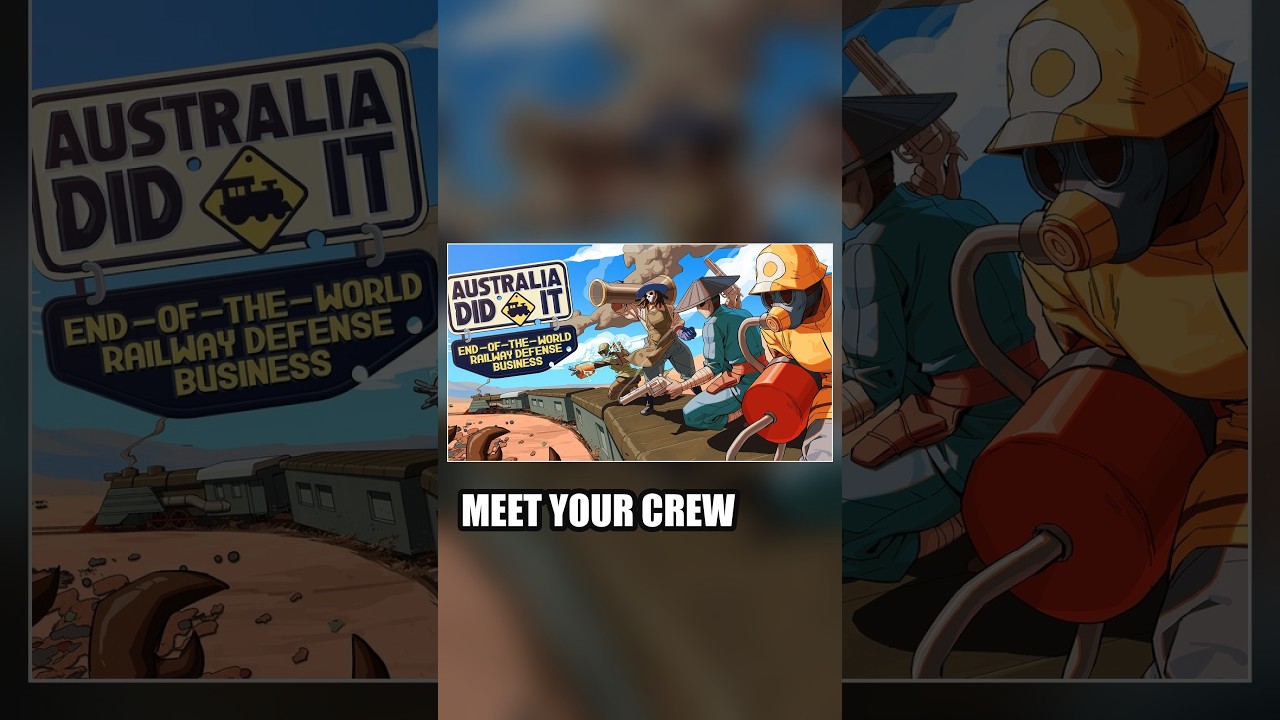

In Australia Did It: End-of-the-World Railway Defense Business, tactical defense succeeds or fails entirely at the train station. To keep your train running through hostile territory, assign durable applicants to the front platform to stall incoming horde charges, then position damage dealers and rear security across the carriages to clear remaining targets. Because rail combat in this turn-based autobattler runs automatically, you cannot issue movement or targeting commands once the train departs the depot.
The Station Planning and Rail Combat Loop
Australia Did It divides each railway run into two linked phases: stationary planning at the depot and automated horde defense along the tracks.
During the station phase, you have full control over applicant recruitment, platform assignments, and defensive spacing. Once your formation is locked and the train departs, direct control ends. The combat simulation then executes automatically according to unit stats and platform positions.
If your frontline breaks or lacks damage support, oncoming swarms will push past the engine and tear through fragile carriages. Every post-departure encounter serves as a live test of the spatial setup you locked in at the platform.
Crew Roles and Train Placement
Stationing recruits requires balancing survival and damage output. Frontline defenders need sufficient durability to survive the opening collision, while mid-train and rear units must provide the firepower required to cull swarms before they breach train defenses.
| Role | Platform Placement | Tactical Objective | Critical Risk |
|---|---|---|---|
| Frontline Vanguard | Leading engine platforms | Absorb horde charges and stall swarms | Collapsing without rear fire support |
| Midline Fire Support | Carriage roofs and walkways | Strip enemy health and clear clusters | Taking direct melee hits if the front falls |
| Rear Guard | Trailing platforms and caboose | Intercept flanking pursuers and leaking foes | Overlooking tail-end swarm spawns |
Structuring an Interlocking Defense Grid
To prevent swarms from flanking isolated cars, organize your crew into mutually supporting defensive zones across the train:
- Anchor the forward platform edge with a durable vanguard. This absorbs initial horde aggression and prevents direct damage to critical engine components.
- Place direct-damage recruits immediately behind the frontline. These units attack stalled enemies at the vanguard bottleneck without taking direct melee strikes.
- Deploy ranged specialists on elevated walkways. Roof and walkway positions provide wide sightlines to maintain continuous fire across rail arcs.
- Guard trailing platforms with rear security. Rear defenders catch fast-moving flankers and secondary spawns that slip past the front carriages.
Managing Roster Attrition Between Stations
Because combat encounters run automatically, treat every rail leg as a diagnostic check. Watch where your formation takes damage during wave spikes to identify gaps in crowd control, durability, or rear coverage.
When your train reaches the next station, review incoming applicants to replace fallen or weakened defenders. Swap depleted frontline units before departing, but avoid overspending on frontline defense at the expense of your mid-train damage dealers. Maintaining an intact vanguard supported by overlapping fire ensures your railway defense business survives successive contracts across the frontier.

Emily Johnson
Emily writes practical mobile strategy guides with a focus on resource planning, base progression, and the early decisions that shape a long-term account.
COMMUNITY
Player Comments
91 players commented on this guide.
This helped me understand strategy much better.
This saved me time in the early game.
I wish I had read this before upgrading the wrong thing.
This guide answered the exact question I had.