
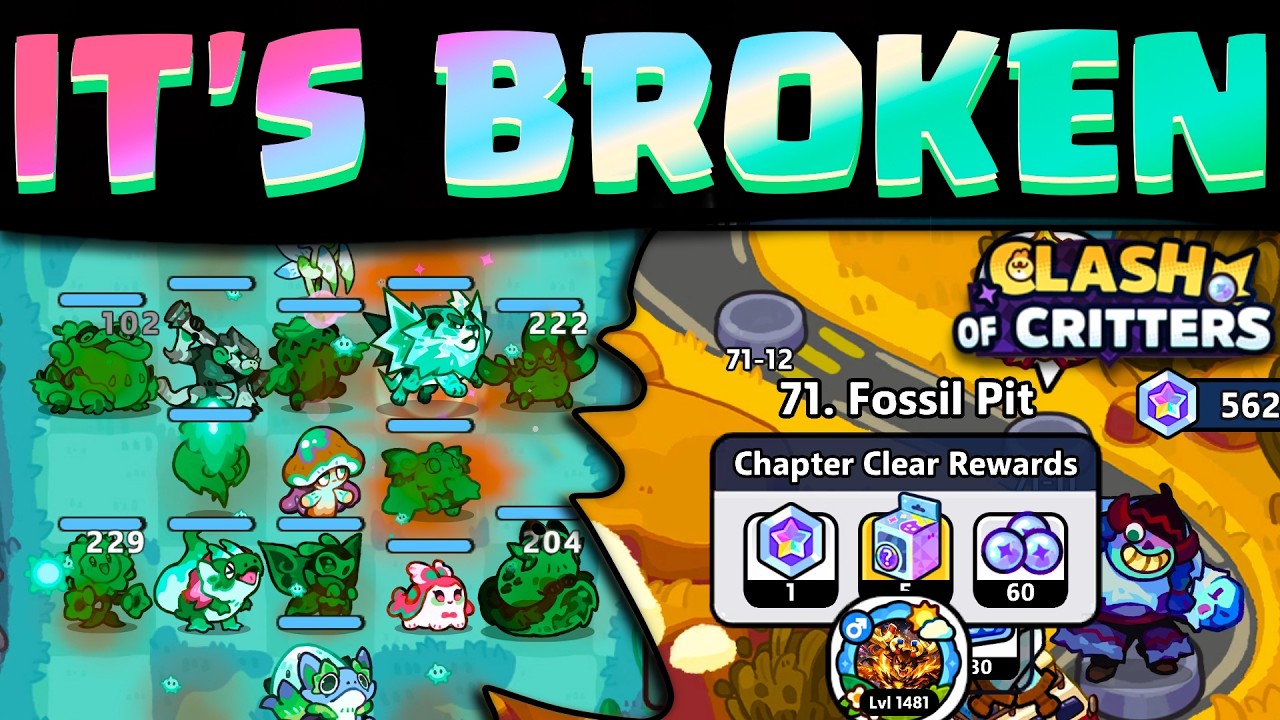

Reaching Chapter 71 in Clash of Critters requires more than just high-level units; it demands a strategic formation that maximizes synergy and survivability. By focusing on specific unit placements and leveraging the right combination of skills, you can overcome the power gaps that often stall progression in the later chapters. This guide breaks down the essential formation adjustments needed to push past these milestones and maintain momentum throughout your journey.
Strategic Unit Positioning for Chapter 71
Success in the higher chapters of Clash of Critters is heavily dependent on how you organize your squad. Placing your strongest damage dealers and crowd-control units in specific slots can change the outcome of a battle entirely. For players pushing toward Chapter 71, prioritizing the placement of units that can sustain hits while dealing consistent damage is the most effective way to clear the screen of zombie hordes.
If your current setup is failing, shift your focus to the front line. Positioning tanks or units with high durability at the start of your formation ensures that your back-line glass cannons have enough time to trigger their skills. This front-to-back strategy prevents the enemy from overwhelming your team before you have the chance to launch your most powerful abilities.
Maximizing Skill Synergy and Ability Timing
The game relies on a combination of active and passive skills that must be managed to handle the increasing health pools of late-game enemies. You should prioritize leveling up Critters that offer crowd control, as these abilities are essential for stalling the progression of faster zombies. Timing your skills to trigger simultaneously can create a "burst window" that clears even the most difficult waves.
- Prioritize Crowd Control: Use units that freeze or stun to buy time for your DPS units.
- Sync Ability Cooldowns: Try to align the activation of your damage-boosting skills with your high-output attackers.
- Observe Enemy Patterns: Pay attention to which enemies reach your backline first and adjust your formation to counter those specific threats.
Identifying Key Critters for the Late Game
Not all units perform equally when you reach the higher difficulty thresholds. Certain Critters provide passive buffs that become increasingly valuable as the stage count rises. When evaluating your roster, look for units that provide group-wide bonuses to attack speed or critical hit damage. These buffs are often the deciding factor in whether you can clear a boss wave within the time limit.
If you are struggling with a specific level, check if your current team lacks a core support Critter. A support unit that can bridge the gap between your damage dealers and the enemy's high health bars is vital. Even if a unit seems weaker individually, its contribution to the overall team formation can be significantly higher than a high-rarity unit that lacks synergy with the rest of your squad.
Managing Trade-offs in Formation Building
Every formation involves trade-offs between pure damage and sustainability. While it is tempting to stack your team with the highest attack-stat units, this often leads to a failure in survival during longer combat sessions. When preparing for Chapter 71, aim for a balanced team composition that can handle both the swarm-style combat of standard waves and the high-intensity damage output of boss encounters.
The limitation of this approach is that you may need to sacrifice some raw DPS to fit defensive or utility units into your slots. However, the trade-off is almost always worth it. A team that can survive until the very end of a match will consistently outperform a team that clears early waves quickly but dies to boss mechanics.
Adapting to Difficulty Spikes
As you progress deeper into the game, you will inevitably hit walls where your current power level seems insufficient. Rather than simply waiting for passive resource gains, revisit your formation settings. Small tweaks—such as swapping one unit's position with another—can often yield the extra performance needed to clear a stage.
- Test and Iterate: If a formation fails, do not reset immediately. Try moving your primary DPS to a different slot to see if it changes the target prioritization of the enemy AI.
- Leverage Buffs: Ensure your formation is benefiting from any active faction or type-specific bonuses, as these percentage-based gains scale better than flat stats as you reach higher levels.
- Focus on Boss Mechanics: If you are failing on a boss, identify the boss's attack rhythm and place your most durable unit in the path of its primary strike.

Sarah Williams
Sarah specializes in RPG and collection games, explaining team building, character growth, and beginner-friendly ways to avoid expensive early mistakes.
COMMUNITY
Player Comments
132 players commented on this guide.
The explanation is clear, especially for beginners.
The tips are practical and easy to follow.
Can you add more details about strategy in a future update?
Nice guide. I am checking the other HOT articles next.