
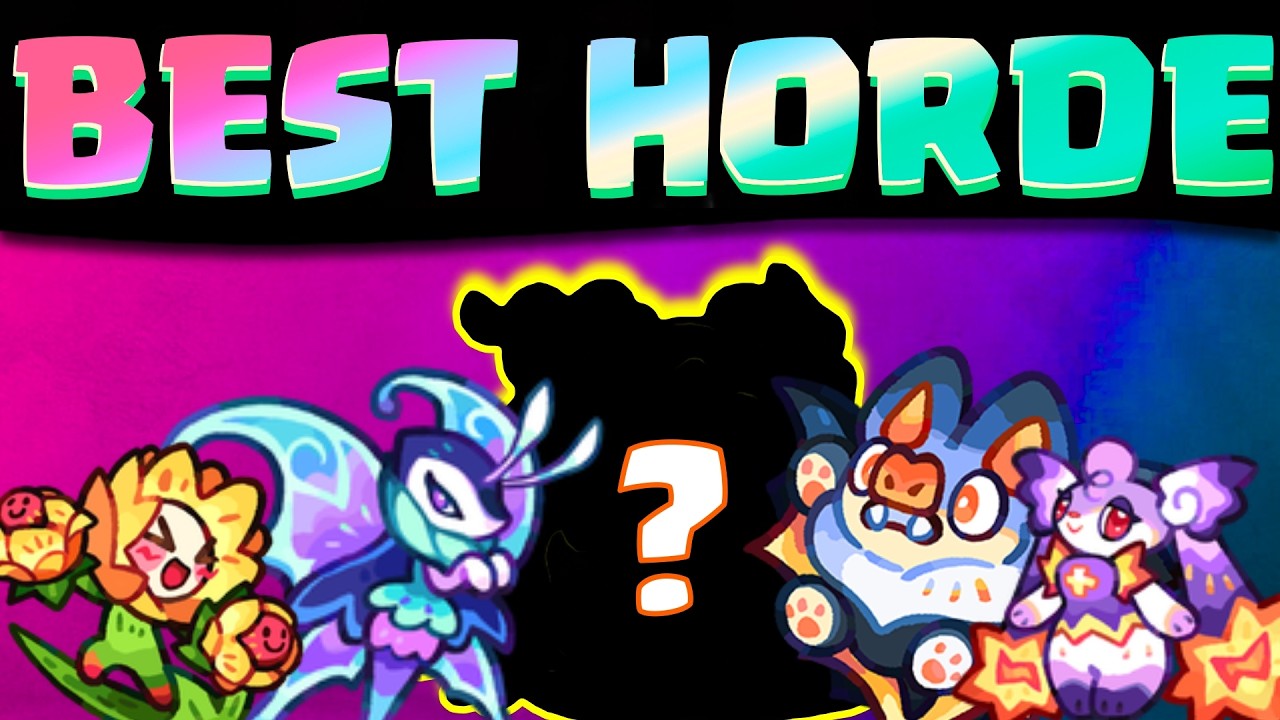

To survive the upcoming Horde Invasion in Clash of Critters, your squad composition must move away from standard Arena builds and prioritize units that offer high crowd control, massive Area of Effect (AOE) damage, and sustained defensive utility. The Horde Invasion mode requires a shift toward high-density enemy management, where the sheer volume of zombies threatens to overwhelm your frontline. Focusing on these five essential Tatari units will provide the necessary synergy and raw power to clear waves efficiently and secure your rewards during the Season 1 event.
1. Prioritizing AOE Damage and Crowd Control
In the Clash of Critters Horde Invasion, the primary threat is not the strength of individual enemies, but the sheer volume of the swarm. You need units that can clear large clusters simultaneously rather than focusing on single-target damage.
Tatari units with AOE abilities are mandatory because they prevent your frontline from being collapsed upon. When selecting your lineup, prioritize units that possess "knockback" or "stun" mechanics. These crowd-control effects are vital; they provide the necessary breathing room for your backline damage dealers to output their full potential without being interrupted or overwhelmed by the encroaching horde.
2. The Value of Sustained DPS
While burst damage is effective in short-form battles or boss skirmishes, the Horde Invasion favors units that maintain consistent damage output over extended periods. Because invasion waves increase in frequency and density, units that rely on long, static cooldowns often leave your squad vulnerable during the downtime.
Look for Tatari units that offer attack speed buffs or passive damage-over-time (DOT) effects. These units ensure that even when your primary screen-clearing skills are recharging, you are still actively whittling down the enemy health bars. Efficiency in this mode is defined by your "damage per second" consistency rather than single-hit maximums.
3. The Core Tatari Roster for Season 1
To prepare for the Season 1 event, you should build a balanced team around these five specialized archetypes. Each brings a unique mechanical advantage that targets the aggressive AI behaviors of the incoming zombies:
- The Wave-Clear Specialist (High-Impact AOE): Essential for deleting initial wave spawns the moment they enter the screen.
- The Crowd Control Expert (Stun/Slow): Best utilized for bottlenecking elite zombie units that threaten to break your defensive formation.
- The Support Anchor (Healing/Shielding): Provides the sustainability required to keep your fragile DPS units alive through the final, high-damage waves.
- The Frontline Bulwark (Tank): Mandatory for absorbing damage and holding the line; their survival is the gatekeeper for your entire team's success.
- The Scaling Executioner (Scaling DPS): Specifically chosen for late-stage waves where enemy health pools balloon beyond the capability of standard attackers.
4. Strategic Resource Management
Preparation for the Horde Invasion requires aggressive and focused resource allocation. Do not spread your upgrade materials across your entire roster.
Instead, focus your gold and experience items strictly on your core five-unit squad. If you attempt to level up your entire collection evenly, you will find yourself lacking the "power density" required to meet the damage thresholds of higher-level invasion stages. Keep your core five units at the current level cap to ensure they remain viable; a single under-leveled unit in the Horde Invasion acts as a weak link that enemies will quickly exploit to break your line.
5. Strategic Trade-offs and Flexibility
While the five units identified are top-tier for the Horde Invasion, acknowledge that they may lack the specific versatility required for Arena combat or standard story progression. The primary trade-off when committing to a "Horde-focused" build is a potential loss of efficiency in single-target boss encounters.
If you find your team struggling against elite boss spawns during the invasion, consider swapping your pure AOE unit for a single-target specialist. Only do this if your frontline is currently capable of holding the wave without the extra AOE support. Balance is key; identify which aspect of your defense is failing—is it the wave clear or the boss damage?—and adjust accordingly.
6. Optimizing Gear for Maximum Survival
Beyond base character levels, your gear configuration plays a critical role in surviving the Clash of Critters Horde Invasion. For your selected Tatari units, prioritize gear that grants "Effect Resistance" and "Cooldown Reduction."
Being able to trigger your crowd control abilities more frequently is often significantly more valuable than stacking raw attack power. Additionally, check your inventory for items that boost "Damage Reduction" or "Health Recovery" for your frontline. Since the entire team's success hinges on the frontline's ability to withstand the initial wave impact, gear that keeps your tank standing is the most effective way to extend your run time and maximize your rewards.
Final Expert Insights
Success in Clash of Critters events is rarely about having the rarest units; it is about having the right units for the specific encounter mechanics. As you enter Season 1, prioritize the synergy between your Crowd Control unit and your Scaling DPS. By keeping your frontline healthy and your AOE cooldowns cycling, you will maintain control of the board regardless of how many zombies the game throws at you. Remember to check the event leaderboards during the first few days of the season to see which Tatari combinations are currently holding the top spots—this is often the fastest way to identify "meta" shifts in real-time.

Emily Johnson
Emily writes practical mobile strategy guides with a focus on resource planning, base progression, and the early decisions that shape a long-term account.
COMMUNITY
Player Comments
136 players commented on this guide.
Good guide for HOT players. The updates part was useful.
I tried this today and it worked better than my old setup.
This saved me time in the early game.
This helped me understand updates much better.