
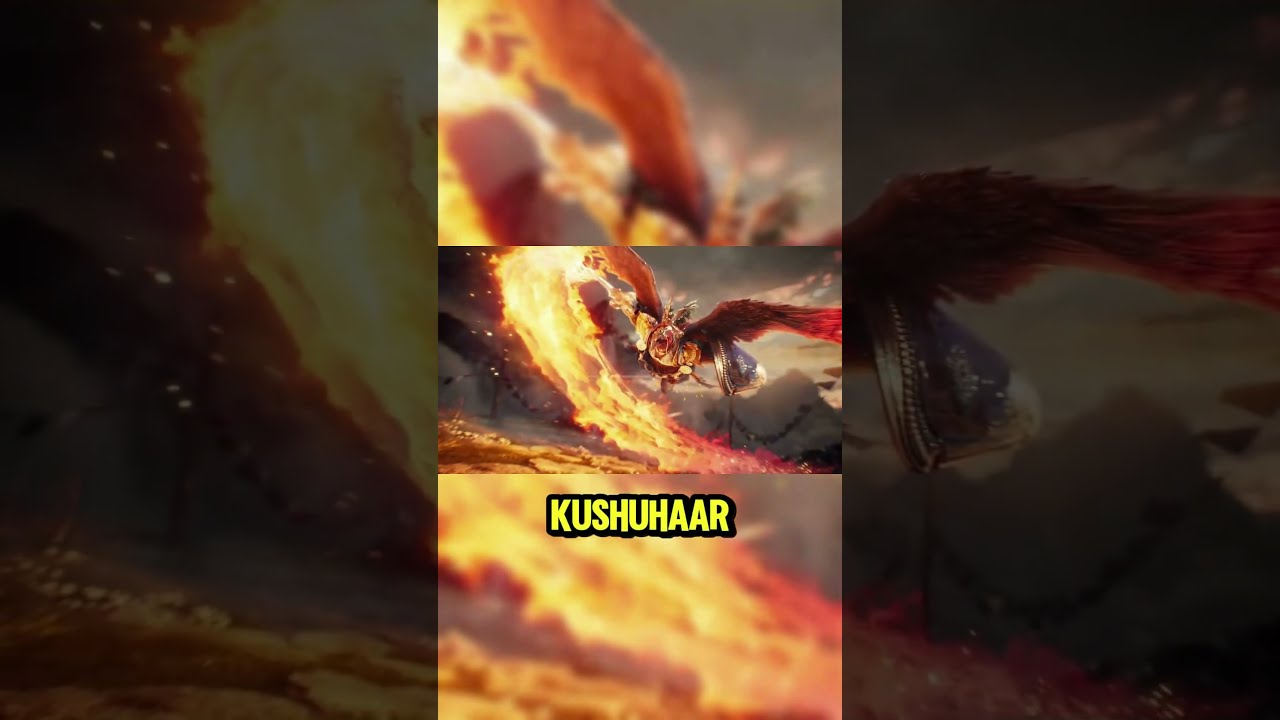

To keep your squad alive with Kushuhaar in Dragonheir: Silent Gods, deploy him as a central frontline guardian who absorbs redirected ally damage, pre-casts defensive shields before boss skill rotations, and reserves temporary immortality for unmitigated, wipe-tier attacks.
Kushuhaar counters high burst damage by combining damage redirection, squad-wide shielding, active health recovery, and temporary invulnerability. Because his kit focuses entirely on survivability rather than offensive output, his primary role is buying enough time for high-damage carries to defeat difficult bosses.
Managing Damage Sharing on the Frontline
Kushuhaar protects fragile backline allies by tethering their incoming damage to his own health pool. When opponents use area-of-effect cleaves, split-target mechanics, or stray projectiles that bypass standard taunts, Kushuhaar absorbs a portion of the hit intended for his teammates.
This redirection turns lethal single-target burst into dispersed chip damage, but it places intense pressure on Kushuhaar. To manage this strain:
- Anchor the central grid: Position Kushuhaar in the middle of your frontline formation so that all deployed allies stay within range of his protection.
- Maintain defensive barriers: Never allow redirected attacks to strike unshielded health during enemy burst phases.
- Pair with aggressive carries: Kushuhaar sacrifices personal damage to keep teammates intact. Run dedicated damage dealers who can capitalize on this protection before extended attrition wears Kushuhaar down.
Timing Shields to Absorb Redirected Burst
Deploy shields proactively rather than reactively. When an ally takes damage while shielded, the redirected portion hits Kushuhaar’s barriers instead of depleting his raw health pool. Activating shields after allies have already lost health wastes their mitigation value against heavy opening strikes.
| Combat Phase | Shield Objective | Tactical Trigger |
|---|---|---|
| Pre-Burst Preparation | Absorbs full initial impact of incoming boss abilities | Cast when the boss energy meter fills |
| Mid-Fight Transition | Soaks incidental cleave and steady damage redirection | Reapply to protect low-health carries |
| Post-Burst Recovery | Prevents follow-up attacks from finishing weak allies | Layer barriers immediately alongside squad heals |
Coordinating Squad Healing and Immortality
Because continuous damage sharing chips away at Kushuhaar's health pool, rely on his built-in squad healing to restore team hit points immediately after heavy hits land. Healing directly after an area-of-effect blast stabilizes the entire formation at once, eliminating the need to bring multiple dedicated healers.
When facing mechanics capable of piercing shields and standard defenses, use Kushuhaar’s temporary immortality as an emergency fail-safe:
- Watch enemy ultimate charges: Track boss energy bars and windup animations to anticipate lethal burst attacks.
- Hold immortality for lethal spikes: Save the invulnerability window specifically for mechanics that threaten to wipe the squad, avoiding routine basic attacks.
- Trigger heals immediately after immortality ends: As soon as invulnerability expires, cycle squad heals and fresh shields to prevent lingering environmental damage or basic attacks from securing a knock-out.

Emily Johnson
Emily writes practical mobile strategy guides with a focus on resource planning, base progression, and the early decisions that shape a long-term account.
COMMUNITY
Player Comments
109 players commented on this guide.
This helped me understand strategy much better.
Good guide for HOT players. The strategy part was useful.
Can you add more details about strategy in a future update?
This guide answered the exact question I had.