
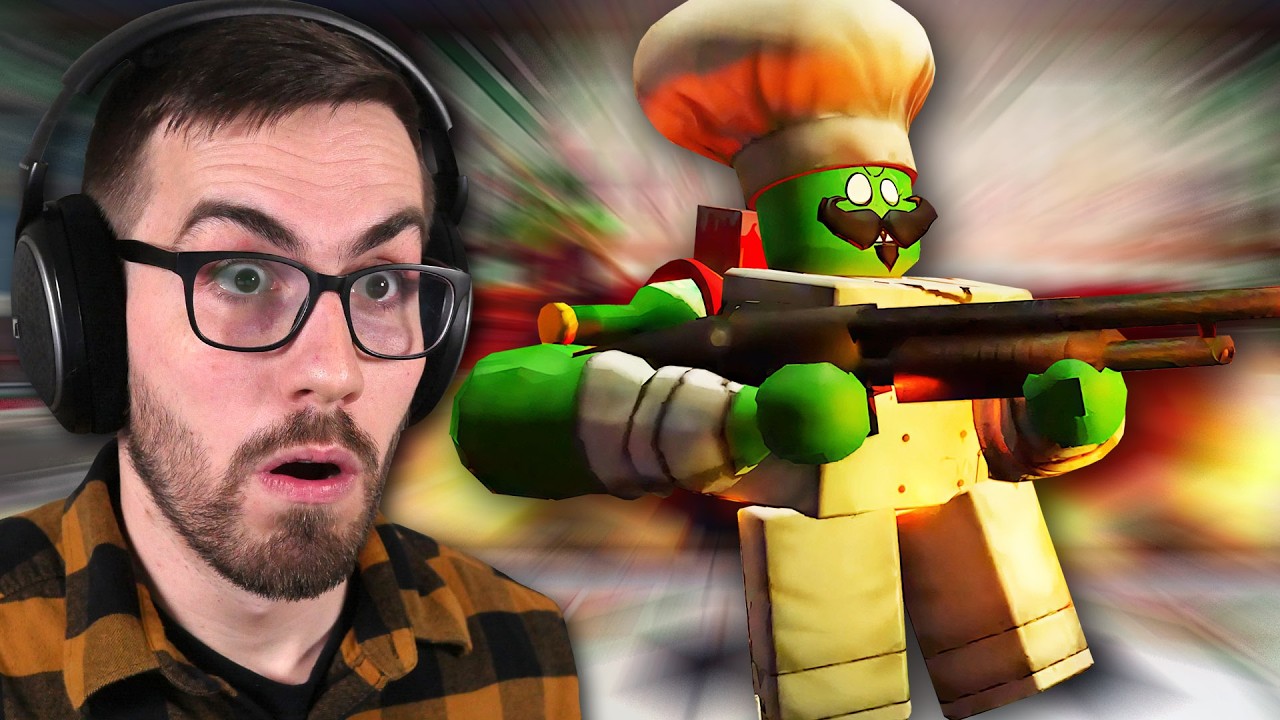

Defeating Chef Sarge requires a balanced team composition capable of handling high-HP boss encounters while simultaneously managing waves of lesser zombie enemies. To succeed in this Chapter 5 encounter, players must focus on deploying high-damage area-of-effect units to clear the path, followed by sustained single-target DPS to whittle down the boss's health pool before his unique abilities overwhelm your defensive line.
Managing the Chapter 5 Zombie Wave Mechanics
The primary challenge when facing Chef Sarge is not just the boss himself, but the constant influx of zombie-type enemies that serve as his support. These units act as a screen, absorbing your primary damage dealer's attacks and preventing you from effectively targeting the boss. You must prioritize clearing these smaller mobs immediately to ensure your heavy hitters can maintain a direct line of fire against Chef Sarge.
When the screen fills with zombie reinforcements, avoid deploying your most expensive units until the initial wave is thinned out. If you exhaust your resources on the trash mobs, you will find yourself defenseless when Chef Sarge begins his primary attack sequence. Always keep a buffer of low-cost, disposable units available to soak up hits while your main damage dealers recharge their internal cooldowns.
Positioning Your Units Against Chef Sarge
Strategic unit placement is the difference between a clean win and a failed attempt. Because Chef Sarge occupies a significant portion of the lane, his attack range is deceptively large. Keeping your primary damage units at the maximum possible distance allows them to fire safely without entering the boss's immediate melee or special attack radius, which often results in instant unit destruction.
You should aim to create a "meat shield" formation using your most durable units directly in front of the boss. By placing high-health tanks at the front, you draw the boss’s focus and force him to remain stationary. This positioning is essential because it prevents Chef Sarge from advancing further into your territory, which would otherwise threaten your backline support units and render your ranged attackers ineffective.
Prioritizing Target Selection for Maximum Damage
Success in this encounter hinges on your ability to cycle through your available units to keep consistent pressure on the boss. Never rely on a single damage source; instead, use a mix of rapid-fire units to keep the zombies at bay and high-impact units to target Chef Sarge. If you focus entirely on the boss while ignoring the creeping zombie horde, the cumulative damage from the mobs will bypass your tanks and collapse your formation.
Monitor the boss’s health bar and look for distinct visual cues that signify a change in his attack pattern. When Chef Sarge prepares his heavy-hitting special move, you should immediately rotate in your sturdier, high-HP units to absorb the impact. This trade-off is necessary to protect your low-health, high-damage dealers, who are the only ones capable of finishing the boss within the required time limit for Chapter 5 completion.
Optimizing Your Roster for Boss Encounters
For players struggling with Chef Sarge, the solution often lies in adjusting the team composition before even entering the battle. Include at least two units with knockback or slow-effect abilities. These crowd-control mechanics are invaluable in Chapter 5, as they provide the extra seconds needed to reset your formation or allow your longer-range units to reposition themselves for optimal damage output against the boss.
Avoid bringing units that deal purely splash damage if they lack sufficient single-target DPS. While splash damage is excellent for clearing the zombie mobs, it is often ineffective against a high-health boss like Chef Sarge. A balanced team should feature:
- Two high-health tanks to anchor the frontline.
- Two long-range units for consistent boss damage.
- One utility unit with crowd-control or slowing capabilities.
By adhering to this structure, you ensure that you are prepared for both the density of the zombie reinforcements and the specific survival requirements of the Chef Sarge encounter. Remember that progression in Chapter 5 is iterative; if you find yourself failing at the final stage, revisit your unit upgrades to ensure your core damage dealers are at the maximum level allowed for your current player rank.

James Brown
James focuses on Android gaming on PC, emulator setup, controls, performance tuning, and practical troubleshooting for longer play sessions.
COMMUNITY
Player Comments
34 players commented on this guide.
Can you add more details about strategy in a future update?
I tried this today and it worked better than my old setup.
The tips are practical and easy to follow.
This helped me understand strategy much better.