
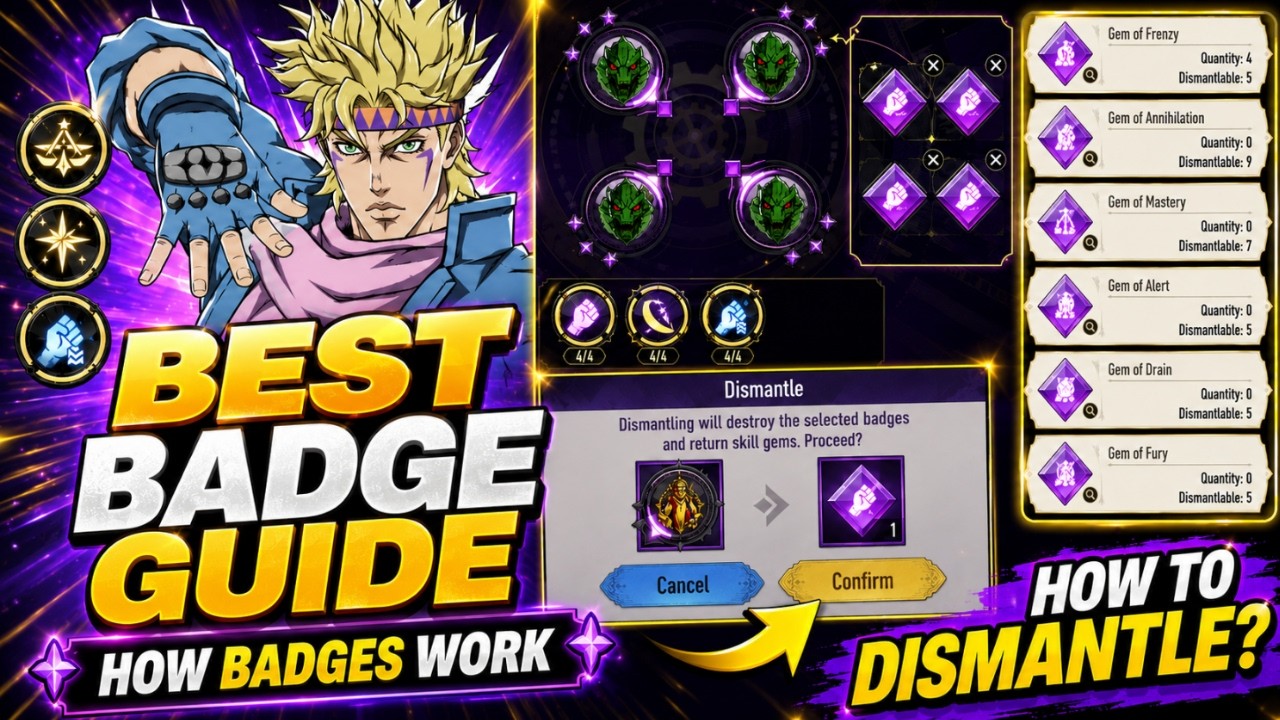

In JoJo Golden Spirit, badges are the backbone of your character's power, acting as the primary way to define roles, boost stats, and unlock unique passive abilities. Many players mistakenly focus entirely on badge rarity or character themes, leading to suboptimal team compositions that struggle in late-game content.
To truly excel, you must look past the "Legendary" label and understand how individual badge effects interact with your character’s specific combat role. This guide covers the mechanics of badge management, from crafting and promotion to the essential logic behind dismantling and slotting Skill Gems.
Understanding How Badges Work
Badges in JoJo Golden Spirit are gear pieces that provide base stat increases and passive gameplay modifiers. Every badge comes with an inherent rarity—Rare, Epic, or Legendary—which determines its base stat ceiling. However, the true value of a badge lies in its Passive Effect.
These effects are often conditional. For example, a badge might grant a 15% damage bonus, but only if the character is classified as "Melee." If you equip that badge on a "Ranged" character, you are effectively wasting a slot, as the passive will never trigger. Always prioritize badges that feature effects aligning with your character's primary attack type and role.
Prioritizing Effects Over Rarity
The most common mistake new players make is equipping a Legendary badge simply because of its color. While Legendary badges offer higher base statistics, an Epic badge with an effect that perfectly synergizes with your character’s kit will consistently outperform a misaligned Legendary piece.
How to Evaluate a Badge:
- Check the Role Requirement: Does the effect specifically trigger for Melee, Ranged, or Support characters?
- Analyze the Synergy: Does the passive boost a stat the character actually uses? (e.g., Attack Speed for high-frequency attackers, or Critical Damage for burst-heavy characters).
- Set Bonuses: Look for badge sets. Wearing multiple pieces from the same set often unlocks powerful resonance bonuses that provide a much larger power spike than mixing and matching random high-rarity items.
The Art of Dismantling
Inventory management is a core loop in JoJo Golden Spirit. As you progress, you will naturally accumulate a high volume of low-tier badges. Instead of letting these clog your inventory, you should use the Dismantle feature.
Why You Should Dismantle:
- Resource Reclamation: Dismantling returns crafting materials and currency needed for promoting your primary gear.
- Space Management: A full inventory prevents you from collecting new rewards.
- The "Placeholder" Rule: Before you dismantle, ensure you aren't breaking down a badge that could serve as a decent "placeholder" for secondary units used in specialized modes or tower challenges. If a badge has a niche effect that isn't useful for your main team but provides a unique utility (like increased healing or debuff resistance), keep one copy in reserve.
Mastering Skill Gems
Skill Gems act as the "socket" system for your gear. Not all badges have sockets, but those that do provide a significant advantage by allowing you to customize your stats further.
- Socketing Strategy: Only use your highest-tier Skill Gems on your "End-Game" badges—the ones you know will remain on your main team for the foreseeable future.
- Gem Matching: Pay attention to the color or type requirements of the socket. Some badges may only accept specific gem types, meaning you need to farm for the correct match to fully unlock the badge’s potential.
- Don't Hoard: While you shouldn't waste gems on temporary gear, don't hoard them forever. If you have a solid "Epic" or "Legendary" badge that you will use for weeks, slotting a decent gem into it is a worthy investment to speed up your progression.
Strategic Badge Promotion
Promotion allows you to consume duplicates and resources to increase the level and potency of a specific badge. Because resources are finite, you must be surgical with your promotion choices.
- Focus on DPS First: Your primary damage dealers should receive your promotion priority. A fully promoted badge on your main carry is more valuable than spreading small upgrades across five different support characters.
- Universal Effects: If you are unsure which badge to promote, look for universal, high-impact stats. Percent-based increases to Attack, Defense, or Speed are almost always better than flat-stat bonuses, which lose value as your character levels up.
- Avoid "Over-Promotion": Do not promote a badge that you know you will replace in the near future. If you are close to unlocking a higher-tier set or a legendary drop, save your materials.
Common Mistakes to Avoid
- Ignoring Role Requirements: As mentioned, equipping a Ranged-only badge on a Melee unit is a wasted equipment slot. Always read the fine print.
- Equipping for Aesthetic: Don’t equip a badge just because it features your favorite character. The stats and the passive effect are the only things that matter for your combat effectiveness.
- Ignoring the "Set" Bonus: Players often favor three individual pieces of high rarity over a full set. In most cases, the full set bonus—which provides unique passives or team-wide buffs—is mathematically superior to the sum of three random high-tier pieces.
- Hoarding Crafting Materials: If you are stuck on a difficult boss or level, check your crafting menu. You may have enough materials to promote your current gear to push past the hurdle. Don't sit on a pile of materials while your team remains under-geared.
Summary Checklist for Progression
- Early Game: Focus on completing basic sets regardless of rarity to get the set bonuses.
- Mid Game: Begin dismantling low-tier, non-set items to promote your best pieces.
- Late Game: Farm for specific Legendary badges with high-value passives, and ensure every socket is filled with the highest-tier Skill Gem available.
By systematically refining your badge library and focusing your resources on synergistic effects rather than just rarity, you will significantly increase your overall combat power. If you find yourself struggling with a specific character build, take a moment to re-read the passive effects of your equipped badges—you will often find that a small adjustment in your loadout is the difference between victory and defeat.

Sarah Williams
Sarah specializes in RPG and collection games, explaining team building, character growth, and beginner-friendly ways to avoid expensive early mistakes.
COMMUNITY
Player Comments
130 players commented on this guide.
The explanation is clear, especially for beginners.
This helped me understand resources much better.
This saved me time in the early game.
Good guide for HOT players. The resources part was useful.