
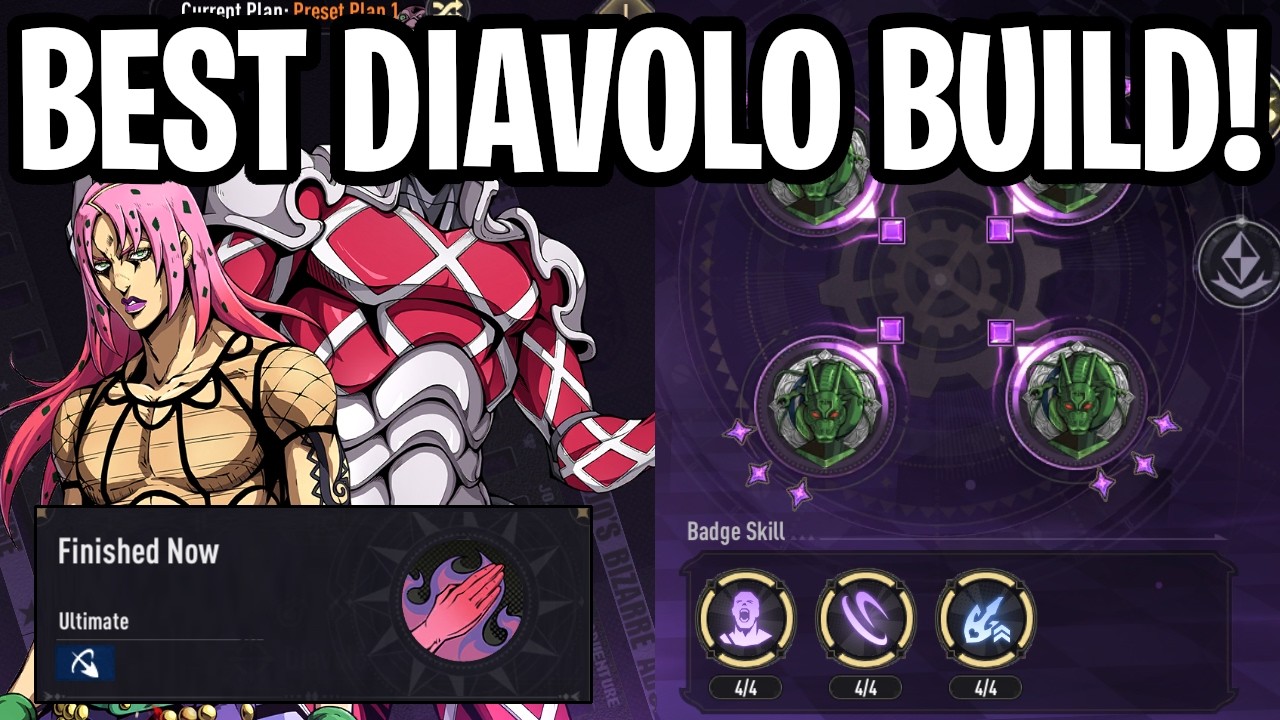

Diavolo stands as one of the most potent damage dealers in JoJo Golden Spirit, but his ceiling is entirely dependent on how you allocate your Badges, Scenes, and duplicate resources. Because Diavolo functions as a high-octane "glass cannon," your build must prioritize multiplicative scaling over flat stat increases to ensure he stays relevant in high-level content. To master this unit, you must move beyond basic leveling and focus on the specific synergies that allow his ultimate ability to bypass enemy defenses and wipe the field.
Prioritizing Diavolo’s Badge Loadout
In JoJo Golden Spirit, Badges are the primary engine for your character's base performance. For a unit like Diavolo, spreading your stats thin is a fatal error. You must ignore defensive or utility stats and exclusively target Critical Rate and Critical Damage modifiers.
- The Critical Synergy: Diavolo’s kit inherently rewards high-frequency critical hits. Aim for a Badge set that grants at least 40–50% Crit Rate before factoring in external buffs.
- Prioritizing Secondary Stats: When rolling or selecting high-tier badges, prioritize "Crit Damage" as a secondary stat. A high Crit Rate is useless if your hits aren't dealing meaningful bonus damage.
- Set Bonuses: Always complete full Badge sets to unlock the tier-exclusive bonuses. A partial set that offers minor stat boosts is significantly weaker than a full set that provides a percentage-based damage multiplier.
If you find your damage falling off in late-game boss encounters, the culprit is almost always a lack of focus on the Crit Damage multiplier. Ensure your badges are upgraded to the maximum level allowed by your current progression tier; the scaling at higher levels is exponential, not linear.
Strategic Scene Selection
Scenes represent the "passive layer" of your build. Unlike badges, which provide base stats, Scenes should be treated as your primary source of Damage Multipliers.
The best Scenes for Diavolo are those that provide "Damage Increase" or "Attack Speed" percentages. These multipliers are applied after your base attack is calculated, making them significantly more valuable than flat Attack Power boosts.
- Ultimate Triggers: Look specifically for Scenes that interact with Ultimate Ability usage. Since Diavolo relies on his Ultimate for burst phases, any scene that grants energy regeneration or resets cooldowns upon a critical kill is a top-tier choice.
- Multiplier Logic: Always prefer a "10% Damage Increase" scene over a "50 Attack Power" scene. As your base attack grows through badges, the 10% multiplier will continue to scale, whereas the flat 50 will quickly become negligible.
- Resource Management: Do not waste rare upgrade materials on Scenes that only provide defensive utility. If a scene doesn’t contribute to burst damage or speed, it should be relegated to a secondary unit or used as fodder for your primary DPS gear.
Managing Duplicate Units
The "Dupes" system in JoJo Golden Spirit is arguably the most impactful progression mechanic for Diavolo. Rather than pulling for every new unit that drops, players should focus their currency on bringing Diavolo to specific "Dupe Milestones."
- Milestone 1 (Energy Efficiency): Usually provides a reduction in energy cost for his Ultimate. This is non-negotiable for maintaining high uptime.
- Milestone 2 (Cooldown Reduction): Essential for cycling skills faster, which allows for more frequent critical windows.
- Milestone 3 (Stat Ceiling): Often unlocks a percentage-based passive damage boost. This is the "sweet spot" for most players.
Do not attempt to pull for max duplicates unless you are fully committed to Diavolo as your permanent, primary carry. If you are struggling with team survivability, it is often better to use your duplicate resources to pick up a high-tier support unit than to push Diavolo to his final, incremental dupe upgrade.
Optimal Team Positioning and Synergies
Diavolo is not designed to trade hits. He requires a team composition that facilitates his "hit-and-run" playstyle. If he is being focused by the enemy, your build has failed regardless of your badges.
- Defense Shredders: Pair Diavolo with units that apply "Defense Down" debuffs. Since Diavolo’s damage is already high, reducing the target's armor allows him to hit for true-damage levels of effectiveness.
- Battery Supports: Because Diavolo’s power is tied to his Ultimate, he requires units that can serve as an "Energy Battery." Units that generate team-wide energy or speed buffs are his best companions.
- Positioning: Place Diavolo in the backline or in a position shielded by a tanky unit. He needs to execute his full rotation uninterrupted. If he is interrupted, his damage output effectively drops to zero for the duration of his skill cooldown.
Avoiding Common Build Pitfalls
The most frequent mistake in JoJo Golden Spirit is "resource dilution." Players often try to build three or four units simultaneously. This results in a team of mediocre characters who cannot clear high-level content.
- Specialize Your Materials: Pour all your upgrade fodder into Diavolo’s gear first. A single "Maxed" character will carry you through content that a team of "Mid-Tier" characters will fail at.
- Fodder Efficiency: Never sell lower-tier Badges or Scenes for gold. Always use them as "XP fodder" to level up your best-in-slot gear. Gold is relatively easy to farm, but high-tier experience materials are a significant bottleneck later in the game.
- The "Support" Trap: Do not waste your best badges on support units. A support unit’s job is to survive and provide a buff; their personal damage is irrelevant. Keep your offensive-stat gear exclusively on Diavolo.
By adhering to this specialization strategy, you ensure that Diavolo remains the apex damage dealer in your roster. Focus on the math of the multipliers—Crit Damage, Damage Increase, and Energy Efficiency—and you will find that your Diavolo build becomes the cornerstone of your progression in JoJo Golden Spirit.

James Brown
James focuses on Android gaming on PC, emulator setup, controls, performance tuning, and practical troubleshooting for longer play sessions.
COMMUNITY
Player Comments
67 players commented on this guide.
This guide answered the exact question I had.
Can you add more details about strategy in a future update?
I tried this today and it worked better than my old setup.
The tips are practical and easy to follow.