
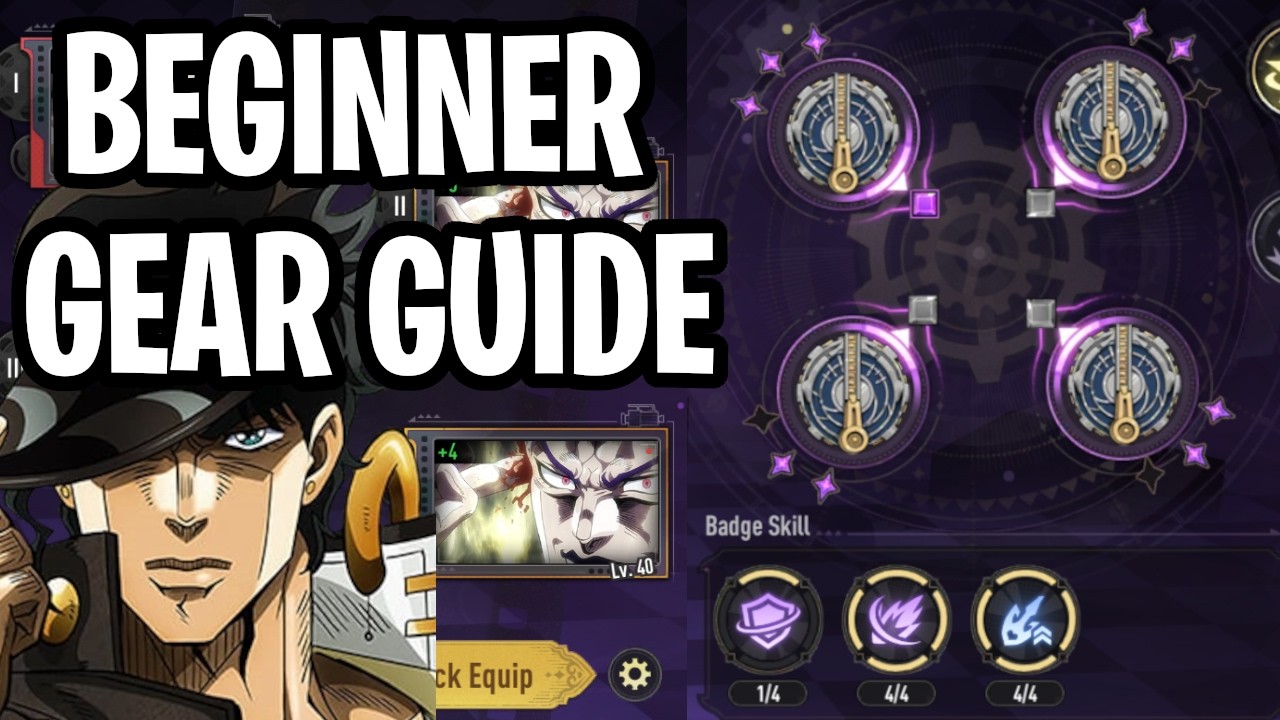

In JoJo Golden Spirit, progression is rarely just about pulling the newest, rarest characters. While summoning provides the foundation of your team, true combat dominance is achieved through the meticulous management of two critical power systems: Dramatic Scenes and Badges. These gear systems dictate your team's viability in high-level content, transforming mid-tier units into powerhouses and ensuring your core squad can clear late-game hurdles.
This guide provides an expert breakdown of how these mechanics function, how to prioritize your resource investment, and the specific strategies needed to optimize your character builds.
Understanding Dramatic Scenes: The Foundation of Power
Dramatic Scenes act as the primary equipment layer in JoJo Golden Spirit. Think of them as the "base armor" for your characters. Unlike simple stat-sticks, these scenes provide significant bonuses that dictate how a character performs in the field.
How Dramatic Scenes Work
Each character has slots dedicated to Dramatic Scenes. When you equip these, you are not just boosting raw numbers like Attack or HP; you are often unlocking unique passives that define your character's combat role.
- Stat Scaling: Early-game scenes offer flat bonuses, which are helpful for the first few chapters. However, as you reach the mid-to-late game, you must prioritize scenes that offer percentage-based (%) scaling. These become exponentially more valuable as your character’s base stats increase.
- Synergy is King: Never equip a Dramatic Scene solely because it has the highest rarity. A "Legendary" scene that buffs defensive stats is useless on a pure DPS unit that needs Critical Rate or Attack speed. Always read the passive effect of the scene and compare it to the character's core kit. If a character relies on high Ultimate usage, prioritize scenes that provide Energy Regeneration or Ultimate Damage multipliers.
The Badge System: Fine-Tuning Your Stats
If Dramatic Scenes are your base stats, Badges are your "fine-tuning" modules. Badges provide the modular flexibility needed to round out a character’s build. They are the most effective way to fix weaknesses or push a specific stat into the extreme range.
The Hierarchy of Badges
Badges are tiered by rarity, and understanding the jump in power between these tiers is vital to saving your resources.
- Common/Rare Badges: Used primarily for leveling or early-game filler. Do not invest heavily in these, as they will be replaced quickly.
- Epic Badges: The workhorse tier. These are perfectly acceptable for your secondary team members or for supporting units who don't need "perfect" gear to do their jobs.
- Legendary (Yellow) Badges: These are the pinnacle of the gear system. They offer the highest stat ceilings and the most powerful secondary effects.
Expert Tip: Never spread your Legendary Badges thin. It is significantly better to have one fully geared, high-impact "carry" character equipped with top-tier Legendary Badges than to have four characters with mediocre, half-upgraded gear. Focus your best resources on your main DPS first.
Strategic Investment: When to Gear Over Gacha
A common trap for beginners in JoJo Golden Spirit is the "infinite summon" cycle. Players often spend all their currency trying to pull the latest banner character, leaving their existing roster under-geared and unable to progress through story missions or resource dungeons.
Before you spend more currency on banners, ask yourself:
- Is my core team failing due to lack of stats? If your units are dying too fast or failing to reach damage checks (like Enrage timers), you don't need a new character—you need better gear.
- Am I hitting a "Content Wall"? If you are consistently getting stuck on specific stages, it is time to pivot your daily stamina from character leveling to farming gear dungeons.
- Do I have the upgrade materials? If you have a backlog of upgrade materials, stop pulling and start enhancing.
Efficient Farming and Resource Management
To maintain a steady climb in power, you must farm with intent. Avoid the "Auto-Farm" trap where you simply dump stamina into random dungeons.
The Targeted Farming Method
- Identify the Gap: Look at your main team. Who is the weakest link? If your healer is dying, farm for HP/Defense-focused Dramatic Scenes. If your main attacker is slow, focus on Badges that provide Speed or Attack stats.
- Duplicate Usage: You will inevitably collect duplicate Badges. Instead of selling them for low-value currency, use them to "Feed" your primary gear. This is the most cost-effective way to level up your equipment without wasting rare crafting materials.
- Prioritize Daily Dungeons: Game events often rotate which gear drops are boosted. Use your stamina during these windows to maximize your efficiency. If a dungeon is offering bonus drops for specific Badge types, focus on those even if you don't need them immediately; you will need them eventually for your secondary team.
Common Mistakes to Avoid
- Over-Investing in Low-Tier Gear: Do not spend gold or rare upgrade materials on gear you know you will replace in a week. Save those resources for the Legendary tier.
- Ignoring Sub-Stats: On higher-tier Badges, look at the sub-stats. A Legendary Badge with a "Defense" primary stat but "Critical Damage" sub-stats might be perfect for a hybrid bruiser unit.
- Neglecting Set Bonuses: Many Dramatic Scenes and Badges provide set bonuses when multiple pieces are equipped. Always aim to complete these sets, as the 2-piece or 4-piece bonuses often outweigh the value of individual high-stat pieces that don't match.
Final Thoughts
Success in JoJo Golden Spirit is a marathon, not a sprint. By focusing on the synergy between your characters' kits and their equipped gear, you ensure that your team remains relevant long after the initial excitement of a new banner. Treat your Dramatic Scenes as your character's backbone and your Badges as the tools to sharpen their edge. If you prioritize your top-tier units, farm with a clear objective, and avoid the temptation of constant summoning, you will find that even the toughest content in the game becomes manageable.

Sarah Williams
Sarah specializes in RPG and collection games, explaining team building, character growth, and beginner-friendly ways to avoid expensive early mistakes.
COMMUNITY
Player Comments
115 players commented on this guide.
I tried this today and it worked better than my old setup.
Good guide for HOT players. The strategy part was useful.
I wish I had read this before upgrading the wrong thing.
The tips are practical and easy to follow.