
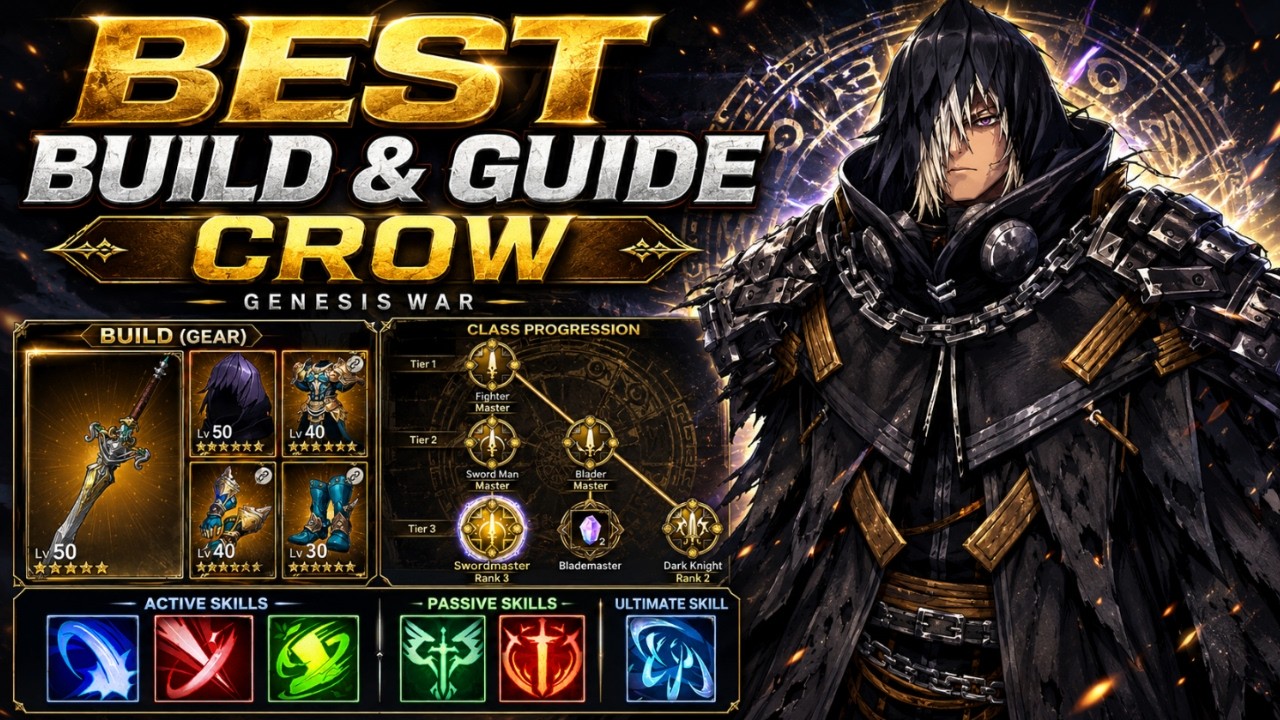

To maximize Crow’s potential in Genesis War, players must focus on his unique passive-stacking mechanics and prioritize his exclusive weapon to bridge the gap between mid-game and endgame viability. By refining his skill trees to favor burst damage and selecting the correct rune subsets, you can transform him into a high-tier DPS carry. This guide breaks down the essential gear choices, skill prioritization, and passive management strategies required to ensure Crow dominates the battlefield effectively.
Understanding Crow’s Core Passive Mechanics
Crow’s damage output is fundamentally tied to his passive ability, which dictates how he scales during prolonged encounters. The character relies on stacking specific buffs that enhance his core stats, making him a "ramping" unit rather than an immediate burst character. Players should focus on maintaining these stacks throughout combat to ensure that his primary abilities hit for their maximum potential. Ignoring the passive uptime is the most common reason for low performance in challenging content.
The passive ability grants Crow increased damage multipliers as he successfully lands hits or fulfills specific combat conditions. Because these stacks can fall off if you do not manage your engagement rhythm, you should prioritize attack speed and accuracy stats early on. By keeping these stacks active, you ensure that Crow remains a consistent threat rather than a situational damage dealer, allowing him to clear waves of enemies with significantly higher efficiency.
Prioritizing Exclusive Weapon Investment
The exclusive weapon for Crow is non-negotiable for players aiming to push endgame content. This item provides specific stat boosts that directly feed into his passive, effectively lowering the barrier for entry into higher-difficulty stages. When considering resource management, you should prioritize upgrading this weapon before diversifying into secondary gear sets, as the base-stat increase and the passive-scaling bonuses provide a larger return on investment than general-purpose equipment.
If you are limited by materials, focus on the first few tiers of the exclusive weapon’s refinement. These initial levels provide the most significant percentage increase to Crow’s core attack power. While other gear pieces offer utility or defensive stats, the exclusive weapon is the primary engine for Crow’s damage output. Investing here first ensures that every other part of your build—including your skill choices—functions at its peak effectiveness.
Strategic Skill Tree and Combat Rotations
Crow’s skill set is designed for targeted elimination, but its effectiveness depends entirely on the order in which you trigger his abilities. You should structure your rotations to open with debuffs that soften the target’s defenses before committing to his main burst skills. This ensures that the passive damage bonus is fully applied to the hits that matter most. Avoid wasting his long-cooldown abilities on low-health minions; instead, reserve them for bosses or high-priority targets.
When selecting skills, focus on those that increase Critical Damage or provide internal synergy with his passive stacks. A common mistake is balancing too many utility skills, which dilutes Crow’s raw DPS potential. Instead, lean into a "glass cannon" approach where your skills are optimized for maximum damage throughput. This makes your team composition more reliant on support units to keep Crow alive, but it drastically reduces the time required to clear difficult encounters.
Optimizing Rune Sets for Crow
Runes in Genesis War allow you to customize Crow’s stat distribution to compensate for gear weaknesses. For an optimal Crow build, prioritize runes that grant percentage-based increases to Attack and Critical Chance. These stats interact multiplicatively with his passive, creating a significant boost to your overall damage numbers. Aim for a full set bonus that emphasizes offensive output rather than mixing and matching individual runes for minor utility gains.
- Attack Percentage: The highest priority stat for scaling Crow’s base output.
- Critical Chance: Essential for ensuring your burst rotation triggers its maximum damage potential consistently.
- Accuracy: Necessary if you find your damage output inconsistent against high-level targets with evasion buffs.
Avoid defensive rune slots unless you are struggling to keep Crow alive in specific endgame boss fights. If survivability is an issue, look for secondary stats on your offensive runes that provide flat health or damage reduction, rather than dedicating entire rune slots to defensive archetypes. This allows you to maintain the high-damage profile required for competitive play while still providing enough durability to complete the mission.

Sarah Williams
Sarah specializes in RPG and collection games, explaining team building, character growth, and beginner-friendly ways to avoid expensive early mistakes.
COMMUNITY
Player Comments
103 players commented on this guide.
The explanation is clear, especially for beginners.
Good guide for HOT players. The strategy part was useful.
This helped me understand strategy much better.
I wish I had read this before upgrading the wrong thing.