
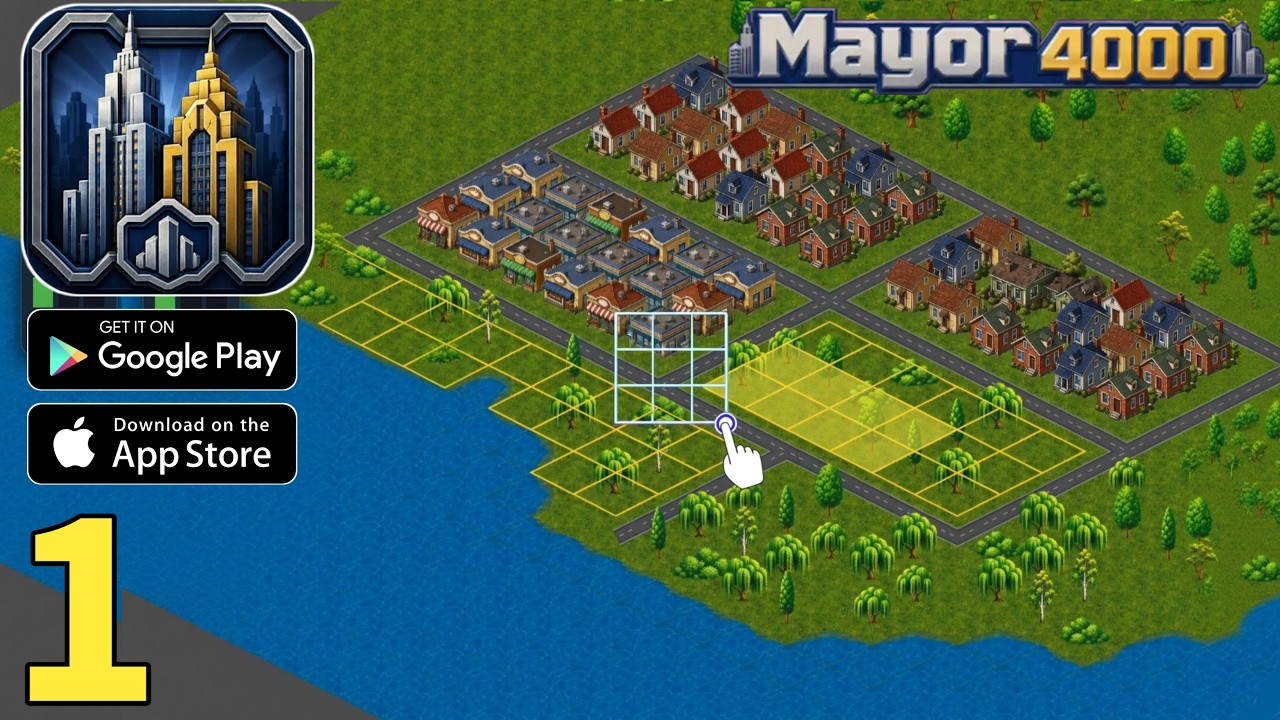

Mayor 4000: City Builder stands apart from the crowded mobile city-building market by stripping away the "freemium" mechanics that often frustrate players. There are no stamina bars, no artificial timers, and no resource-grinding loops. Instead, you are presented with a pure, systemic simulation where your city functions like a living, breathing machine.
Success in Mayor 4000 is not about how fast you can click; it is about how well you understand the cause-and-effect relationship between your zoning decisions and the resulting traffic patterns. If you are struggling to move past the small-town phase or find your roads constantly gridlocked, this guide covers the expert strategies needed to build a sustainable, thriving metropolis.
Understanding the Month-by-Month Simulation
The heart of Mayor 4000 is its granular, month-by-month simulation. Every action you take is processed by the game engine to calculate its impact on your citizens' quality of life. Unlike games that hide progress behind "build timers," Mayor 4000 requires you to wait for the simulation to catch up to your construction projects.
Key Insight: Because the game simulates every citizen’s commute, you should treat every building placement as a permanent commitment. When you zone a new residential block, the game checks for available jobs, proximity to services, and road connectivity. If you place buildings too rapidly, the simulation will struggle to calculate the pathfinding for your new residents, leading to "ghost traffic" or delayed service deployment. Always build in phases, allowing the simulation to stabilize for at least one or two game months before starting your next major project.
Balancing the Employment Equilibrium
The most common mistake new mayors make is over-zoning residential areas while neglecting the industrial or commercial zones that provide the tax base and jobs. In Mayor 4000, your population will only grow if they have a clear path to employment.
- The 1:1 Ratio Rule: Start by maintaining a rough balance between residential and job-providing zones. If your city has high unemployment, residents will eventually leave, and your tax revenue will plummet.
- Proximity Planning: Citizens prefer short commutes. If you place your industrial sector on the opposite side of the map from your residential sector, you are artificially creating traffic congestion before your city even reaches its full potential.
- The Service Buffer: Always reserve space between zones for future civic buildings. As your population grows, they will demand services. If your city is packed tight with no room for a fire station or a clinic, you will be forced to bulldoze your hard-earned residential areas later.
Mastering Traffic Flow and Infrastructure
Traffic is the primary "boss" in Mayor 4000. Because the game tracks vehicle movement, your road hierarchy is the most important piece of infrastructure you will manage.
Developing a Road Hierarchy
Do not rely solely on small, local roads for everything. Think of your city in terms of traffic volume:
- Local Streets: These are the small roads that connect individual houses to the grid.
- Collectors: These roads should bridge the gap between your residential neighborhoods and commercial hubs.
- Arterials: Use these to connect major industrial zones to the rest of the city.
If you force all traffic through a single, narrow road, you will experience the "bottleneck effect." Since the game is offline and there are no timers, use the pause function to analyze where cars are clustering. If you see a jam forming, it’s a sign that the AI pathfinding is struggling with your current layout. Don't be afraid to delete and redraw intersections—proactive redesign is far cheaper than dealing with a city-wide gridlock that stifles economic growth.
Strategic Zoning and Expansion
In many builders, you can simply "spam" buildings to reach the next level. In Mayor 4000, density is your enemy if it isn't supported by infrastructure.
- Organic Growth vs. Rapid Expansion: Start your city center with low-density housing. Only upgrade to high-density zones once the local road infrastructure can support the influx of vehicles.
- Zoning for Efficiency: Group similar zones together, but ensure there is a "buffer" of public space or road infrastructure between them to prevent pollution or noise from negatively impacting residential satisfaction scores.
- Monitoring the Output: The game provides deep metrics. Check these monthly. If you see your "Job Satisfaction" or "Traffic Flow" indicators dipping, immediately pause construction. Look at the specific zone that is failing and ask yourself: "Do these people have a clear, direct path to their jobs?"
Why "No Timers" Changes Everything
The absence of timers in Mayor 4000 is the game’s greatest asset, but it requires a shift in mindset. You are not racing against a clock; you are managing a system.
When you encounter a problem, such as a localized traffic jam or a sudden spike in unemployment, you have the luxury of time. You don't need to purchase speed-ups or wait for a cooldown to fix a road. You can iterate. Treat your city like an experiment:
- Observe: Identify the problem area during the simulation.
- Hypothesize: Assume the issue is caused by a lack of alternative routes.
- Test: Add an alternate road connection.
- Evaluate: Observe the next month of the simulation to see if the traffic levels drop.
This loop—Observe, Hypothesize, Test, Evaluate—is how you move from being a novice mayor to a master city planner. By focusing on the logic of the simulation rather than the speed of your growth, you will be able to build a thriving, massive metropolis that remains stable, efficient, and profitable for years of in-game time.
Remember, in Mayor 4000: City Builder, the goal isn't to finish the city; the goal is to keep the simulation running perfectly. Take your time, plan your grid, and let the city grow at its own natural pace.

James Brown
James focuses on Android gaming on PC, emulator setup, controls, performance tuning, and practical troubleshooting for longer play sessions.
COMMUNITY
Player Comments
120 players commented on this guide.
I tried this today and it worked better than my old setup.
Nice guide. I am checking the other HOT articles next.
This guide answered the exact question I had.
I wish I had read this before upgrading the wrong thing.