
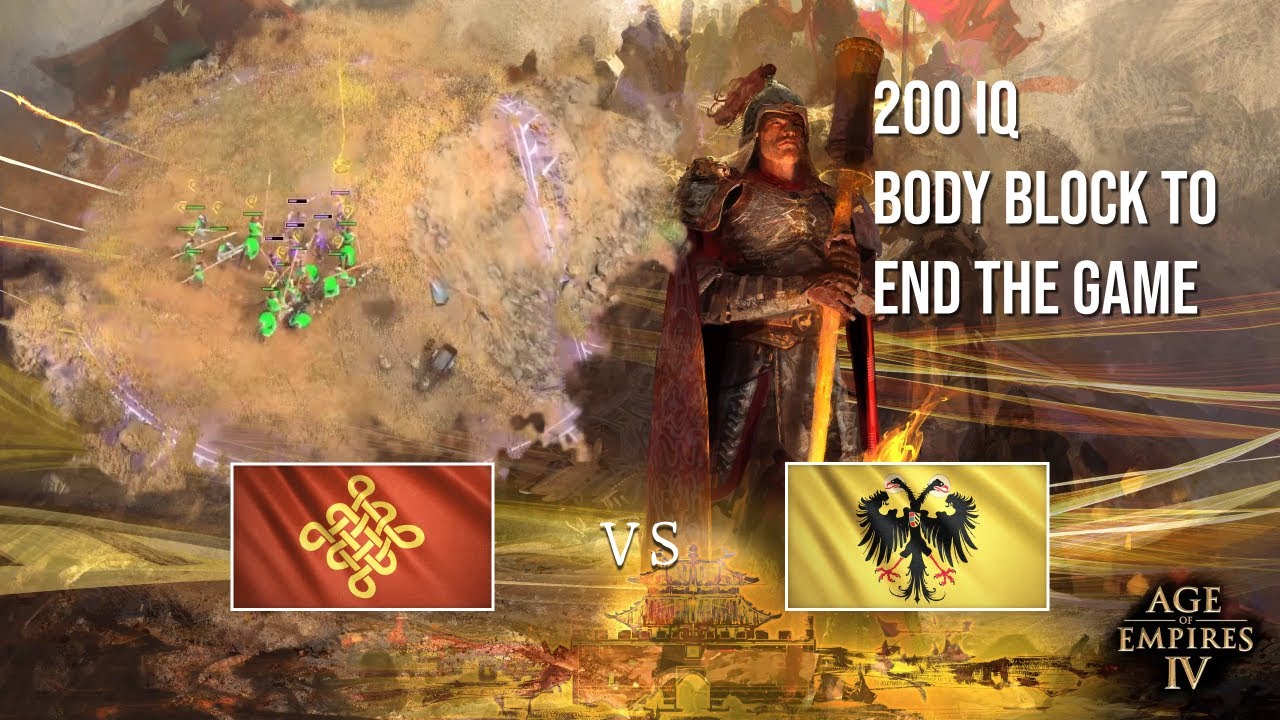

To effectively counter the Holy Roman Empire (HRE) while playing as the Chinese in Age of Empires 4, you must prioritize map control and economic scaling while remaining vigilant against HRE’s powerful early-to-mid-game defensive maneuvers. Success in this matchup—especially in Gold rank—requires a balanced approach that prevents the HRE from securing relics or establishing an impenetrable fortress, allowing your superior late-game technology and dynasty bonuses to eventually overwhelm their more rigid defensive structure.
Neutralizing HRE Relic Control Early
The Holy Roman Empire’s primary strength lies in their Prelates and the ability to secure relics early, which grants them significant gold income and defensive buffs. As a Chinese player, your first priority is to disrupt this process. If you allow the HRE to gather all neutral relics, their economy will outscale yours during the transition to the Castle Age, making it difficult to mount a meaningful offensive.
Use your Scouts actively throughout the Dark and Feudal Ages to monitor the location of holy sites and relics. If you identify a Prelate moving toward an objective, harassment with light cavalry or even small groups of archers can force the HRE player to retreat or mismanage their resources. By delaying their relic collection, you effectively strip them of their most important mid-game economic advantage.
Managing the Economic Tempo
China thrives on a high-efficiency economy that accelerates through the use of Imperial Officials and tax collection. Unlike the HRE, which relies on concentrated bonuses around their Town Centers and influence zones, your economy is designed to scale horizontally across the map. During the Feudal Age, focus on securing additional wood lines and gold veins beyond your immediate starting area to prepare for the massive resource demands of the late game.
While the HRE player is likely investing in defensive structures or expensive unit upgrades like "Armor Clad," you should be focusing on securing your own map presence. If you find yourself in a defensive position, utilize your extra Town Center or the Barbican of the Sun to protect your villagers. Maintaining a higher villager count than your opponent is the key to surviving the mid-game, as your eventual unit composition will require a significantly larger gold and food surplus.
Responding to HRE Defensive Fortifications
HRE players often attempt to stabilize by building defensive towers and outposts around their primary gold and stone sources. When facing this, avoid throwing units into static defenses. Instead, use your superior mobility to flank their positions or expand to neutral resources they have yet to control. If the HRE forces a standoff, you have the option to transition into high-damage siege units like Nest of Bees or Trebuchets.
It is critical to recognize that HRE defenses are expensive. If you notice they are committing heavily to stone walls or defensive towers, they are likely sacrificing their offensive potential. Use this window of time to age up to the Castle or Imperial Age. By the time the HRE decides to push out of their base, your technological lead—bolstered by China’s unique gunpowder units—should be substantial enough to tear through their reinforced positions.
Strategic Unit Transitions
In the late game, the HRE will often field heavy infantry like Landsknechts and Men-at-Arms, which are highly effective at close range. Your goal is to keep them at a distance. Incorporating crossbowmen into your main army is essential for countering their armored infantry. If the HRE attempts to counter with cavalry, ensure your composition includes a frontline of Palace Guards or spears to hold the line while your ranged units clear the field.
Avoid the temptation to fight on the HRE's terms within their defensive influence zones. If you engage in their territory, you are fighting against their local buffs and defensive structures. Instead, pull the HRE army toward your own defensive infrastructure or into open fields where your micro-management and unit variety can shine. This tactical patience is what separates a successful mid-rank push from a costly mistake that gifts the game to your opponent.

James Brown
James focuses on Android gaming on PC, emulator setup, controls, performance tuning, and practical troubleshooting for longer play sessions.
COMMUNITY
Player Comments
118 players commented on this guide.
I wish I had read this before upgrading the wrong thing.
The tips are practical and easy to follow.
This saved me time in the early game.
Can you add more details about strategy in a future update?