
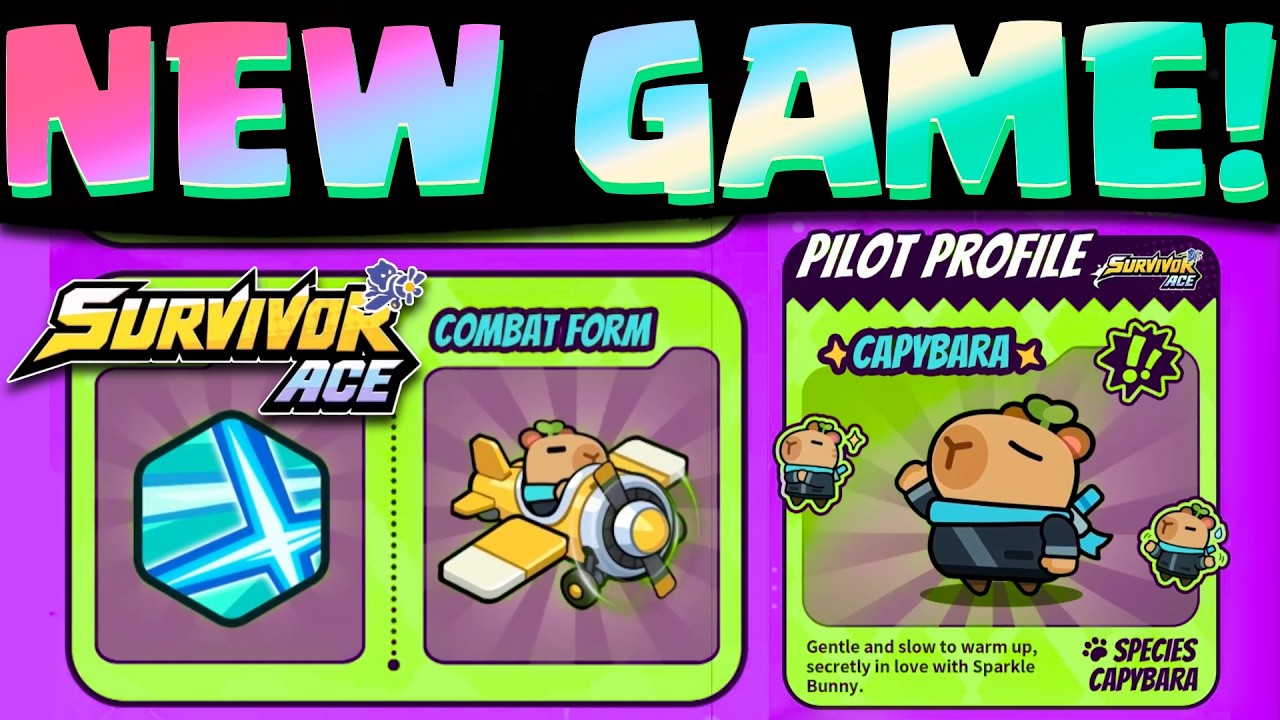

To survive dense enemy waves and defeat stage bosses in Survivor: Ace, build a loadout that pairs high single-target forward damage with wide-area screen clearing. Your primary focus must remain on dodging incoming projectile patterns while collecting dropped experience gems safely from the lower-center section of the screen.
Weapon Synergy and Build Combinations
Your aircraft auto-fires constantly, meaning your offensive profile depends entirely on the perks you choose when leveling up. Surviving later waves requires balancing concentrated linear burst to eliminate high-health targets with broad coverage to manage flanking swarms.
| Weapon Category | Ideal Combat Role | Recommended Synergy Pairing |
|---|---|---|
| Forward Blaster | Elite enemies and stage bosses | Homing Missiles or Orbital Drones |
| Spread Shot | Swarm control and flank clearing | High-damage concentrated beam |
| Homing Missiles | Fast, mobile targets across screen edges | High-fire-rate front cannon |
| Defensive Field | Projectile blocking and close absorption | Short-range high-DPS laser |
Linear Piercing Setup
This build focuses on eliminating armored targets and bosses before they flood the screen with bullets:
- Prioritize firing rate, projectile speed, and piercing count on your forward guns to punch through descending enemy lines.
- Pair this linear stream with homing missiles or automated side drones to clear stray targets along the screen borders without breaking your centerline aim.
Wide-Arc Swarm Clearer
Use this setup on stages with dense swarms of low-health enemies:
- Select multi-shot spreads or fan upgrades to blanket the display and prevent flanking swarms from trapping you.
- Back up your wide spread with an auxiliary single-target weapon, such as a focused energy beam or explosive pod, so boss encounters do not stall out.
Upgrade Selection Priority
Each level-up pauses gameplay and offers a choice between raw offense, utility, and defense. Manage your upgrade track across the run with these priorities:
- Early Stage (Upgrades 1–5): Take raw damage boosts, extra projectile streams, and primary weapon expansions. Wiping out waves before they fill the screen is safer than trying to dodge through early bullet walls with defensive stats.
- Mid Stage: Unlock at least one new auxiliary weapon system to cover your primary weapon's blind spots. If offered a minor stat tweak versus a complementary firing angle, pick the new weapon subsystem.
- Late Stage: Pivot toward defensive utilities, including shield barriers, collision reduction, and cooldown recovery to survive bullet curtains during boss encounters.
Screen Positioning and Resource Gathering
Where you fly determines your survival rate more than reaction speed alone:
- Hold the Lower-Third Baseline: Stay centered horizontally within the lower third of the screen. Flying near the top edge leaves no time to react to spawning enemies, while hugging the absolute bottom boundary limits your ability to dodge descending spread patterns.
- Retrieve Experience Safely: Defeated enemies drop experience tokens that draw toward your ship as you draw near. Let these gems drift downward to your baseline, or make quick, controlled vertical dashes right after wiping out a wave before returning to your defensive zone.
- Do Not Chase Stray Gems: Never fly through an active bullet arc or enemy formation for missed experience. Tokens can be recovered on the next wave, but hull damage reduces your margin for error during boss phases.
Boss Combat Execution
Boss fights test your ability to maintain sustained damage while making micro-adjustments in tight spaces:
- Watch for visual warning cues and primary muzzle points to anticipate whether the boss will fire a sweeping spread or a high-velocity direct burst.
- Rely on micro-taps and small adjustments rather than broad horizontal swipes across the screen, keeping your aircraft inside safe pockets between bullet rings.
- Position your ship directly beneath the boss during firing downtime to land full damage from your primary cannons.
- Shift focus entirely to evasion when pushed to the sides by wide bullet curtains, letting secondary homing missiles or automated drones maintain damage output.

Sarah Williams
Sarah specializes in RPG and collection games, explaining team building, character growth, and beginner-friendly ways to avoid expensive early mistakes.
COMMUNITY
Player Comments
93 players commented on this guide.
Can you add more details about strategy in a future update?
I tried this today and it worked better than my old setup.
The tips are practical and easy to follow.
I wish I had read this before upgrading the wrong thing.