
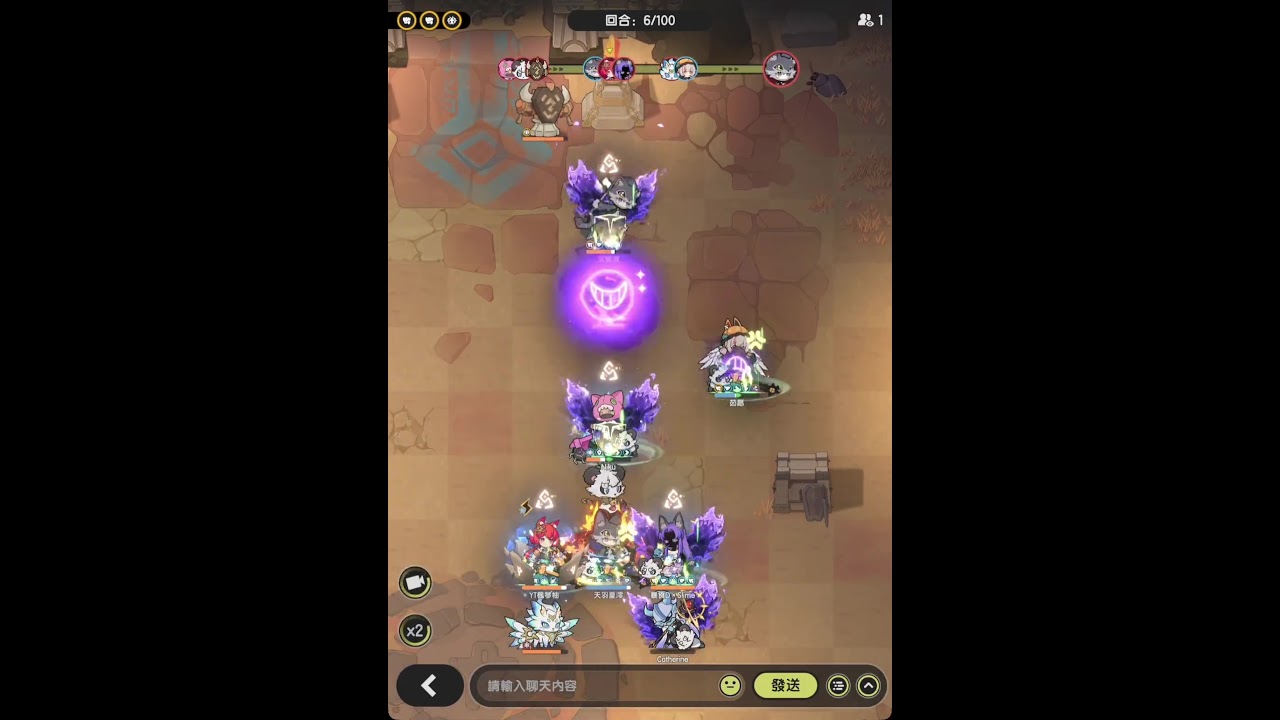

To win 4v4 arena matches with a budget Water Knight in Sword x Staff, pair the unit alongside a secondary frontline tank and equip backline sustained-damage dealers. This dual-tank formation splits enemy burst targeting, keeps defensive shields active through the opponent's initial cooldown phase, and creates an opening for ranged carries to clean up depleted burst rosters.
Dual-Knight Frontline Mechanics
Solo-tank formations in 4v4 arena combat often collapse instantly when opposing assassins and burst units focus their opening cooldowns on a single target. Deploying a secondary knight alongside a Water Knight establishes a wide defensive perimeter that forces enemy attackers to divide their focus.
The Water Knight functions as the sustain anchor through hydro barriers and active shield generation. While offensive frontline partners provide crowd control, gap closers, or taunts to disrupt advancing enemies, the Water Knight mitigates incoming spike damage. Stacking these defensive barriers allows low-investment rosters to absorb high-stat burst rotations without being wiped out in the first exchange.
Budget Water Knight Stat and Skill Priorities
Because budget builds cannot compete with high-investment rosters in raw offensive attributes, allocate resources exclusively toward survivability and shield uptime:
- Primary Stats (Health and Percentage Damage Reduction): Invest in these first. Barrier values scale directly with maximum health, and passive damage reduction prevents single-target execution skills from bypassing shields.
- Secondary Stat (Cooldown Recovery): Prioritize cooldown reduction to eliminate gaps between hydro barrier casts, ensuring shields refresh before incoming damage cycles repeat.
- Defensive Rating (Crowd Control Resistance): Stack resistance to ensure enemy stuns or silences do not interrupt shield activations during the opening clash.
- Skill Leveling: Maximize active barrier skills and passive survival perks before spending skill points on offensive hydro abilities.
Surviving the Burst Phase and Counterattacking
Defeating higher-investment burst rosters requires managing combat tempo across two distinct phases:
- Weather the Opening Burst (0–15 Seconds): Enemy burst teams expend their highest-damage ultimate skills immediately to create an early numbers advantage. Hold ground behind overlapping barriers and defensive crowd control until these offensive rotations expire.
- Identify Cooldown Downtime: Once enemy carries discharge their primary skills, their damage output drops significantly. Glass-cannon units remain exposed on the field while waiting for abilities to recharge.
- Trigger the Backline Counterattack: With enemy threats locked onto the surviving dual-tank frontline, direct ranged backline carries to systematically eliminate overextended assassins.
Arena Prediction Coin Wagering Rules
Spectators frequently lose entire balances of arena prediction coins by wagering strictly on overall combat power ratings. High-power teams that rely entirely on burst damage face steep mechanical disadvantages against coordinated dual-tank defensive compositions.
Before wagering coins in 4v4 tournament brackets, evaluate these matchup indicators:
- Check Burst Dependency: If a heavily favored team lacks sustained damage dealers, treat them as vulnerable to dual-tank shield stalling.
- Identify True Damage and Dispels: Teams fielding buff strippers or true damage dealers bypass shield mechanics, making them heavy favorites against Water Knight lineups.
- Count Frontline Units: Dual-tank rosters regularly defeat solo-tank rosters of higher overall combat power in extended matches.
- Avoid All-In Bets on Heavy Favorites: Underdog dual-tank formations trigger frequent comeback upsets against rigid burst teams.
Matchup Synergies and Limitations
A defensive Water Knight frontline cannot secure victories alone; it requires persistent ranged damage dealers, such as archers or mages, to eliminate stalled targets. Deploying this lineup requires matching it against burst compositions while avoiding prolonged attrition battles.
| Tactical Factor | Dual-Knight Advantage | Critical Vulnerability |
|---|---|---|
| Frontline Durability | Overlapping shields absorb lethal burst rotations | Completely bypassed by true damage mechanics |
| Target Control | Secondary tank taunts protect backline carries | Nullified by team-wide dispel abilities |
| Pacing Control | Outlasts enemy cooldowns to execute comebacks | Loses to dual-healer sustain and slow attrition |
Deploy the dual-knight Water Knight composition when facing assassin-heavy or burst-reliant opponents. If an opposing lineup features sustained healing or dispel abilities, switch away from shield-reliant stalling to avoid losing prolonged attrition fights.

James Brown
James focuses on Android gaming on PC, emulator setup, controls, performance tuning, and practical troubleshooting for longer play sessions.
COMMUNITY
Player Comments
95 players commented on this guide.
Nice guide. I am checking the other HOT articles next.
This saved me time in the early game.
Good guide for HOT players. The strategy part was useful.
The tips are practical and easy to follow.