
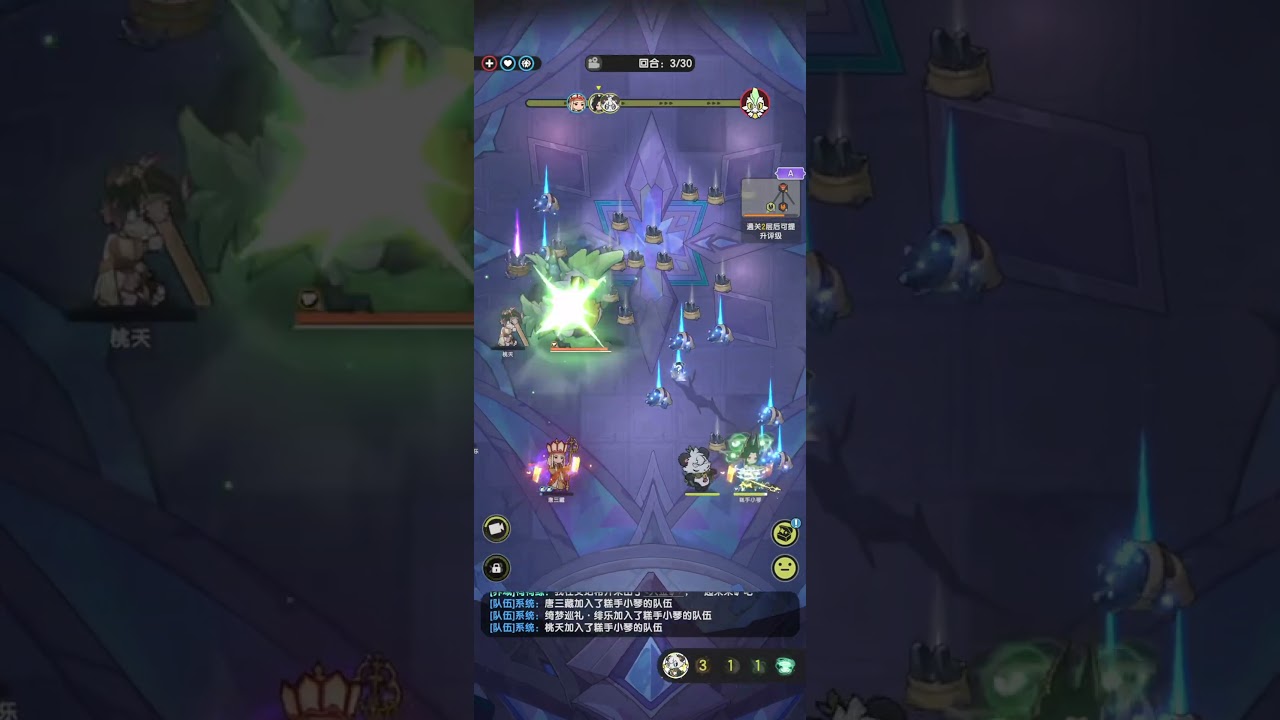

To solo Crag Arena on Purgatory difficulty as a Duelist in Sword x Staff, you must bypass public matchmaking queues by combining continuous life leech with high-frequency attacks to break the boss's granite absorption barrier. Clear the encounter by dodging frontal shockwaves diagonally, shattering the barrier with rapid multi-hit skills before the cast completes, and unloading your ultimate during the subsequent stagger phase while staying ahead of the enrage timer.
Duelist Build and Stat Priorities
Soloing without a dedicated healer or tank requires trading a glass-cannon setup for passive sustain, armor penetration, and invulnerability frames (i-frames).
| Category | Component | Combat Role |
|---|---|---|
| Primary Stats | Critical Rate, Critical Damage, Raw Attack | Secures high burst damage to clear stagger windows and beat the enrage timer. |
| Defense & Sustain | Life Leech, Flat Damage Mitigation | Offsets incoming chip damage from arena hazards without requiring healing skills. |
| Mobility & Defense | Dash with i-frames, Temporary Shields | Dodges lethal earth spikes and absorbs stray boulder impacts without dropping combos. |
| Offensive Utility | Armor Penetration, Multi-Hit Strikes | Shreds boss defense and rapidly depletes the barrier hit threshold. |
| Pet Companion | Attack Speed, Damage Buffs, Low-HP Barrier | Bridges DPS deficits during barrier casts and provides a safety net against burst damage. |
Equip gear passives that grant life leech on hit. This sustain keeps your health pool topped off through unavoidable chip damage, allowing you to save mobility skills strictly for lethal boss telegraphs.
Boss Hazards and Mechanics
The Crag Arena boss relies on three primary earth mechanics that punish poor positioning and stationary combo chains:
- Frontal Slam and Earth Fissures: The boss slams the ground, projecting rock fissures outward in a forward cone. Dodging directly backward keeps you inside the shockwave path. Dash diagonally through the boss's flank to evade the damage cone while maintaining melee uptime.
- Cascading Falling Boulders: Red target circles mark falling rocks across the arena floor. Move continuously in a wide circle around the boss to avoid getting knocked down and interrupted.
- Granite Absorption Barrier: The boss stops moving and channels a massive stone shield. Failing to deplete this barrier before the channel finishes triggers a room-wide eruption that deals catastrophic damage and inflicts a lengthy stun. Breaking the barrier cancels the attack and knocks the boss into an extended stagger with reduced defense.
Crag Arena Combat Execution
Execute the fight using a three-phase combat loop centered on baiting attacks, breaking the barrier, and bursting during vulnerability windows.
- Center Control and Buff Stacking: Keep the fight near the center of the arena. Circle the boss tightly to bait frontal slams away from the edges. Use basic attacks and light combo builders to stack passive attack buffs, saving your mobility dash for fissure escapes.
- Barrier Depletion: When the boss begins channeling the granite absorption barrier, immediately trigger attack speed buffs, armor-shredding abilities, and rapid multi-hit strikes. Focus on hit frequency rather than slow, heavy animations to guarantee the shield breaks in time. Activate pet offensive skills here if your main skills are on cooldown.
- Stagger Burst Window: Once the shield shatters, the boss collapses into an immobilized state with lowered defense. Immediately cast your ultimate ability and heaviest finishers. Unload your full damage rotation before the boss recovers and resumes normal attack patterns.
Avoiding Animation Locks and the Enrage Timer
Two primary failure points cause wipes during a solo run: animation locks and the enrage timer.
Because you hold boss aggression the entire fight, using skills with long cast animations during neutral phases is dangerous. Starting an extended attack string right as the boss telegraphs a fissure prevents you from dodging, resulting in massive spike damage or death. Reserve high-commitment abilities and heavy finishers exclusively for the post-barrier stagger window.
Conversely, over-allocating stats into defensive passives or excessive health prevents you from meeting the dungeon's damage checks. If you do not deal damage quickly enough, the boss enrages, drastically increasing its attack speed and turning arena hazards into unavoidable wipe mechanics. Balance your build by taking only enough life leech to recover from chip damage, dedicating all remaining stat investments to offensive scaling.

Emily Johnson
Emily writes practical mobile strategy guides with a focus on resource planning, base progression, and the early decisions that shape a long-term account.
COMMUNITY
Player Comments
134 players commented on this guide.
Can you add more details about strategy in a future update?
This helped me understand strategy much better.
This saved me time in the early game.
This guide answered the exact question I had.