
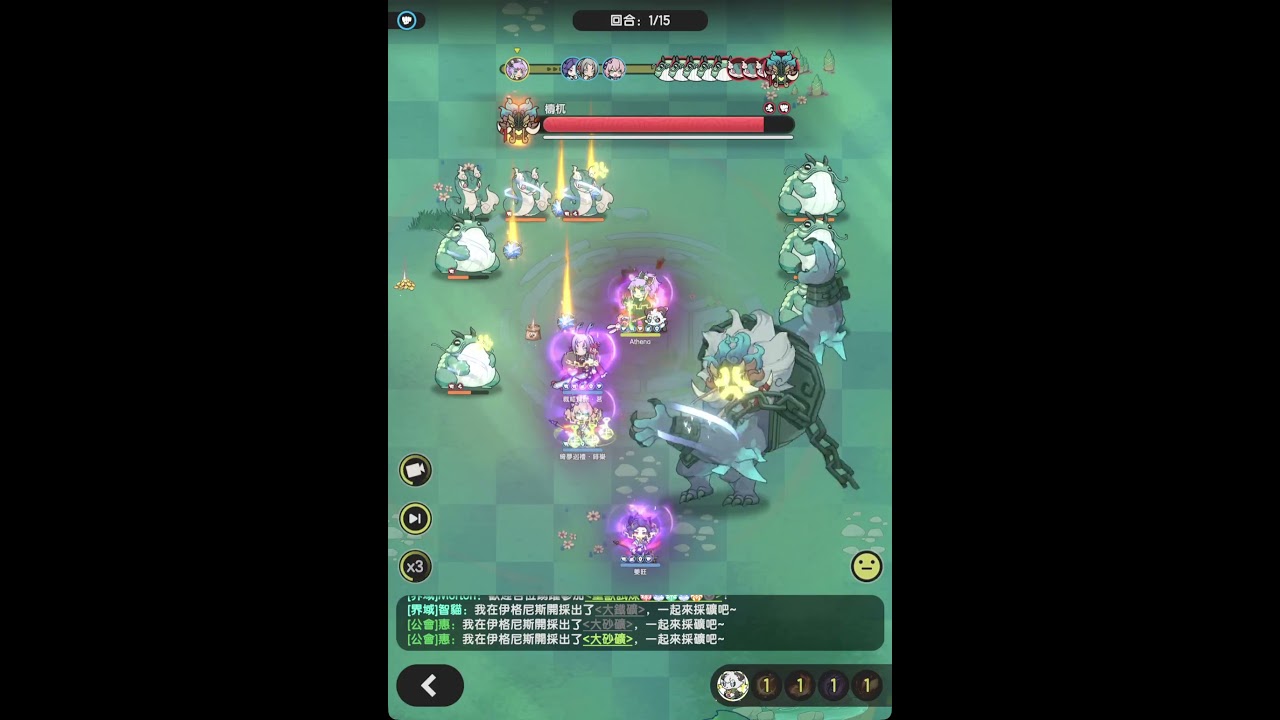

You do not need to wait for a Rank 8 promotion to clear Dragon Realm 20 in Sword x Staff. A Rank 7 Fire Fist build overcomes the stage's strict damage checks by stacking burn amplification, preserving ignite uptime, and timing high-damage detonating skills exclusively during maximum debuff windows and post-attack recovery frames.
Skill Priorities and Burst Rotation
Fire Fist’s primary output relies on percentage-based burn detonation and stacking fire penetration rather than raw flat attack values. Triggering finishers before reaching maximum passive flame stacks resets your ramp-up prematurely and significantly lowers total burst output.
| Skill Slot | Primary Function | Execution Priority |
|---|---|---|
| Flame Jab | Burn Stacking | Maintain continuous uptime on base ignite |
| Blazing Uppercut | Damage Multiplier Ramp | Cast immediately before refreshing burns |
| Volcanic Impact | Core Detonation | Fire only when flame stacks reach maximum |
| Flame Ward | Damage Mitigation | Reserve to absorb unavoidable boss floor hazards |
To maintain a consistent combat loop:
- Apply and maintain ignite stacks using low-cooldown activators.
- Build toward maximum passive burn count before queuing major finishers.
- If the boss begins a ground slam or knockback attack, slide or reposition to safety and delay Volcanic Impact by one second.
- Unleash the detonation finisher during the recovery animation following the boss's attack.
Relic and Astral Board Configuration
Dragon Realm 20 contains pure boss pacing without standard add waves, rendering crowd control and defensive card padding ineffective against the enrage timer. Configure your relic deck and Astral nodes toward sustained penetration and burst critical scaling:
- Fire Penetration Relics: Slot cards that grant bonus elemental damage against burning targets to boost every auxiliary attack.
- Burst Critical Relics: Choose cards that raise critical strike damage during active burst windows rather than flat baseline attack.
- Energy Generation Sub-traits: Select secondary traits that accelerate energy regeneration so ultimate detonations cycle before major phase shifts.
- Astral Path Points: Skip crowd-control and general utility nodes; allocate points directly into fire penetration and bonus damage against high-health targets.
Partner and Pet Selection
Because a pure damage setup leaves little room for defensive skill slots in Bond Adventure, your companion and pet must provide survivability and resistance reduction.
- Assist Partner: Pair with a companion that applies consistent elemental resistance shred or armor vulnerability to ensure high-scaling fire skills pierce the boss's inflated defensive pool.
- Active Pet: Deploy a pet offering burst attack bonuses during active DPS rotations, or one that provides barrier shielding or brief invulnerability. Low-cooldown shields prevent one-shot defeats from wide-angle swings and flame breaths, allowing you to sustain uninterrupted basic attack combos for energy generation.
Boss Positioning and Mechanics
Staying within close combat range minimizes the boss's tendency to use sweeping ranged attacks that force costly dodges.
- Stick to the Rear Flank: Anchor yourself behind the boss and rotate alongside its turn animations to avoid frontal cone breaths.
- Micro-step Floor Hazards: When targeted flame geysers appear, take minimal steps to the safe border rather than rolling far away, keeping melee uptime intact.
- Absorb Room-Wide Roars: Do not run from unavoidable room-wide roars; activate Flame Ward to negate the damage without breaking your skill chain.
- Final Enrage Burn: With 30 seconds remaining before enrage, commit all cooldowns into an uninterrupted chain, ignoring minor chip damage to deplete the final health pool.

James Brown
James focuses on Android gaming on PC, emulator setup, controls, performance tuning, and practical troubleshooting for longer play sessions.
COMMUNITY
Player Comments
129 players commented on this guide.
This helped me understand strategy much better.
The explanation is clear, especially for beginners.
The tips are practical and easy to follow.
This saved me time in the early game.