
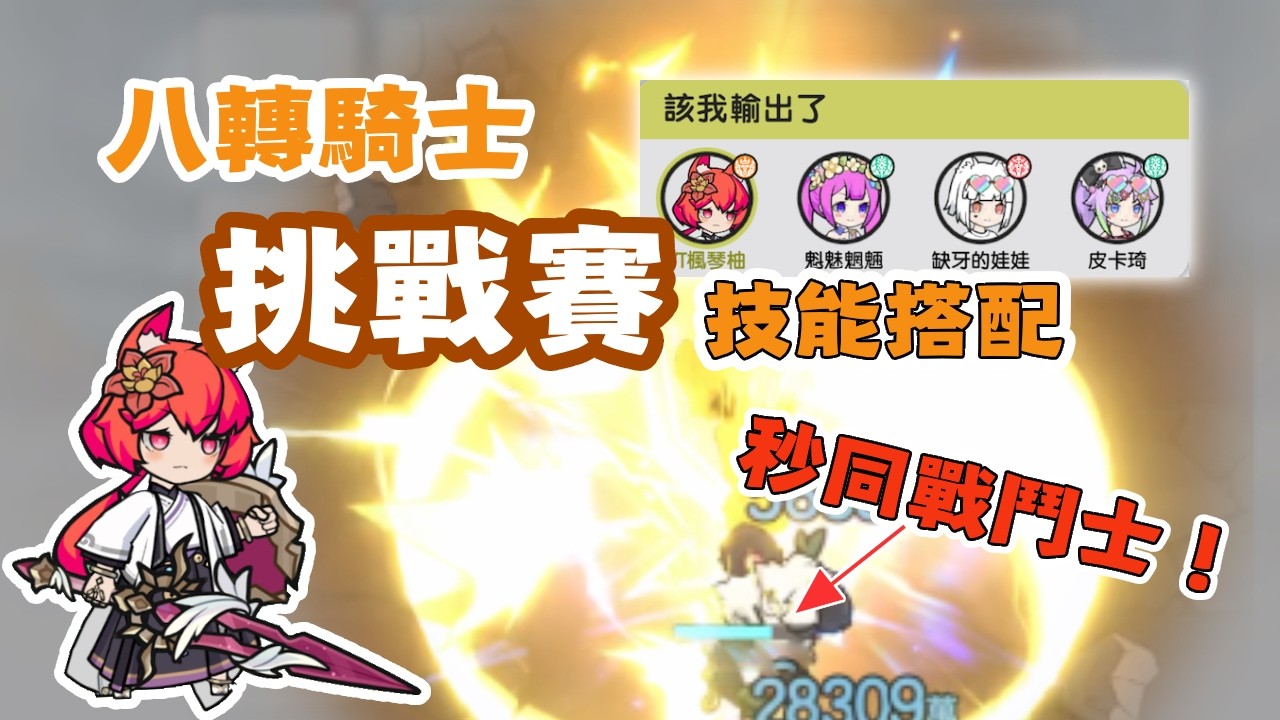

To eliminate durable frontline Fighters in Sword x Staff Challenge tournaments, replace attrition-based defensive loadouts with an all-out physical burst setup. Frontloading your skill rotation allows your Rank 8 Knight to pierce through base damage mitigation and secure takedowns before opposing shields, crowd-control resistances, and healing loops activate.
Skill Slot Priorities and Rotation Sequence
Set your active skill bar to prioritize immediate single-target damage. Your goal is to debuff the enemy's mitigation in the second slot so your highest-damage ability benefits from full armor reduction.
| Slot | Role | Tactical Function |
|---|---|---|
| Slot 1 | Gap-Closer / Opener | Closes distance instantly and applies an opening debuff before the enemy reacts. |
| Slot 2 | Armor Piercer | Shreds enemy physical defenses to prime the target for critical burst damage. |
| Slot 3 | Primary Finisher | Delivers your highest single-hit damage multiplier to wipe the target's health bar. |
| Slot 4 | Utility / Follow-up | Provides crowd disruption or cleans up secondary targets if the opener leaves them low. |
Do not run defensive or sustain skills on your primary bar in this build. Defensive skills delay your offensive rotation, giving opposing Fighters time to ramp up their sustain and crowd-control resistance.
2v2 and 4v4 Challenge Match Tactics
Team size dictates your engagement timing and target priority. Adjust your positioning based on whether you must initiate or follow up.
2v2 Strategy
- Coordinate with your teammate to focus the identical target from the opening second.
- Target the primary damage dealer or an exposed Fighter before defensive buffs can be shared.
- Do not split damage; securing an immediate 2v1 advantage within the first five seconds decides the round.
- Reserve Slot 4 to interrupt enemy recovery attempts if the primary target survives the opening strike.
4v4 Strategy
- Hold your advance slightly behind your team's main vanguard to avoid opening area-of-effect stuns.
- Flank inward toward overextended Fighters who have separated from their backline healers.
- Bait out initial defensive cooldowns or wait for an ally's crowd-control strike before committing Slot 2 and Slot 3.
- Pivot immediately to backline casters once the frontline Fighter is eliminated.
Gear Substats and Tuning Priority
Free-to-play accounts must invest heavily in offensive penetration to bypass the natural armor scaling of high-tier Fighters. Prioritize stats in the following order:
- Critical Rate: Ensures opening abilities reliably trigger critical damage multipliers.
- Physical Penetration: Directly negates opposing Fighter armor values to prevent damage drop-off.
- Critical Damage: Amplifies the lethal threshold of your Slot 3 primary finisher.
- Attack Power: Increases the base damage floor of all active skills.
Health, Block, and defensive resistances should remain passive baseline values rather than targeted upgrade priorities. If your Critical Rate is too low to guarantee burst consistency, swap minor flat attack attributes for passive crit-chance bonuses.
Handling Defensive Matchups
When facing opponents equipped with invulnerability shields or reactive damage immunity:
- Delay your Slot 3 finisher if the target triggers an immunity frame upon taking initial damage.
- Use basic attacks or your Slot 1 skill to bait reactive defenses before executing your full burst chain.
- If a Fighter survives the entire sequence, immediately disengage and retreat behind allied lines. Wait for your active skill cooldowns to refresh rather than engaging in sustained basic-attack trades.

James Brown
James focuses on Android gaming on PC, emulator setup, controls, performance tuning, and practical troubleshooting for longer play sessions.
COMMUNITY
Player Comments
122 players commented on this guide.
This guide answered the exact question I had.
I tried this today and it worked better than my old setup.
The tips are practical and easy to follow.
The explanation is clear, especially for beginners.