
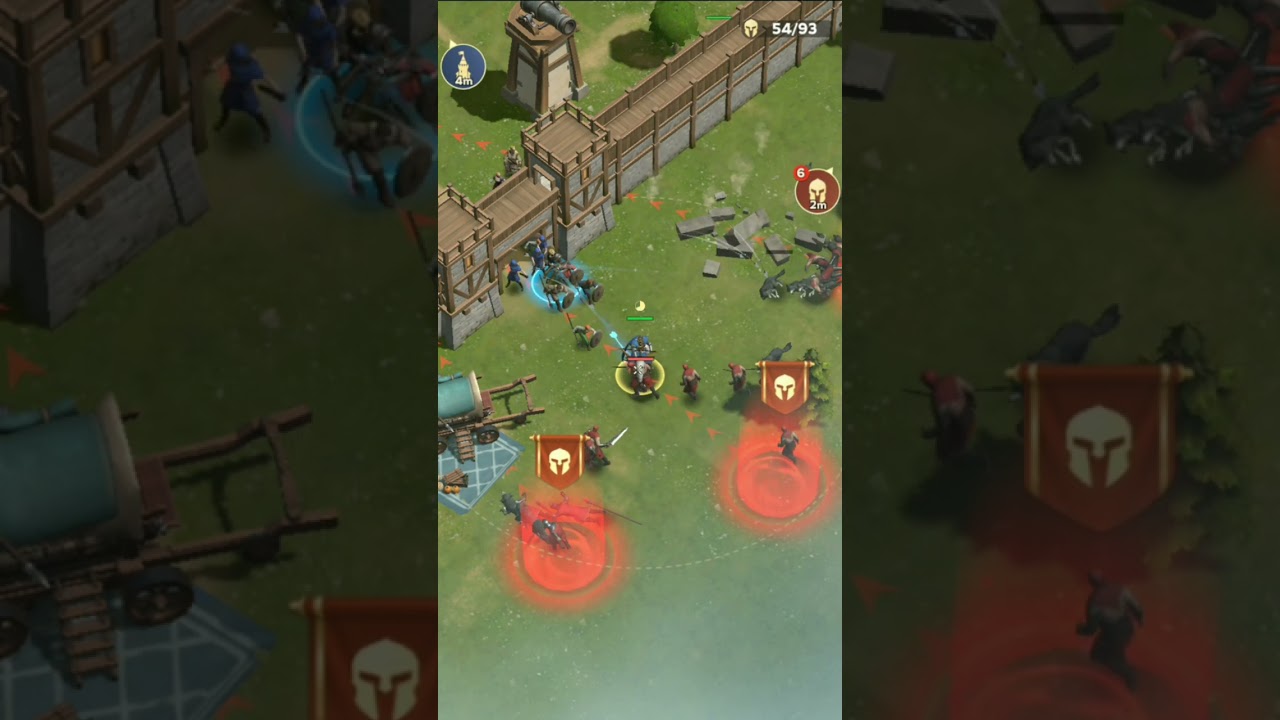
In Lordrush, the difference between a crushing defeat and a perfect three-star victory often comes down to your ability to recognize when to take the reins. While the game provides automated features to assist with defense, the highest-difficulty stages in Lordrush require a shift toward manual intervention. Mastering the timing of hero abilities is not just about raw power; it is about tactical efficiency, energy conservation, and understanding the ebb and flow of enemy waves. By manually managing your cooldowns, you can clear dense clusters of enemies, protect your gate integrity, and push through stages that appear mathematically impossible based on your current power level.
Why Manual Control Outperforms Auto-Battle
The primary weakness of the Lordrush auto-battle system is its lack of "threat prioritization." Automated AI tends to trigger hero abilities as soon as they become available, often wasting high-impact area-of-effect (AoE) skills on a single, low-health goblin or an enemy already marked for destruction by your towers.
Manual control allows you to transform your hero from a passive unit into a decisive force multiplier. By holding your abilities, you create a "burst window." This window is the moment when enemy density is at its highest—usually just before they reach your front line. When you manually trigger a hero skill at this moment, you aren't just clearing a few units; you are neutralizing the entire momentum of the wave. This preserves your tower health and allows your stationary defenses to focus their sustained fire on the high-health bosses that inevitably follow the fodder units.
Strategic Wave Analysis and Energy Management
Energy management is the most critical resource in Lordrush combat. Every time you hold an ability, you are making a conscious choice to accept minor tower chip damage in exchange for a massive, screen-clearing payoff later.
To master this, you must observe the "spawn rhythm" of each stage:
- The Probe Wave: The first few enemies are usually weak. Do not touch your ability buttons. Let your towers handle these.
- The Build-up: Watch for the moment the screen becomes crowded. This is the indicator that a high-intensity wave is approaching.
- The Commitment Point: This is the ideal time to strike. You want to activate your skill when the maximum number of enemies are within the radius of your ability.
- The Recovery Period: If you have successfully cleared the cluster, your towers should now be free to target isolated high-health units. Use this time to let your energy recharge for the next major threat.
Optimizing Tower Synergy with Hero Skills
In Lordrush, you should never view your hero as an isolated unit. Instead, consider them a component of a larger defensive machine. The most successful players build "kill zones" using tower status effects to amplify their hero’s damage.
For instance, if you have deployed a Frost Tower, wait for the enemies to be frozen or slowed before activating your hero’s AoE ability. The slow effect keeps the enemies stationary, ensuring that none of them walk out of your ability's damage radius before the animation finishes. This layered approach creates a compounding effect:
- Slow Towers: Create the bottleneck or hold the position.
- Fire/AoE Towers: Soften the targets.
- Hero Ultimates: Deliver the finishing blow to the entire cluster.
By coordinating your hero’s timing with your tower’s crowd-control effects, you ensure that every point of energy invested yields maximum damage-per-second (DPS) output.
Handling Unexpected Breakthroughs: The Reactive Reset
Even the most seasoned Lordrush commanders face situations where the front line fails. When a high-speed unit or a beefy tank slips past your defenses, manual control transitions from a proactive tool to a reactive emergency system.
However, you must be disciplined. Ask yourself: "Is this unit an immediate threat to the gate, or just a nuisance?" If a single unit slips through, and you have enough gate health, it is often better to let it pass rather than wasting a major cooldown. Save your ultimate for the next wave. If you burn an ultimate on a straggler, you will be defenseless when the true threat arrives. Treat your hero’s cooldown as a "get out of jail free" card—use it only when a breach is inevitable or when the gate’s health is in the "critical" zone (usually below 20%).
Iterative Learning: Refining Your Strategy
If you find yourself hitting a wall in Lordrush, stop repeating the same mistakes. Use the game’s replay feature to conduct a "post-mortem" on your failures. Watch specifically for:
- The Over-Use: Did you waste an ultimate on a wave that your towers could have handled?
- The Under-Use: Did you go down with full energy while the gate was being destroyed?
- The Position: Were your towers placed too far forward, preventing the enemies from clumping correctly?
Often, moving your tower placement just slightly further back can create a better "killing field," allowing you to trigger abilities more effectively. Every stage in Lordrush acts as a puzzle. If you cannot brute-force it with power, you must outmaneuver it with timing.
Summary of Tactical Best Practices
- Never Auto-Cast: Disable auto-cast on your most powerful heroes to retain control over their ultimate abilities.
- Wait for the Cluster: The "Golden Rule" of Lordrush is to wait until your screen is flooded before spending energy.
- Layer Effects: Always pair hero abilities with tower slow or stun effects to maximize impact.
- Prioritize Threats: Use abilities against high-health shield-bearers or rapid-fire units, not basic infantry.
- Gate Health is a Resource: Don't panic-spend your ultimate; it is acceptable to sacrifice a small amount of gate health to save your ability for a more dangerous wave.
By internalizing these combat tactics, you will find that Lordrush becomes significantly more rewarding. You will stop relying on the game's AI to play for you and start orchestrating your defenses with the precision of a master strategist. Every wave is an opportunity to improve your timing—apply these lessons, and you will see your stage completion consistency skyrocket.

Free Lordrush Codes
Current active codes and how to redeem them.

Sarah Williams
Sarah specializes in RPG and collection games, explaining team building, character growth, and beginner-friendly ways to avoid expensive early mistakes.
COMMUNITY
Player Comments
104 players commented on this guide.
The tips are practical and easy to follow.
This helped me understand heroes much better.
Good guide for Lordrush players. The heroes part was useful.
The explanation is clear, especially for beginners.