
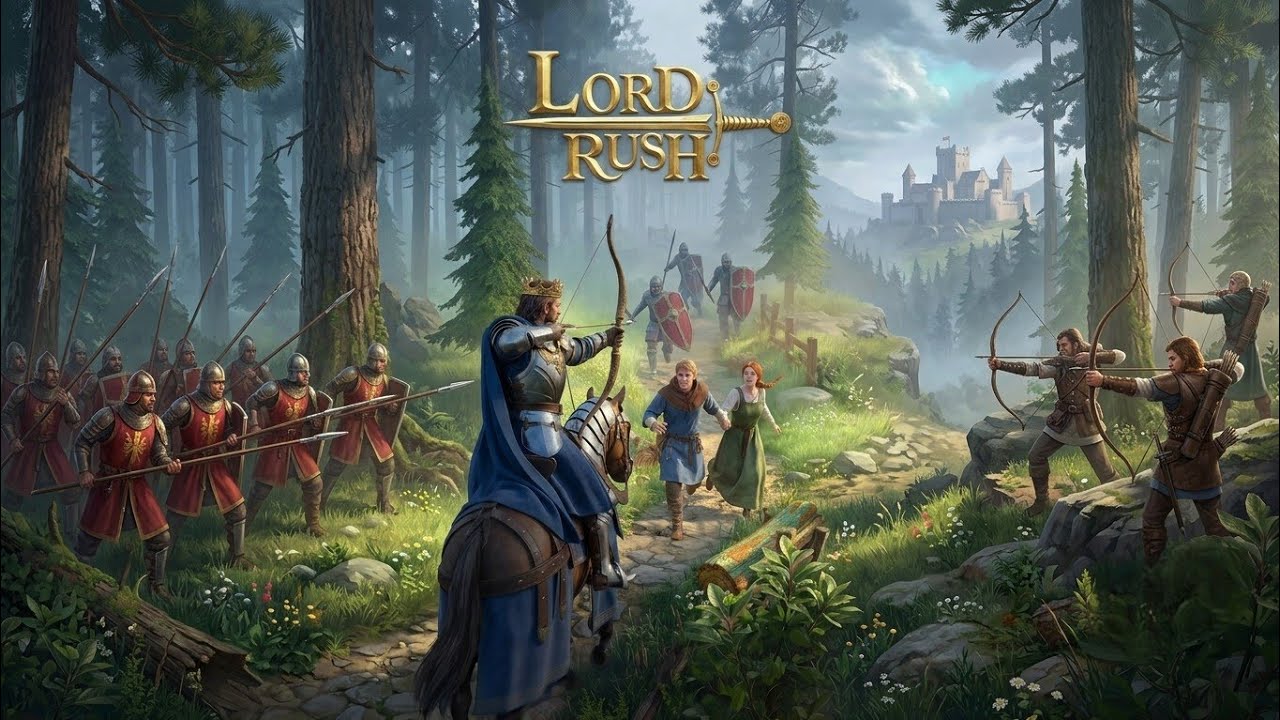
In Lordrush, success is not determined by the number of units you deploy, but by the efficiency of your defensive architecture. As a medieval tower defense title, the game demands a high level of spatial awareness and resource management. Players who rely on "unit spamming" often find themselves overwhelmed by elite waves in later stages. To achieve the perfect 3-star rating, you must transition from reactive gameplay to proactive, terrain-based strategic planning.
This guide provides the authoritative framework for mastering Lordrush mechanics, from early-game perimeter establishment to late-game siege defense.
Mastering Terrain-Based Defense
The most effective way to control the flow of enemies in Lordrush is by anchoring your primary defense units near natural terrain bottlenecks. The game’s maps feature intricate, winding paths designed to funnel enemies toward your fortress.
- The Curve Advantage: Always place your high-damage artillery at the inner curves of paths. This maximizes the "time-on-target" for every projectile, ensuring that enemies remain within your firing radius for the longest possible duration.
- Avoiding Dead Zones: Every map contains obstacles, such as ruins or cliffs, that block line of sight. Before a wave begins, scan the area for these "dead zones." If a tower’s range indicator is obscured by terrain, move it slightly to ensure its full radius is active.
- Layered Defense: Do not cluster all your high-damage units in one spot. Create "kill zones" at various intervals along the path. If a wave survives your first line of defense, a secondary layer of towers positioned further down the path prevents a total breach.
Leveraging Hero Range and Special Abilities
Heroes are the force multipliers of Lordrush. Unlike static towers, heroes can be maneuvered to respond to shifting threats. However, their placement must be intentional to maximize their utility.
Positioning for Performance
- The Symbiotic Buffer: Place high-range heroes behind melee towers or walls. This keeps your heroes safe from direct engagement while allowing them to contribute consistent damage output.
- Range Overlap: The most efficient formation involves overlapping the effective range of your hero with your towers. By concentrating fire in a specific "hot zone," you can neutralize armored units before they reach your fortress walls.
- Cooldown Management: Resist the urge to use hero ultimates on basic cannon fodder. Save these abilities exclusively for elite waves or bosses. Using a high-impact ability on a minor enemy is a common mistake that leaves you vulnerable to the subsequent boss wave.
Optimizing Tower Synergy for Wave Control
A balanced defense is a lethal one. Relying on a single tower type will eventually fail, as different enemy units possess varying resistances to armor-piercing, elemental, or slows.
- The Slow-Damage Combo: Pair slowing towers (such as Frost or Mud pits) at the beginning of the path with high-damage sniper or cannon towers in the middle. The slow effect keeps enemies grouped together, allowing your high-damage units to hit multiple targets simultaneously.
- Upgrade Efficiency: It is generally better to have three mid-level towers covering a wide area than one max-level tower that leaves significant gaps in your defense. Focus on wide-area coverage first, then upgrade individual units as the wave density increases.
- Crowd Control Priority: As you progress into later levels, enemy counts increase exponentially. Towers that provide crowd control (CC) become more valuable than raw damage output, as they provide the extra seconds needed for your towers to recharge and rotate attacks.
Managing Resource Allocation During Combat
Resource management is a high-stakes balancing act in Lordrush. You must constantly choose between expanding your footprint and fortifying existing positions.
- Early Game: Establish a basic perimeter. Prioritize low-cost units to ensure you don't leak "chip damage" to your fortress walls.
- Mid-Wave: Once the perimeter is stable, focus on upgrading existing towers to maximize DPS. This is more cost-effective than placing new, low-level structures.
- The Emergency Fund: Always maintain a small reserve of resources. If a fast-moving enemy group breaks through your line, having the funds to drop a defensive structure at the last second can save your 3-star rating.
- Selling for Flexibility: Never be afraid to sell a tower that is no longer in range of the enemy. Recouping resources to build in a more active sector of the map is a hallmark of an expert Lordrush player.
Adapting to Enemy Wave Patterns
Lordrush provides clear indicators regarding the type of enemies in an incoming wave. Use the pre-wave phase to analyze the threat.
- High-Speed Enemies: If the UI indicates fast units (such as cavalry or agile infantry), focus on placing slow-effect units near the spawn point to negate their speed advantage.
- Heavy Armor: If the wave is composed of heavily armored tanks, pivot your resources toward armor-piercing towers. If you lack these, move your hero to a position where they can apply debuffs to the armored targets.
- The Pivot Strategy: If a wave is overwhelming your current setup, don't wait for a total loss. Quickly sell underperforming towers and relocate them to the path where the enemies are actually breaking through. This mid-wave pivot is often the difference between a total defeat and a narrow victory.
By consistently applying these principles—prioritizing bottlenecks, managing hero cooldowns, and maintaining resource flexibility—you will find that Lordrush becomes a game of calculated precision rather than chaotic struggle. Focus on the geometry of the map and the specific counters to enemy types, and your fortress will remain standing against any assault.

Free Lordrush Codes
Current active codes and how to redeem them.

Michael Smith
Michael covers live-service games, events, reward systems, and efficient daily routines, turning frequent updates into clear actions for players.
COMMUNITY
Player Comments
99 players commented on this guide.
Good guide for Lordrush players. The resources part was useful.
Nice guide. I am checking the other Lordrush articles next.
The explanation is clear, especially for beginners.
I tried this today and it worked better than my old setup.