
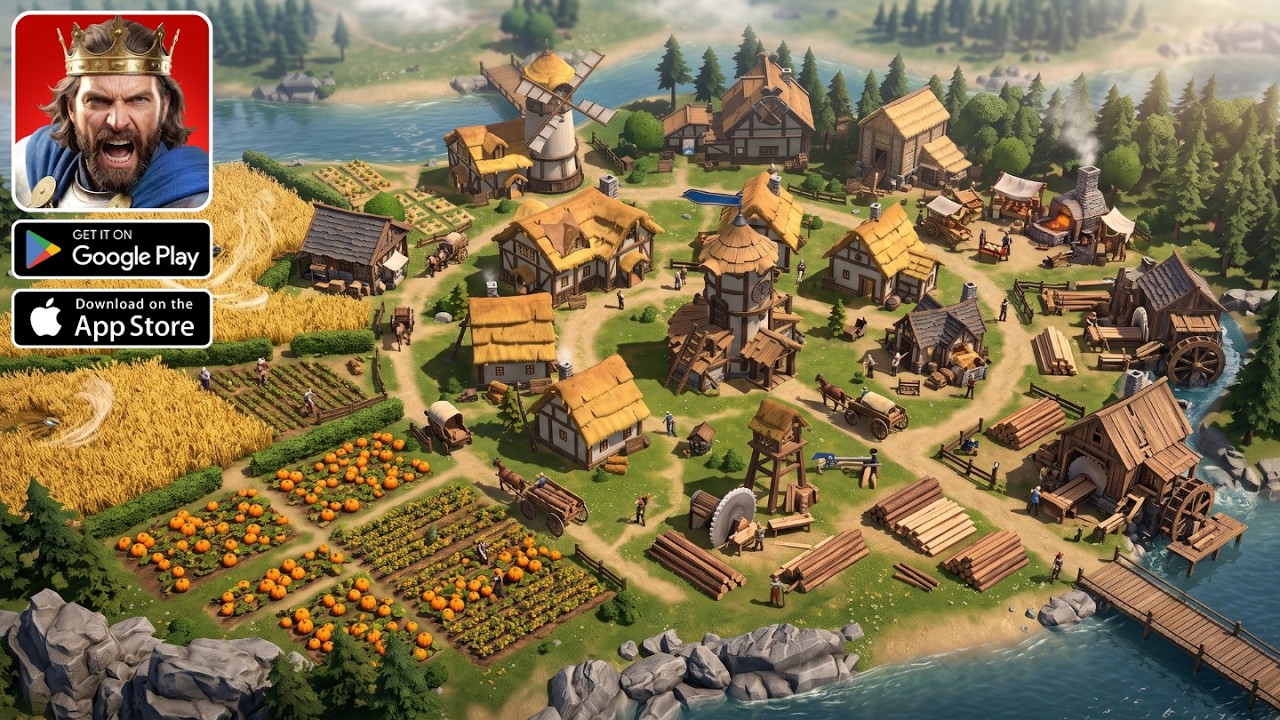
To succeed in Lordrush, you must transform your initial ruined settlement into a functional, thriving fortress. The core of the gameplay experience lies in balancing the immediate need for defensive fortification with the long-term requirement for economic growth. This guide covers the essential mechanics of resource management, strategic tower placement, and proactive base development to help you withstand the increasingly difficult waves of medieval invaders.
Prioritizing Infrastructure Restoration
The early game in Lordrush is defined by your ability to transition from a state of decay to a state of productivity. When you first begin, your fortress is largely ruined, which severely limits both your resource intake and your defensive depth.
The most common mistake players make is attempting to build offensive units or perimeter walls before securing their economy. Instead, identify and repair production-based structures immediately. These buildings act as your passive income generators. By focusing your limited early-game gold on these nodes, you ensure a steady influx of resources that will fund your later defensive efforts. Treat your base like a snowball; the faster you restore your economy, the more gold you will have to dump into high-tier tower upgrades when the enemy waves inevitably grow in size and frequency.
Managing Resource Cycles for Defense
Efficient resource management in Lordrush requires a disciplined approach to the economy. Every action—be it repairing a wall, training a hero, or upgrading a tower—draws from the same gold pool. If you spend too aggressively on expansion, you risk leaving yourself with zero liquidity during a heavy wave, which is a guaranteed way to lose ground.
The Golden Rule of Economy: Never spend your last coin on an upgrade unless you have a steady, passive generation rate that covers your maintenance costs.
- Audit your reserves: After every wave, check your gold balance.
- Identify the "Breakeven Point": If your gold is barely growing, stop all non-essential building and focus on upgrading your production nodes.
- Reactive Savings: If a wave inflicts heavy damage on your walls, prioritize repair costs over new construction. A damaged wall is a liability, but a destroyed wall is a failure that allows enemies into the heart of your base.
Strategic Tower Placement and Upgrades
Tower placement is the backbone of your defensive strategy in Lordrush. Rather than spreading your influence thin, you must focus on creating "Kill Zones"—areas where enemy pathing is restricted and subjected to the maximum possible damage output from your towers.
Principles of Effective Defense:
- Choke Point Optimization: Analyze the enemy pathing. Place your highest-damage towers where the path narrows or bends. This maximizes the time enemies spend under fire.
- Layered Defense (The Onion Strategy): Never rely on a single line of defense. Build a primary perimeter of towers, but keep a secondary, overlapping line of towers further inside. If an enemy manages to break through the first layer, the second layer should be positioned to pick off weakened units.
- Upgrade Density over Spread: It is significantly better to have three Level 3 towers in a single sector than six Level 1 towers scattered across the map. High-level towers often provide range and utility bonuses (such as slowing or splash damage) that are essential for dealing with late-game enemy compositions.
Preparing for Escalating Enemy Waves
As you progress through the stages of Lordrush, the difficulty curve shifts from quantity to quality. Early waves are usually fodder, but later waves introduce heavily armored units or fast-moving skirmishers that can ignore your front-line infantry.
During the preparation phase between waves, perform a "Base Audit." Look for gaps in your coverage. If you see enemies consistently bypassing a specific tower, it means the range of your defense is insufficient. Adjust your layout immediately. If you have excess gold, do not hoard it; invest it into tower upgrades or hero deployment. Hero units are particularly useful for plugging gaps in your line, as they can be manually repositioned to intercept fast-moving threats that your stationary towers might miss.
The Pitfalls of Rapid Expansion
It is tempting to expand your territory to claim more space or unlock new building slots, but rapid expansion is the most common cause of failure in Lordrush. Every new piece of land you claim increases the perimeter you are required to defend.
If your defensive capabilities are not upgraded to match your expansion, you are essentially spreading your resources thin. A large, weak base is far easier to penetrate than a small, highly fortified one. Before you expand, ask yourself:
- "Can my current towers cover this new area?"
- "Do I have the gold to immediately build a defensive structure here?"
- "Will this expansion leave my central economy vulnerable to flanking?"
If the answer to any of these is no, stay small. Consolidate your power, maximize the efficiency of your current footprint, and only push outward once your towers are capable of holding the new territory without significant manual intervention.
Expert Strategies for Late-Game Success
Once you reach the middle and late stages of Lordrush, the game transitions into a management simulation. You are no longer just building; you are managing a complex system of defensive interlocking parts.
- Targeted Upgrades: Identify which enemy type is your biggest threat. If you are struggling against fast units, focus on upgrading "Slow" or "Snare" towers. If you are struggling against armored giants, focus on "Armor Piercing" or "Heavy Artillery" upgrades.
- Hero Synergy: Deploy your heroes near the towers that provide the most damage. Many heroes have passive auras that boost nearby tower performance. Placing a hero in a "Kill Zone" can act as a force multiplier, turning a standard tower line into an impenetrable wall of death.
- Proactive Repair: Do not wait for a wall to crumble. If you have idle gold during a lull between waves, spend it on structural repairs. Keeping your health at 100% provides a safety buffer for when a particularly difficult wave eventually breaks through.
By following these guidelines and maintaining a focus on structural efficiency rather than expansion, you will find that Lordrush becomes a game of calculated precision. Control your economy, force the enemy into your kill zones, and maintain your defenses with proactive upgrades to dominate every wave.

Free Lordrush Codes
Current active codes and how to redeem them.

Sarah Williams
Sarah specializes in RPG and collection games, explaining team building, character growth, and beginner-friendly ways to avoid expensive early mistakes.
COMMUNITY
Player Comments
86 players commented on this guide.
This helped me understand early game much better.
Nice guide. I am checking the other Lordrush articles next.
I wish I had read this before upgrading the wrong thing.
I tried this today and it worked better than my old setup.