
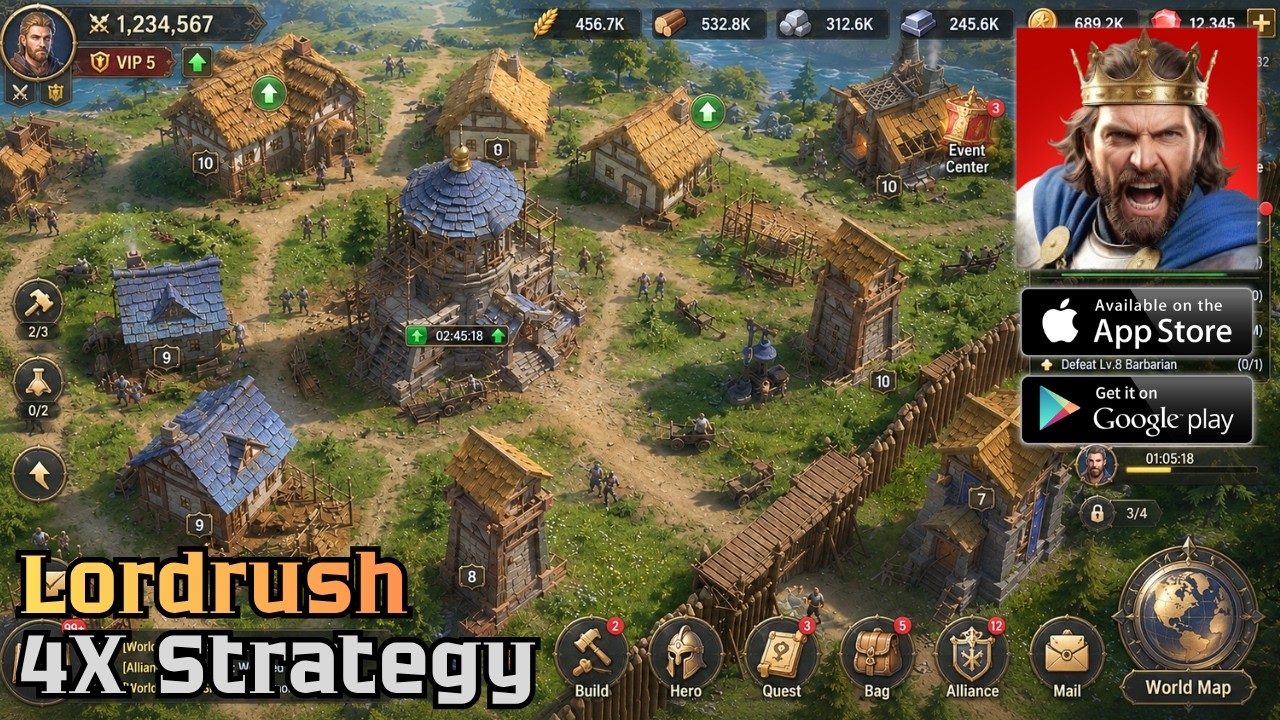
In Lordrush, the bridge between a crumbling fortress and an impenetrable stronghold lies in the expert coordination of your active units and static defenses. While tower placement provides the foundation of your strategy, your hero acts as the dynamic force multiplier necessary to survive high-intensity waves. This guide details how to harmonize these two core mechanics to overcome the increasingly complex challenges of this 4X tower defense hybrid.
The Synergy of Hero Timing and Wave Pressure
To dominate Lordrush, you must treat your hero’s active abilities as tactical cooldowns rather than reactive buttons. The most common mistake players make is activating high-impact skills on low-priority individual enemies. Instead, hold your abilities for "crunch points"—the exact moments when enemy density peaks within your tower’s optimal range.
Executing the Perfect Activation Window
Every hero in Lordrush possesses a specific effective range for their abilities. By watching the enemy spawn indicators, you can predict when a high-density wave will hit your "kill zone."
- Identify the Core: Wait for the enemy cluster to reach the intersection of your most powerful towers.
- Apply Crowd Control: Activate hero abilities that stun, root, or slow enemies while they are under fire from your highest DPS towers.
- Burst Damage: Once the enemies are trapped or bunched up, deploy area-of-effect (AoE) hero skills to maximize the damage-per-second (DPS) output.
By holding your skills until the enemy is positioned within your turret coverage, you prevent structural breaches that occur when your towers are caught in their own reload cycles.
Optimizing Tower Synergy for Maximum Damage
Tower placement in Lordrush is not about covering every inch of the map; it is about creating "Kill Zones." A Kill Zone is a concentrated area where enemy paths are funneled through the overlapping fire of your most effective structures.
The Three-Tiered Tower Strategy
- Front-line Anchors (The Debuffers): Place towers that provide slowing or armor-shredding effects at the start of the enemy path. These units do not need to be the strongest, but they must be consistent. They force enemies to linger in the middle of your defense.
- The Mid-Lane Nexus (The DPS Hub): This is where you place your high-damage towers. These should be positioned to cover the widest possible path. This area is where your hero should spend the majority of their time.
- The Base Guardians (The Finishers): Keep high-impact, single-target towers near the fortress entrance. These are your safety net for any "leakers" or fast-moving scouts that survive the initial gauntlet.
Strategic Hero Positioning: A Mobile Defense
Your hero in Lordrush is your most valuable mobile asset. Unlike towers, which are bound to their grid, your hero can (and must) move to address shifting threats.
The "Aura of Influence" Rule
Always keep your hero within the proximity of your towers. This is the symbiotic relationship that defines Lordrush combat. If your hero engages enemies in a vacuum, they will eventually be overwhelmed by numbers. By fighting within the range of your towers, you create a combined-arms effect:
- Stun Lock: If your hero is a tank-type, use them to body-block enemies at a choke point while your ranged towers provide the damage.
- Support & Sustain: If your hero is a ranged-support type, position them behind your front-line towers to provide buffs or heals, ensuring your static defenses survive longer under pressure.
Resource Allocation: The Art of the Reserve
In Lordrush, resources are a finite fuel source. Because the game incorporates 4X strategy elements, you are constantly balancing the need for immediate defense against the desire for long-term upgrades.
The "Emergency Reserve" Philosophy
Never spend your entire resource pool on initial tower construction. As waves increase in difficulty, you will encounter unexpected "heavy" enemies or airborne units.
- The 20% Rule: Always keep 20% of your maximum resource capacity in reserve. This allows you to rapidly deploy a defensive structure if a lane is unexpectedly breached.
- Prioritize Upgrades over Expansion: It is almost always better to upgrade a Tier-2 tower to Tier-3 than it is to build two new Tier-1 towers. Higher-tier towers offer efficiency and special effects that are necessary for mid-to-late game success.
Adapting to Shifting Enemy Composition
As you progress through the stages of Lordrush, the game will test your ability to adapt. If you find yourself failing at a specific wave, analyze the enemy type. Are they swarm units? Are they heavily armored? Are they flying?
The Tactical Pivot
- Against Swarms: Focus your hero and tower upgrades on splash damage and slow effects. You need to keep them grouped together to maximize the utility of your AoE hero abilities.
- Against Tanks: Switch your focus to single-target armor-piercing towers. If your current layout lacks armor penetration, use your hero to "kite" the enemies—pulling them into a specific lane where your towers can focus fire until the armor is stripped.
Avoiding Common Mistakes
To climb the ranks in Lordrush, you must avoid these common pitfalls that often lead to base destruction:
- Tunnel Vision: Don't focus exclusively on your hero's health. Monitor the health of your towers; a single destroyed tower can create a domino effect that compromises your entire defense.
- Ability Over-Spending: Avoid using your ultimate ability on a wave that your towers can handle on their own. The cooldown period is a window of vulnerability that the AI will exploit in later stages of the wave.
- Ignoring the Pathing: Study the enemy spawn routes. Lordrush often includes multiple lanes; if you over-commit your hero to one lane, ensure your towers are capable of holding the other on their own.
Expert Summary for Consistent Success
Winning in Lordrush is rarely about having the most powerful heroes; it is about the efficiency of your strategy. By building synergistic kill zones, keeping a resource reserve for emergency response, and timing your hero's abilities to match the highest density of the enemy wave, you turn the tide in your favor. Remember, your hero is the glue that holds your defense together—keep them mobile, keep them supported, and keep them in the fray to ensure your fortress remains standing against the encroaching darkness.

Free Lordrush Codes
Current active codes and how to redeem them.

Michael Smith
Michael covers live-service games, events, reward systems, and efficient daily routines, turning frequent updates into clear actions for players.
COMMUNITY
Player Comments
155 players commented on this guide.
Nice guide. I am checking the other Lordrush articles next.
This helped me understand heroes much better.
This guide answered the exact question I had.
Good guide for Lordrush players. The heroes part was useful.